
This movement song is set to the tune of Aram Sam Sam*. It’s a great way to remember some of the most common plants that we see on our preschool nature hikes in the Pacific Northwest.
Lyrics
A Douglas Fir, A Douglas Fir.
A tiny little mushroom and a Douglas Fir.
Salal, and Sword Ferns.
A tiny little mushroom and a Douglas Fir.
A Red Cedar, A Red Cedar.
Some Oregon Grape and a Red Cedar.
Big Leaf Maple. Blackberries.
Some Oregon Grape and a Red Cedar
Movements
- For Douglas Fir, raise your hands high above you to help children remember that Dougs have very tall trunks and branches up high.
- For “a tiny little mushroom” – if they’re standing up, they can squat down and cover their head with their hands. If they’re sitting, they use two fingers to show something that’s really tiny
- Salal – touch your thumbs together and touch your index fingers together to make a salal leaf shape.
- Sword Fern – pretend to wield a sword
- For Red Cedar, spread your arms out to your sides, with the palms down low to show the low branches of a red cedar.
- For Oregon grape, use your fingers to draw a serrated leaf shape.
- Big Leaf Maple, hold one hand up with the fingers spread to indicate the 5 points on a maple leaf.
- Blackberries – pretend to eat berries!
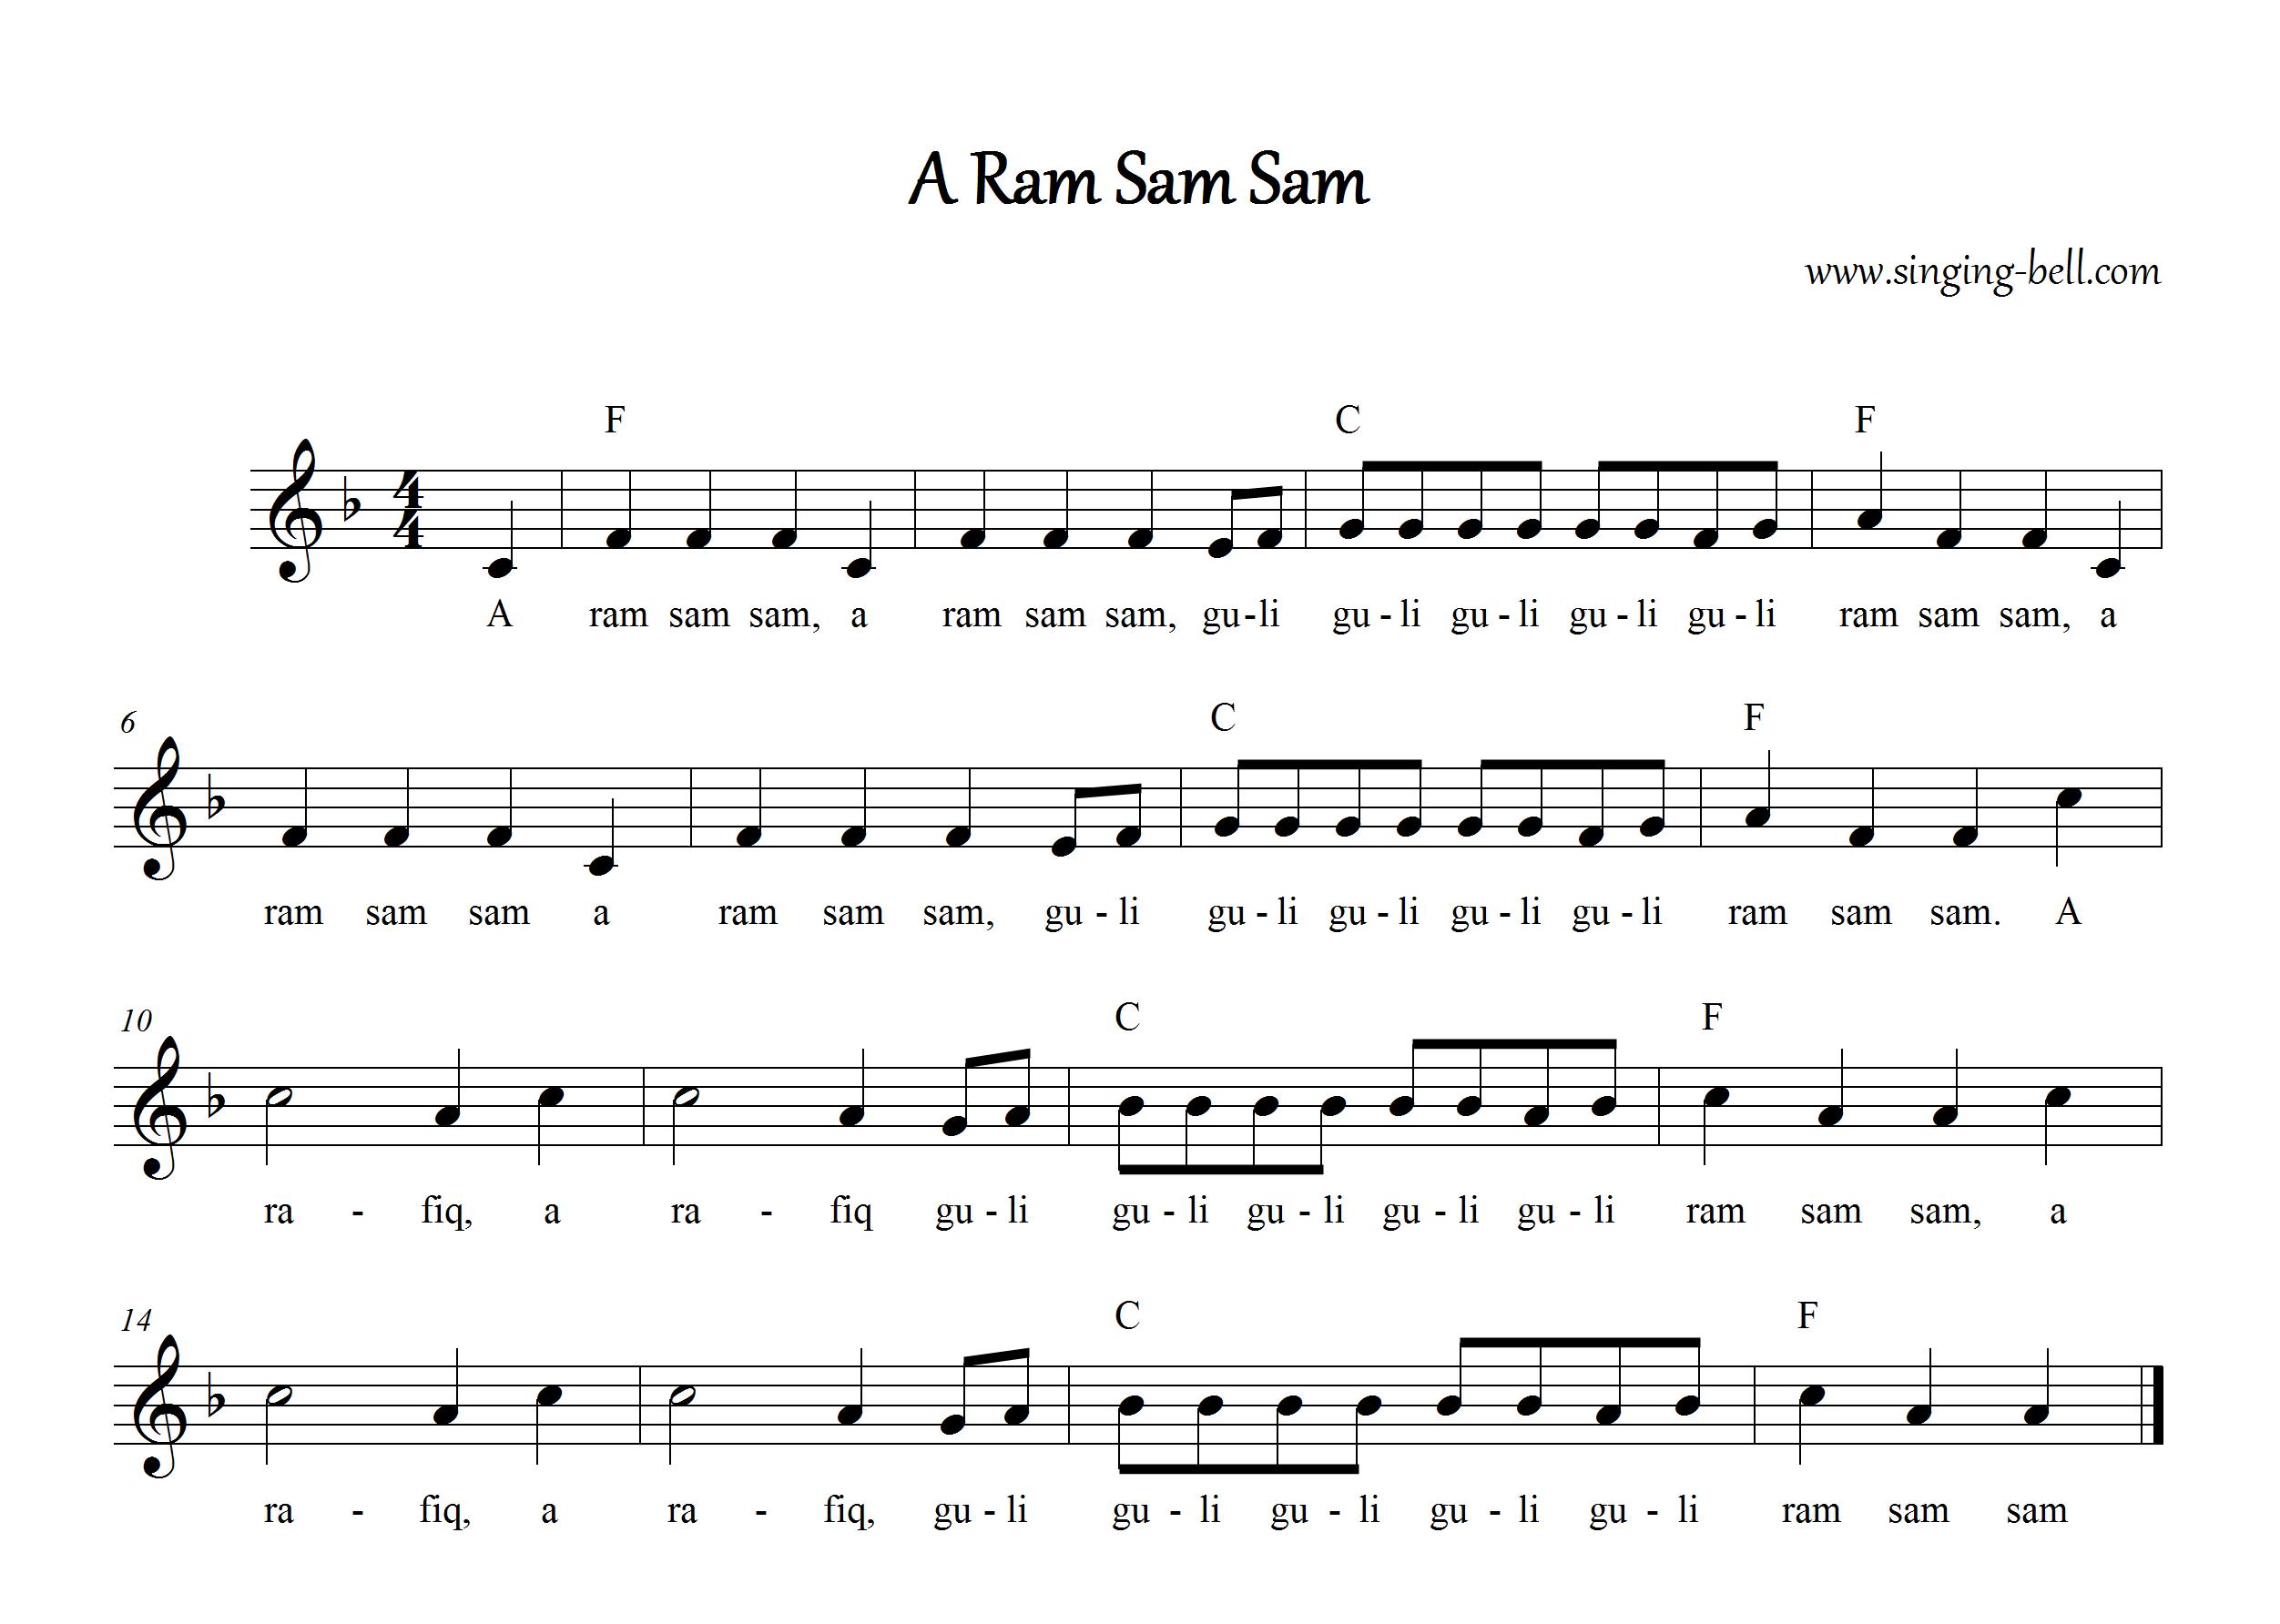
Here’s sheet music for A-Ram-Sam-Sam which includes chords F and C (for guitar or uke); or here’s music in the key of G.
Visual Aids
I made a set of 8 picture sheets to go with teaching the song, to show them what each plant looks like and how to recognize it.
A Picture Book
I made a free printable book you could read about these plants.
I also brought samples of each plant into the classroom for children to get familiar with before we go on a class hike.

If you want to learn more about plants that are native to the Pac NW, here’s a plant guide. Learn more about how to teach kids about nature in general and native plants particularly. And learn more about the benefits of nature for kids.
Source
The furthest I can trace this idea back is that my local library, KCLS, published a video in 2015 that credits “Story Time Idea Machine blog (2010) by Cherie Rainwater.” I found it on Jbrary. I added salal to the song, and added the full second verse.
Alternate Verses
Verses for a visit to a tidepool:
A hermit crab, A hermit crab, [scuttle hands]
a tiny little barnacle [stick hand to shoulder], anemone [wiggle fingers].
Some starfish [spread hands to make stars] and jellyfish. [pulse arms like swimming tentacles]
A tiny little barnacle, anemone.
A geoduck, a geoduck, [one arm makes shell, the other makes the “foot”]
some slimy green kelp [wipe kelp off arms] and a sea urchin. [spiky fingers]
A moon snail [draw spiral], a happy clam. [make clam shell with hands]
Some slimy green kelp and a sea urchin.
More ocean verses
An orca whale (move one arm in a leaping motion) An orca whale (other arm)
Little sea scallops (both hand open and shut like shells)
And an orca whale (leaping motion)
Sea otter (sung while pounding fists on chest) Sea otter,
little sea scallops, and an orca whale. [Jbrary credits to Anna Swanson]
Birds of the Northwest – rough draft
A bald eagle, a bald eagle. a tiny hummingbird and a bald eagle.
Barn swallows, a stellar jay. A robin and a crow and a gull in the bay.
A barn swallow, a barn swallow, a great blue heron and a barn swallow.
A mallard duck, a chickadee. A dark eyed junco is what I see.
Tune
* Aram Sam Sam is commonly sung in preschools and storytimes. It is said to be originally a song in Arabic from Morocco. What does it mean? Aram sam sam is just nonsense sounds. A rafiq is a friend or companion, and gulli gulli means tell me tell me.


