Category Archives: Parenting Skills

Building Independence in Children

There are three areas for thinking about building independence: chances, chores, and choices.
Give them as many chances as you can to try doing things for themselves. Think about chores they can do – taking on responsibilities builds their sense of being competent, capable and important contributors to the family. Then let’s practice independent decision making by allowing them to make more of their own choices.

Chances to “Do it Myself”

Increase Accessibility

To build independence, think about how to make tasks more accessible for them. If you want them to get themselves dressed, choose clothes and shoes that are easy to get on and off. If you want them to help with cleaning, keep some cleaning supplies in their reach and store toys in containers they can open and close. If you’re nursing a baby, have a water bottle and snacks where your older child can reach them so they can help themselves if needed.

Teach Skills

Take the time to intentionally teach and practice skills, like putting on a coat or gloves or opening a cheese stick. For the first ten times, it takes a long time and is frustrating, but then your child will know how to do it themselves. Think how much time you save in the long run! (For lots of these things, search online for “hacks” for how to teach.)

Create Systems

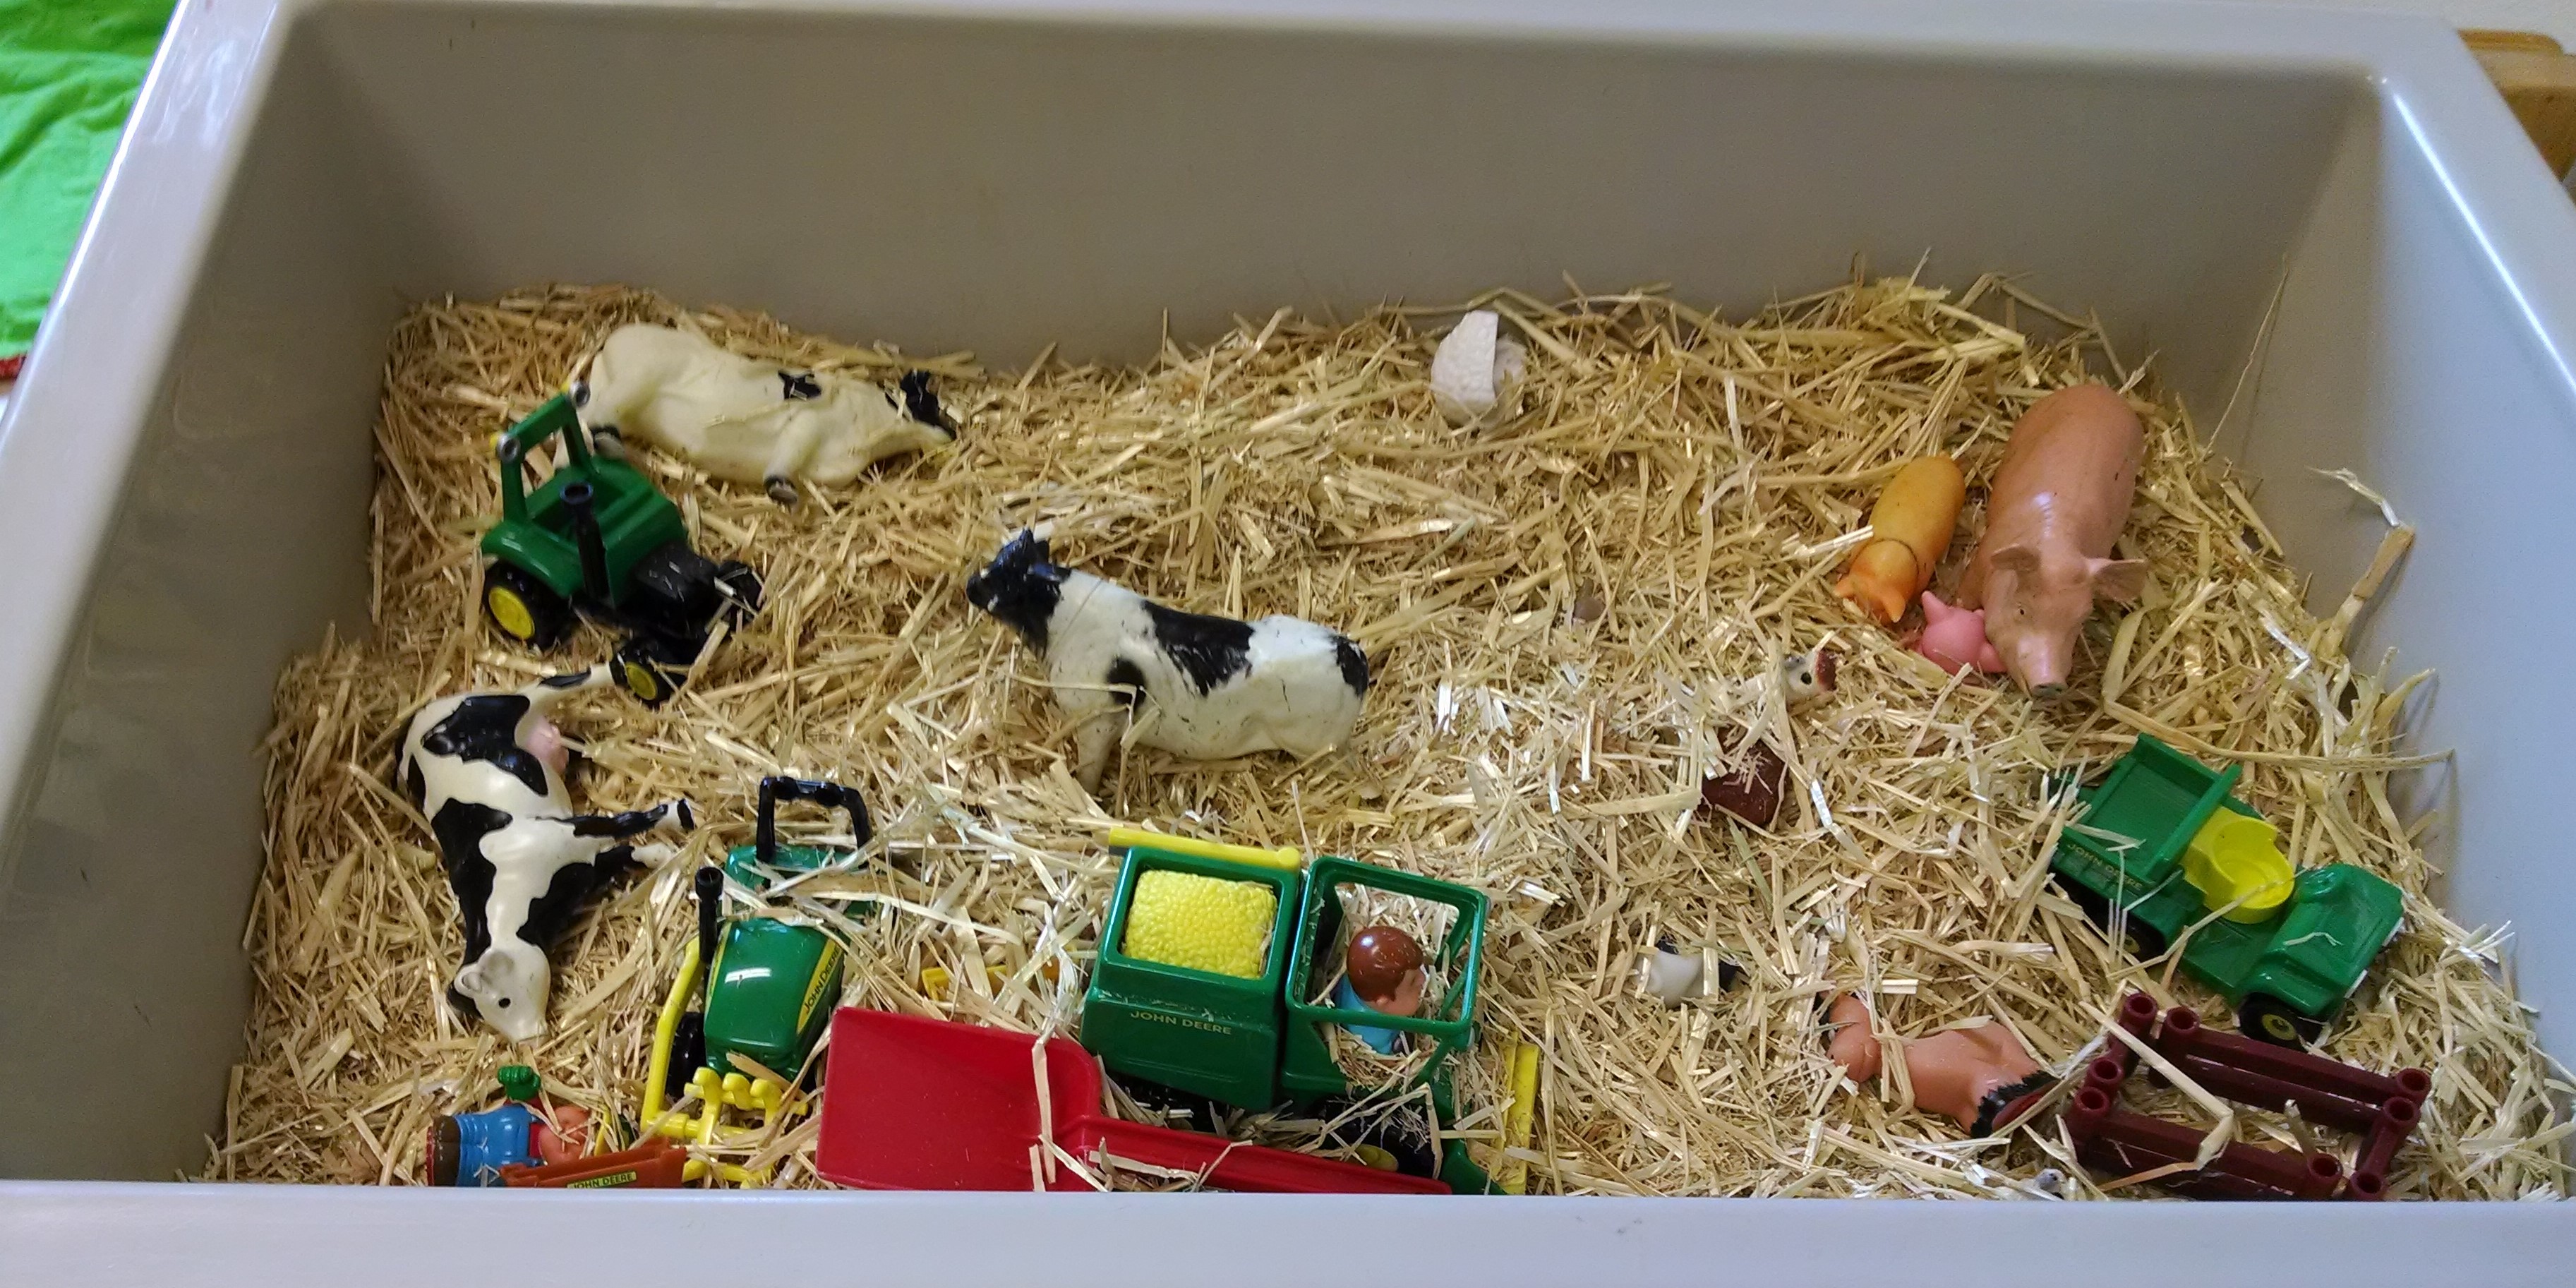
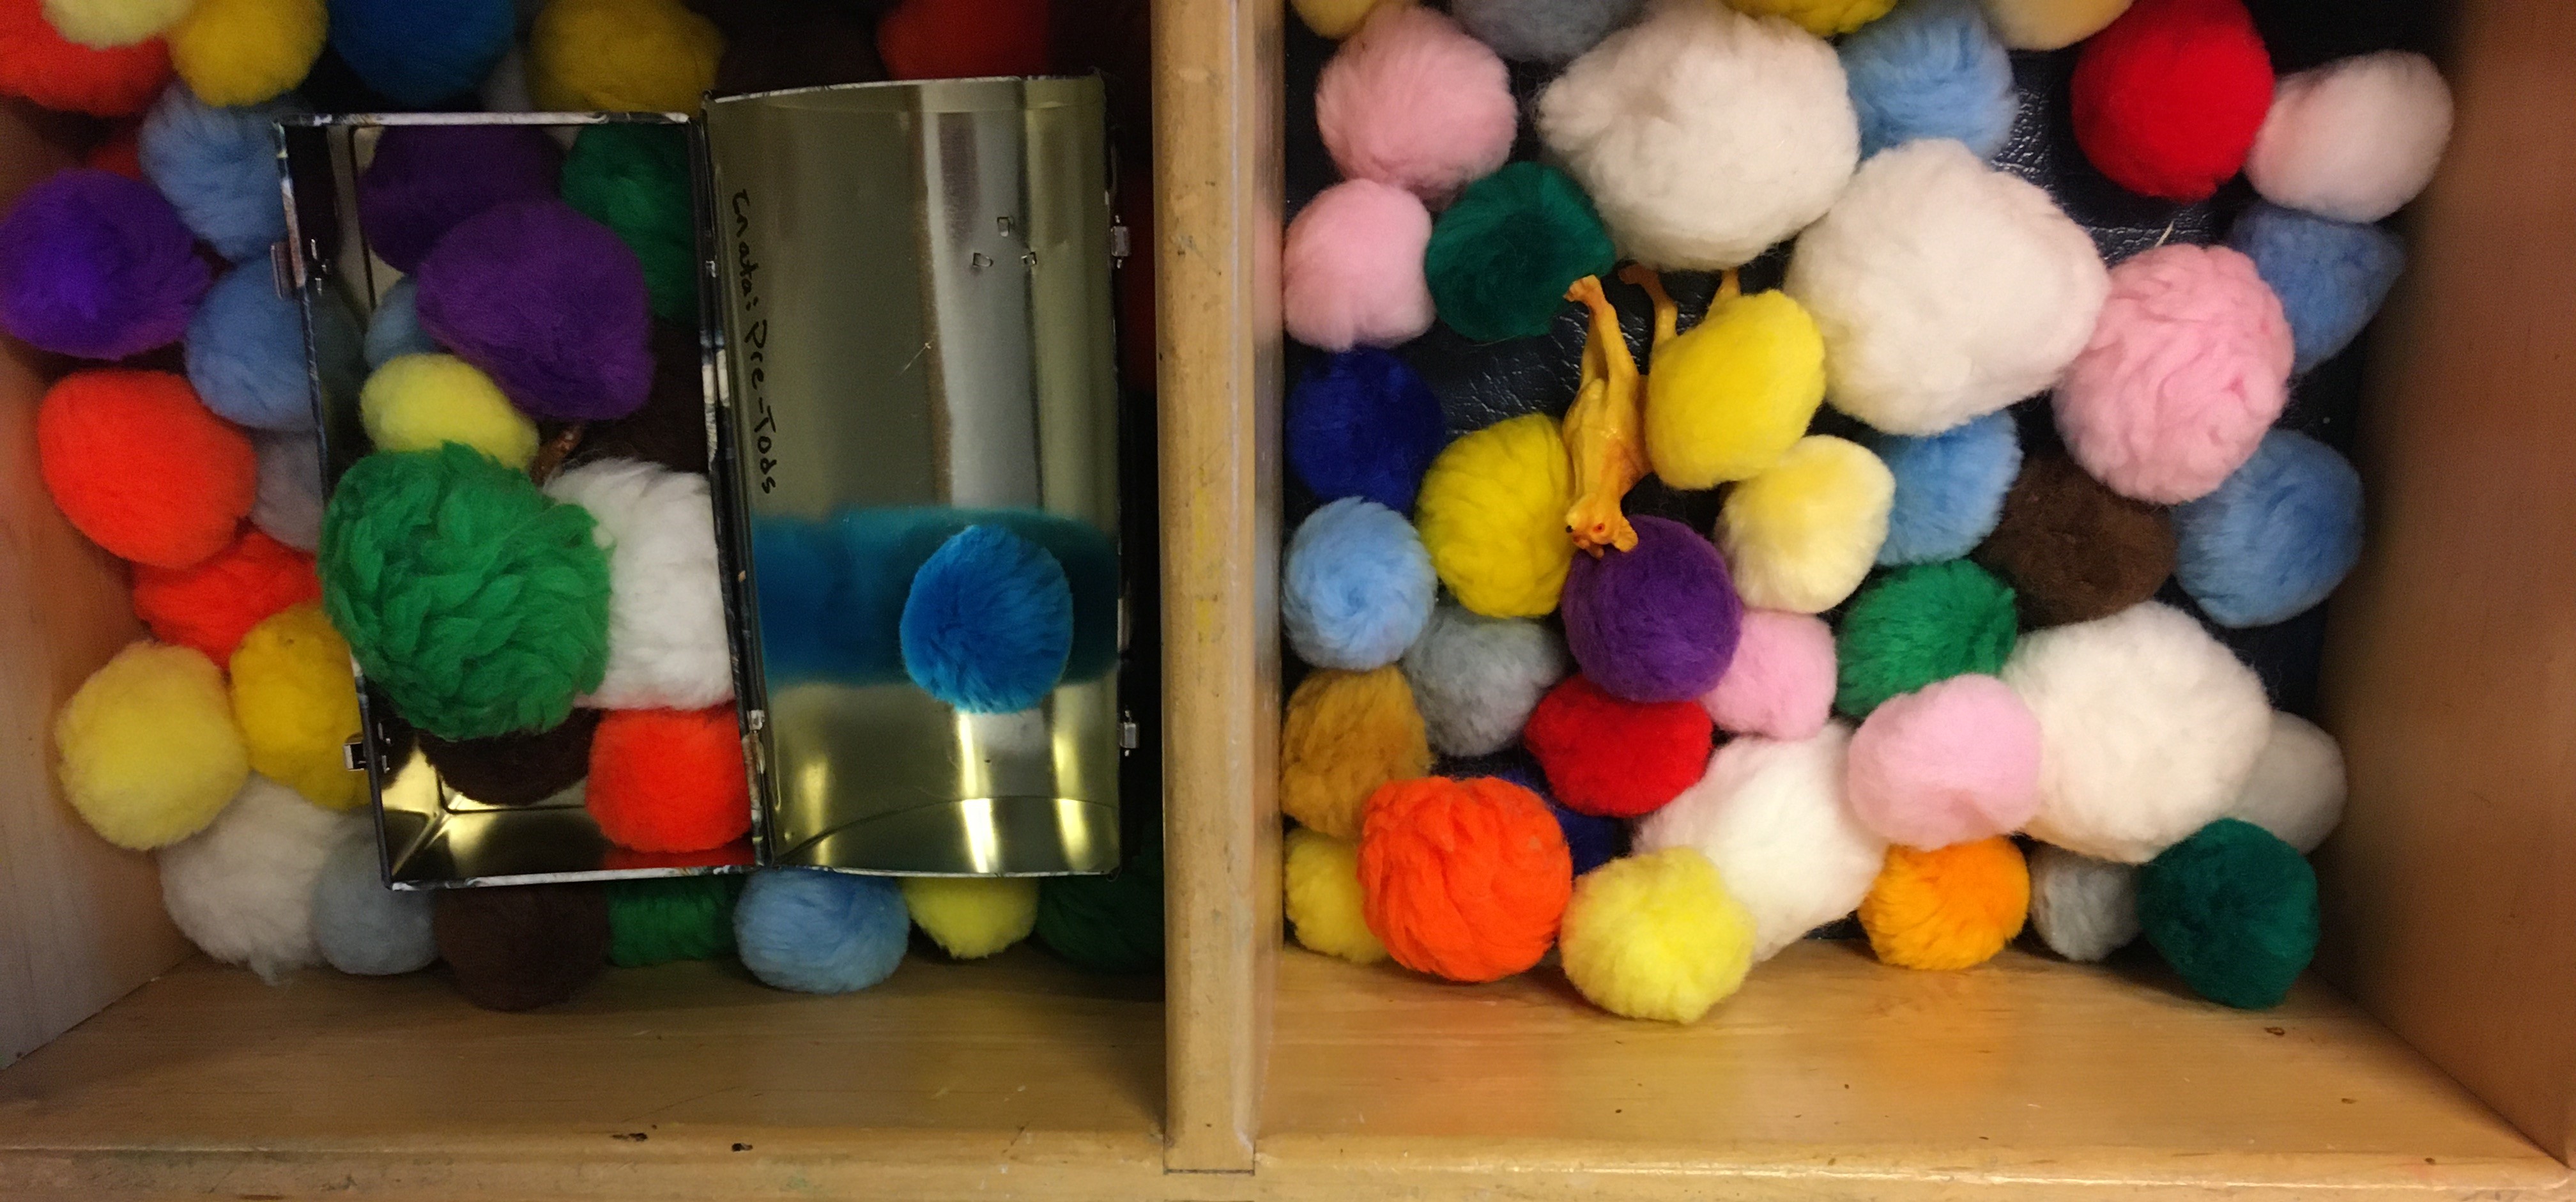
Create systems that they can understand. Like having one container for all the toy animals and one for all the toy cars, with picture labels on them to help them remember. Or having a library basket so if they find a library book anywhere else in the house, they always know where to return it to – and when they want a book, they always know where to find one! Or writing a visual schedule of the bedtime routine with four pictures showing the four steps.

Accept the Mess

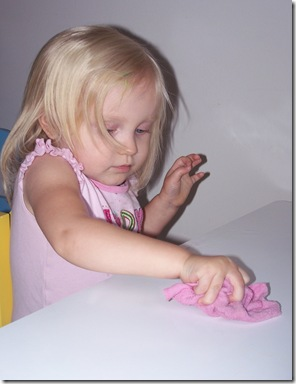
When your children “help out,” it takes longer, and it’s messy and it’s inconvenient. It’s hard to be patient, and easier to do it yourself. But, if we want to raise independent children, we have to give them chances at independence, and accept the imperfections of the learning process.

Chores – Responsibility and Teamwork

If you have a very young child, you may have never even considered chores. You may not have viewed them as being capable of contributing. But even a one year old can help with household tasks: “can you put this sock in the laundry bin?”, “can you carry this for me?”, “put the toys in the basket.” Children love to help out – doing tasks helps them feel competent and important.

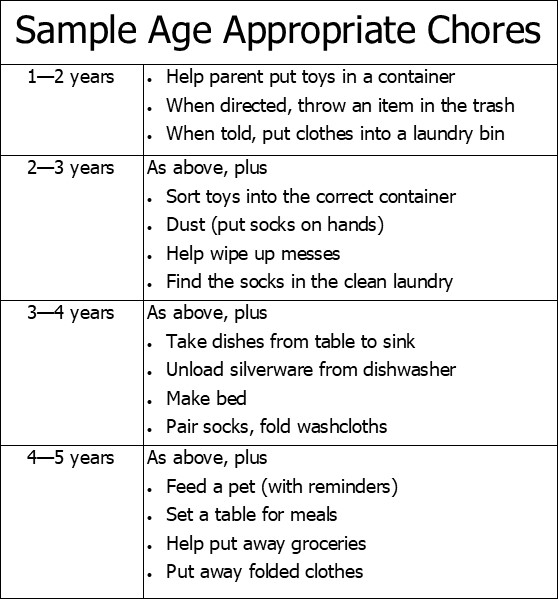
Search online for “age appropriate chores” and you’ll find several charts with suggestions. Or ask other parents for ideas of tasks that you could try having your child help out with. For example, a 2 year old could help wipe up messes, a 5 year old could match socks, and a 7 year old could water plants – though you’ll need to have a system to help them remember.

Your child will not be as good at doing things as you are…. If your three year old makes the bed, it’s not going to have perfect corners! If they feed the dog, they may spill kibbles on the floor. Your 5 year old won’t load the dishwasher perfectly – but they can at least put a cup and spoon in there that you can finesse later. Experiment with options, trying several out to see where they can be successful and which chores make sense to assign on a long term basis.

You can ask your child for input on what jobs they would LIKE to do or what would help motivate them. A kid who hates folding laundry might be more willing to do it if you watch movies together as you fold. A kid who likes feeling strong might like the heavy work – carrying baskets of laundry, putting out the trash, shoveling snow, bringing the groceries in from the car…  Some teenagers might prefer doing the grocery shopping to cleaning the house.

Chores: The Teamwork Approach

Often chores are approached in an if/then punitive way where the parent is in control: “If you don’t put your laundry away then you can’t play your game.” This often leads to battles of wills.

The teamwork approach is: “What do WE need to do so that our home life functions well for all of us? Here are things I can help with – what can you help with?” And then on chore days you can use the when/then approach “we as a family all have chores today – but when we get all our work done, then we get to celebrate a job well done by having fun together!”

Choices

As they do more things independently, they’ll make more choices. If they’re getting themselves dressed, they choose their clothes. If they’re packing lunches, they choose what food to pack. If they’re responsible for homework, they decide whether to do math or English first.

It’s important to note that the parent still defines what are acceptable options to choose from! For example: you could tell a two year old: “it’s cold today, so you need to wear a warm shirt – do you want this blue one or the red one?” Or tell a three year old: “There are three things you need to do to get ready for preschool – which one do you want to do first?” A rule of thumb is for a two year old offer two options. A three year old gets three options. An eight year old has a lot of options, with clear criteria set by you. For example, an eight year old packing their lunch might be told they have to have at least one protein, at least one fruit, and one starch. (And you’ve taught them what this means and set up systems that make it easy for them to do this.)

We can also offer choices in other areas to practice decision making. For example, they can have some “free choice” time in their daily schedule where they get to decide what they do and you’ll play along. Older children can decide what extracurriculars or camps they do.

Some parents give a young child allowance that they can choose what to spend it on. As the child gets older, they get more allowance, but it’s split into three pools: spending, saving and sharing. They can use spending money on anything anytime. They have to declare in advance something that they are saving toward and can purchase it when they have enough. And sharing money can be for gifts or for charitable donations they choose.

Sometimes children will make poor choices. If they choose not to wear a coat on a cold/wet day, it’s a learning experience! (Now, I won’t do this on a day my child is going to preschool and the teachers would have to deal with the unhappy child that results… but I would do it on a day I was just taking my child for a short trip to the park.)

It’s important to let them do so and to experience the consequences in a low stakes environment so they can learn from their mistakes and make better choices in the future.

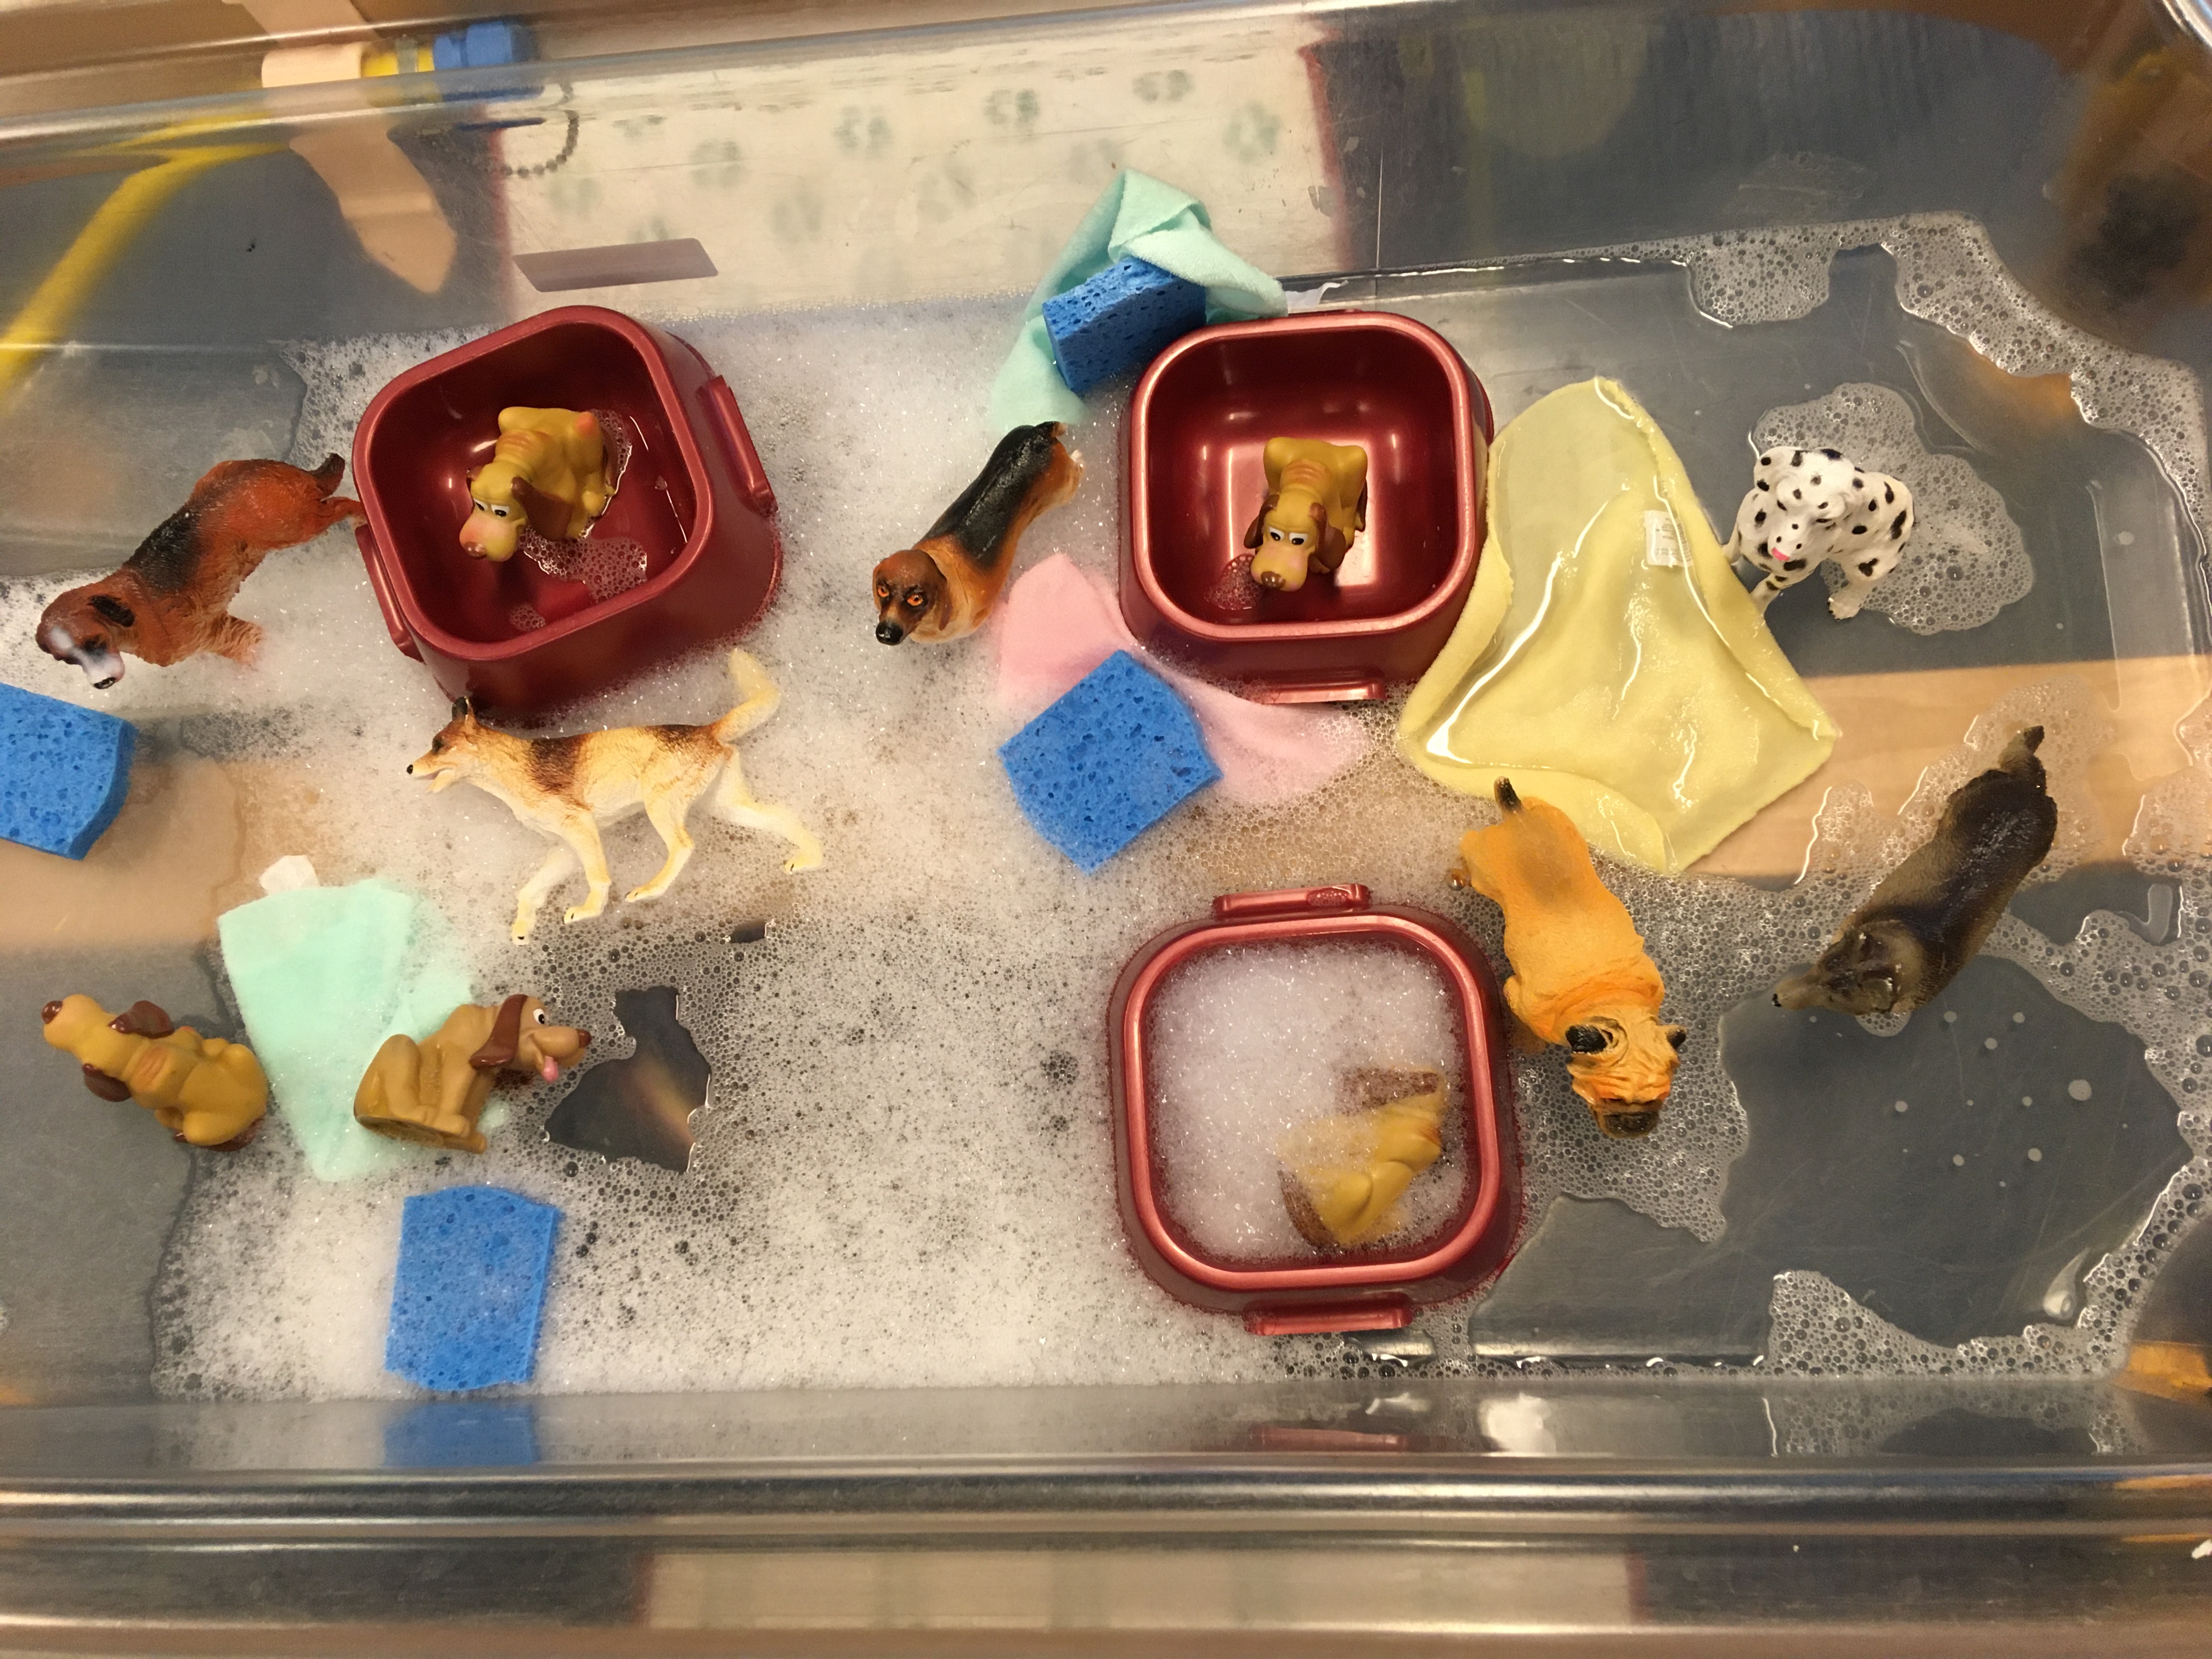
Image credit: http://wesandrachel.blogspot.com/2010/08/tot-school-catching-up.html, marked as Creative Commons

Introducing a Sensory Bin

Maybe your child has tried out a sensory bin or a water table at a children’s museum, daycare, or a class, or maybe you’ve stumbled across sensory play ideas on Pinterest or Instagram or a Flisat table group on Facebook, and you want to try it out, but aren’t sure how to get started? Here’s a beginner’s guide.

Sensory play has a few basic components:

  • a bin – don’t feel like you have to start by buying a fancy table – it’s OK to start with water play in the sink or use a cake pan or a plastic storage tub
  • things to scoop and pour with – spoons and measuring cups work great, and tongs to pick up larger items
  • smaller containers to put in the bin – plastic cups and “tupperware” containers are good
  • a sensory material – I would start with something that’s really easy to pick up: balls made of crumpled paper, pompoms or cotton balls, pasta (bowtie or rotini work well); rice is always a good option, but expect that it will get spilled across the floor!

That’s all you really need to start with. Don’t feel like you have to create amazing Instagram-worthy wonders. Start simple! (For this post, I purposely picked photos of some really basic set-ups so you see how easy it is – like this one with pompoms, metal treasure box and some plastic animals.)

The first several times your child plays with it, sit alongside them, teaching them how to do sensory play – eventually this will be great independent play, but first they need you to teach them.

What do you do? It’s super simple – you scoop, you pour. You fill the container. You dump it out. You pick up a handful of rice and let it sift through your fingers. You stir. It’s OK if your child repeats the same actions hundreds of times. Sensory play is all about repetition. It can be a very soothing play activity while they’re also learning a lot about how to use their body and how to use tools to move things around. (Keys to brain development are: novelty, repetition, and down-time and sensory bins can bring all this.)

If you feel like you’re ready to liven it up a bit, the easiest way to add novelty is to take some of your children’s toys they already love and add them in so they can explore them in this new setting. (Filling a toy dump truck with rice, pouring rice over plastic animals, or hiding and finding puzzle pieces to assemble a puzzle with.)

Let them play as long as they want, and move on when they’re ready. They’ll come back to it again later. If they spilled materials on the floor, ask them to help with clean-up, even if they only clean up a few items, it’s a good practice to begin.

That’s it. That’s the basics.

Learn More

I’ve got lots more ideas on this blog which focuses on parenting skills, and my other blog Inventors of Tomorrow, which focuses on STEM learning.

  • This post is called Reducing Sensory Bin Mess, but it also talks a lot about how to teach your child appropriate ways to play with the bin.
  • Check out the Ultimate Guide to Sensory Bins to get LOTS more ideas about what sensory bins you could buy, what materials to fill them with (everything from flax seed to cloud dough), what tools to use (from water wheels to conveyor belts), and what add-ins to include (jingle bells? magnetic letters? seashells?). This post also talks about the benefits of sensory play for brain development.
  • Check out the Ultimate Guide to Water Tables to learn all about great options for enhancing water play. (Many of these ideas also work at bath time or in the swimming pool!)
  • Sensory Table Set-Ups shares lots of examples I found online and my observations about general lessons to learn from these ideas.
  • Looking for other simple, low cost ideas for what to do with a 1 – 4 year old child? Check out my Cheap Dates with Toddlers series.

Emotional Literacy Overview

I’ve written a lot about emotional development. This post is a brief summary of concepts, with links to learn more. We’ll cover: teaching vocabulary, teaching how to recognize emotions, teaching appropriate ways to express emotions (check out my printable posters!), and thinking about how big the emotion is, – if it’s small your child may be able to manage it – for big emotions, they’ll need your support.

Teaching Vocabulary

Children learn language for abstract concepts when we talk about those things as the child is experiencing them. When they are displaying an emotion (or they notice someone else is), we label it and talk about it. Knowing that emotions exist and having words for them is the first step to coping with those emotions. (Learn more about emotional literacy.)

The core basic emotions to start with are: mad, sad, glad, and scared. (And mad is often masking sad or scared feelings.) Babies demonstrate all these by 8 months. In the toddler years, they add in pride, envy, shame, guilt, and empathy. (Learn about emotional development.)

Teach How to Recognize Emotions

The next step is to teach them to recognize their own feelings and other people’s feelings. Teach about:

  • body language
  • facial expressions
  • tone of voice
  • actions

Tip: I have posters that include descriptions of these signs.

When your child is experiencing an emotion, tell them the signs you noticed so they notice them too: “I can tell you’re getting mad, because you’re banging that puzzle piece, and your eyebrows look angry.” When someone else is experiencing an emotion, help them identify that: “when you took your friend’s toy, that made him sad – he was crying and went for a snuggle with his daddy.”

You can read books that are aimed at teaching emotional literacy (here are my recommendations for children’s books about big feelings and more ideas on teaching emotional literacy using books). Or in ANY book or show, you can pause to notice feelings… “hmm, how do you think that character is feeling right now? how can you tell? what might help them feel better?”

When doing pretend play or things like puppet shows, role play emotions, including appropriate ways to express them and how to get support for them.

Learn more about helping your child to recognize feelings.

Teaching Appropriate Expression of Emotions

Children are going to have big feelings. They need to have a variety of tools for expressing them. Teach them good options during play time when they’re calm and suggest them when they’re having mild feelings. I have posters you can print and use.

Sometimes emotions can lead children to misbehave. Learn how to use emotion coaching to validate their feelings while still setting limits on behavior. And learn discipline tools for managing misbehavior. One key point I make is “all emotions are OK. Not all behaviors are.”

How Big is the Emotion?

It is helpful for you as the parent to understand different levels of emotion and what they mean for offering emotional support. As your child gets older (3 or older) you’ll start talking with them more about this as well.

There is a big difference between a child who is annoyed and one who is outraged. A big difference between disappointed and heartbroken. The thermometer metaphor can help us visualize this.

A child who is doing fine is cool and collected – green zone. As they start to feel frustrated, disappointed or uncertain, they’re moving into the yellow zone. As the feelings escalate bigger and bigger, they move to orange and red.

When a child is in the green zone, they’re ready to learn anything. This can be a good time to teach them coping skills and how to self-calm and let them practice them.

When a child is just starting to have feelings (yellow zone), they can often calm themselves. Today, I heard a child reassuring himself as he walked down some steep stairs – “hold the railing, it will be OK if I go slow.” I’ve seen kids getting frustrated stop and take a deep breath to calm down. These are self-calming skills they learned from their parents or teachers and they’re able to access them in these moments of mild upset.

When they are getting anxious, angry or hurt, (orange zone) they may be able to calm down if you coach them on using tools that you have been practicing.

When they are outraged, heartbroken or terrified, they are in the red zone. They have flipped their lid and are in their downstairs brain. (To learn more about what that means and how to handle it, check out this post on Meltdowns, learn more about preventing meltdowns and watch the video below on the Anatomy of a Tantrum to learn when to intervene and when to wait.) In the red zone, they can’t calm themselves without help.

Learn more about identifying how big the feelings are, and about the “zones of regulation” – a tool for helping a child (age 5 or older) learn how to identify their zone and what they might need to get back to the green zone: calm, cool, and ready to learn.

Examples of Diverse Books

I’ve written before about the importance of “mirrors and windows” – choosing books and videos and toys for your child that both reflect back to them their own identity and experiences, AND that give them a window into the beauty and richness of diverse identities. For a presentation on the topic last week, I gathered a collection of books to share as examples – I am sharing here to give insight into some of the lovely books that are available. I also link to lists of other recommended books on that topic.

These books are for preschool or early elementary age children.

Diverse Faiths:

Diverse Cultures:

Disabilities:

  • Wheelchair Users: I Will Dance (video) by Flood about a dance class for people of all abilities.
  • Amputee: What Happened to You by Catchpole (video) A child with one leg is playing on the playground and wishes other kids would stop asking what happened and start playing with him. (Note: as a leg amputee myself, I can say that this book is an example of how any one book on diversity never tells the story of everyone who has that identity. I do not mind when people ask me about my leg…)
  • Autism: All My Stripes by Rudolph. (video) Features Zane the zebra and illustrates some things autistic children may find challenging and some things that make him wonderfully unique.
  • Blind: My City Speaks by LeBeuf. (video) A visually impaired child who uses a white cane explores her city with her father and performs in a concert on her violin.
  • Deaf: Hands and Hearts by Napoli. (video) A child and her mother spend a lovely day at the beach, communicating in sign language. The book teaches 15 signs.

Families who are Separated

  • Military Families: Lily Hates Goodbyes by Marler, illus Stoltenberg. (video) Alternatives include: Night Catch and I Miss You!: A Military Kid’s Book About Deployment. These all address sadness related to deployment and coping tools for managing it.
  • Children with a parent in jail: Visiting Day by Woodson (video). About a child and their grandmother taking the monthly bus trip to visit the child’s father in prison. Alternatives: Far Apart Close in Heart by Birtha (video) and the Night My Dad Went to Jail by Higgins.
  • Divorced Families: Two Homes by Masurel. (video) A child talks about their two homes – one with Dad by the water, and one with Mom in the city.

LGBTQ: Gender / Sexual Orientation

  • Gender Identity: Introducing Teddy by Walton. (video) Teddy explains to a friend that in her heart she has always known she was a girl and wishes her name was Tilly. Other options, which are about Gender Expression: Jacob’s New Dress; My Princess Boy – both about boys who love to wear dresses and how their family / teachers support that.
  • Gay or Lesbian Parents: Stella Brings the Family by Miriam B. Schiffer (video) about a child who brings her two dads to the Mother’s Day party. Or Families Families Families! by Lang. (video) covers all sorts of family configurations (though it uses animal characters rather than humans so it may be more abstract for your child to understand humans also have diverse families.)

Here are a few additional posts I’ve written with recommended books for children: books for shy kids, books about new babies in the family, books about starting preschool, books about big feelings, books for children about sexuality and touch, and kids books about STEM topics.

You may also like this post on choosing books for your child (includes info on where to find books, including libraries, online books and videos of books), and if you’re in King County Washington, tips on using our library.

Book titles are linked to listings on Amazon – as an affiliate, I do get a financial bonus from Amazon if you purchase something after clicking on the link. The videos are to read alouds on YouTube. Some of these are approved by the creators of the book, but others may be copyright violations – I encourage you to seek out and purchase books written by diverse authors to support their work.

Best First Pet for a Child – Betta Fish

Recently a parent asked me: “what’s the best first pet for my child?” She had grown up in a culture where most people didn’t own pets so had never had one herself. But she had found that pets are a big part of American culture. For example, a common question at school is “what kind of pet do you have?” Or teachers give assignments to describe your pet. She didn’t want her child to miss out, but didn’t know where to start.

I wrote another post on all the factors to consider when getting a first pet for your child. Some definitely take a lot more work than others! This post is just about my recommendation for a first pet – the betta fish (also known as a Siamese fighting fish.)

They are beautiful to look at. (And watching fish in an aquarium can reduce stress, blood pressure, and hyperactivity.) Betta fish will respond to you when you come to the tank, swimming up to you (unlike most other fish). Some bettas will learn tricks, like following a prop as you move it through the water. They’re also manageable for busy parents to care for, and low cost after the original investment. Betta fish are also good classroom pets for teachers to manage.

I’ll begin with a super-quick overview of how to get started. (I’ve included Amazon affiliate links, in case they’re helpful. I do get a small commission at no cost to you if you click on these and then purchase something.) Further down in the post, there are more details, and links to learn lots more. I am not an expert in this – I’m just a mom whose kids have owned betta fish and we made it work well.

Buying Supplies

Here’s what you’ll need that you can order online or get from Amazon. (Click here for the full list in one place.) It’s best if you get this all set-up and running for about week before getting your fish. (But it may be hard for children to be that patient.)

Here’s what you’ll get at your local pet store

  • 1 – 2 Moss Balls
  • 1 Nerite Snail

Yes, there’s a fair amount of start-up costs. That adds up to about $170. (Plus the fish will be ~$10 – 15.) But once you’ve got that, you’re almost done with costs. The food lasts for months, as does a container of water conditioner. The snail and moss balls may last as long as your fish does. (A few years.)

Choosing your Betta

Betta are beautiful, but there’s more to check for than just looks.

At the store, when you move your face or finger up toward the fish’s bowl, does it respond? Healthy betta fish will swim up to investigate when you come near. Some may flare at you aggressively. (In the picture below, you can see the flared out gills as this fighting fish tries to show you how tough he is.) Our first two betta were friendly and inquisitve when we came near. Our third was definitely a tough guy with lots of machismo.

How does the fish look? Healthy betta have bright colors and undamaged fins. Signs that a betta might not be healthy: lethargic, uneaten food in tank, dull coloring, tattered fins, white growns on body, and labored breathing.

Male betta fish have longer and fuller fins and tails.

You generally only want to buy one betta: Bettas are solitary pets – never put two males together in a tank – they will fight till one is injured or dead. Also don’t put a male and a female in the same tank – males are too aggressive. (You could keep a few female bettas together in a larger tank.)

More details:

Aquarium with pump/filter, heater, and light

You may see suggestions that you can keep a betta in a very small container (like a big margarita glass) with no pump. That is not a humane way to keep one and they won’t live long like that. (You could live in a closet, but it wouldn’t be a happy life, right?) A 2.5 – 5 gallon tank is best.

This is the tank I had – we bought it at Petco and it’s still in good condition after 5 years. However, the pump creates a strong current. The same company offers this betta tank that has a more betta friendly pump.

The tank must have a lid! Our first betta fish was a jumper. Once I came into my daughter’s room and found something on the floor that looked like a feather – I realized it was a dried out betta fish! I scooped it up and put it back in the tank in time, luckily.

Don’t fill the tank to the very top. Betta originally lived in puddle-like still water (streams and rice paddies), and need to be able to go to the water’s surface to gulp air. (Betta can get oxygen from the air as well as from water via their gills.) Because of this, they don’t need an aerator in the tank.

Heater

Keep the water heated to between 76F (24C) and 82F (27C). Betta are tropical fish, native to Thailand, Vietnam, Laos and Cambodia. In cooler water, they become sluggish and sickly and can’t digest food well. (If your tank doesn’t come with a heater, be sure to buy one.) Don’t put your tank right next to a furnace vent or air conditioner which could have a strong effect on the water temperature.

Filter

Filters reduce harmful bacteria while supporting healthy bacteria, and make it easier to keep the tank clean. The one that came with my tank had a very strong current, which is hard on bettas who evolved in very slow moving waters. So, I only ran it for an hour a day. If your tank didn’t come with a filter, Fish Girl recommends choosing a sponge filter. (Learn about sponge filters.)

Light

Betta like light in the daytime and dark at night. You can put them in a place where they get natural light, but not in bright direct sunshine, which can overheat their tank. They look prettier and it’s easier to see them if you have a bright aquarium light you turn on, but I found that if I left the light on for more than an hour or two a day I got a lot of algae growth I had to deal with cleaning.

Tank Set-Up Needs

Sand or gravel – you’ll need about 1.5 pounds for each gallon of water to end up with 1-2 inches of substrate.

Accessories / decor for the betta to hide in / behind: Bettas don’t like to feel exposed, so make sure you have things for them to hide in / behind. Some like to rest on things near the surface of the water, so include some of those in your decor. Choose silk plants rather than plastic, and check all accessories for sharp edges – if it would snag pantyhose, it could harm the betta’s delicate fins. File sharp edges if needed.

Water conditioner. When you set up the tank, or replenish the water, you’ll need water conditioner. It neutralizes harmful chlorine, chloramines, ammonia and heavy metals in aquarium water. The pH of the water should be between 6 and 8 and the hardness between 5 and 35 dGH. Ammonia should be 0 ppm, nitrates < 40 ppm and nitrite 0 ppm. If your tap water comes from a municipal source, you may be able to find test results online for initial set-up. You can get test strips to evaluate your water over time. Do not use distilled water. It is lacking vital minerals.

Moss balls help remove nitrogen and phosphate from the water, and reduce algae by competing with algae for nutrients. (Learn more)

A nerite snail helps to clean the tank. Watching it slowly cruise around the tank adds interest. (Our son said the fish was his pet, and the snail was the fish’s pet.) Learn more about snails. It is better to get the snail before the fish, as sometimes when you introduce a snail into a betta’s existing habitat, it views the snail as an intruder and harasses / attacks it.

Food

We used Betta Bio-Gold pellets. We fed 8 – 10 in the morning, 8 – 10 in the evening. One .7 ounce container lasted more than a year. (FWIW, one guide says to feed 2-4 pellets twice a day. We fed double that and our fish lived for over two years…)

Choose a pellet food with fish as the first ingredient, and protein >38%. Don’t use flakes – they can cause bloating. You can give frozen bloodworms or brine shrimp for treats (thaw them before feeding).

For vacations, fish can go 2 or 3 days without food. When we were gone for a week, we used Pro-Balance vacation feeders. You do need to clean the tank of the residue when you return. When we were gone two weeks, we had someone come in to put in a new feeder on day 8. Our fish didn’t do well after that two week vacation. I might try the Marina buffet blocks. Or learn more here about vacation needs.

Maintenance

For a 5 gallon tank, it’s recommended that once a week or every other week you do a 25% water change. That means removing part of the water (not all) and replacing it with new conditioned water (use water at about the same temperature as the tank). Doing a partial water change helps to reduce the ammonia in the tank, but is less of a shock to the fish than a 100% change.

Once every 3 – 6 weeks, do a full clean and 100% water change. Clean the gravel (put it in a strainer and rinse it) and the silk plants and accessories (scrub and rinse with water, no soap.) More info on cleaning the tank.

There have definitely been times that I was not an ideal pet owner, and I went a lot longer between water changes and tank cleanings than this, and the fish survived. But these are the recommendations.

Note: a fish tank is an eco-system and it can get out of balance – for example, you can have a severe overgrowth of algae where the tank is filled with green gook. The balance I describe here is what worked for us: the moss balls, the snail, only turning on the tank light for an hour or two every day. If I started to see algae growth, I used the tank light less (note, the tank was in a corner of our kitchen counter so there was plenty of sunlight and artificial light in the room, just not direct into the tank.)

Note: If you see a lot of bubbles on the surface of the water, that means your fish is happy! He’s made a bubble nest in hopes of attracting a mate.

Lifespan

Some guides say they can live up to 10 years with proper care, but most pet ownership guides say 2 – 4 years. The three bettas my family has owned each lived 2 – 3 years. I believe that when you take a living creature into your life, you are committing to care for it for its natural lifespan, so I would encourage you to only get a betta if you are open to the idea of having it for 4 years or so.

Helping Your Child Be a Successful Pet Owner

It’s great if your child can take on much of the work of pet care! It’s a great way to learn responsibility. However, you as the adult are ultimately responsible for the well-being of this living creatue you have brought into your home.

I recommend writing up a checklist to keep next to the tank. Or use a calendar. Either way they make a checkmark when they feed the fish breakfast and again when they feed it dinner. That lets you keep an eye on whether or not the fish is getting fed. Also create another system for remembering to clean the tank or rotate the water.

You can also encourage your child to find other ways to connect with the animal. Here are some pictures from my son’s “betta log book” and his initial experience with his first pet.

More info on betta care: