Outdoor preschools are rapidly gaining in popularity. In the Seattle area, just a few years ago, there were only a handful. This Parent Map article now lists over 25 in the Puget Sound region. They are typically a play-based preschool, where students spend 50 – 100% of the class day outside, year round, regardless of weather. Many are based on the forest kindergarten model, developed in Sweden, Finland, and Germany.
Some key characteristics of an outdoor preschool:
…takes place in the same setting on a regular basis over an extended period of time.
…while there are some structured elements, [it’s]largely emergent, child-directed, and play-based… young people have freedom to explore, play, build, create, imagine, and use their senses to experience the outdoor environment and engage with one another.
… strong emphasis on educators observing, learning with, and teaching students in the context of the environment… allows children the space and opportunity to delve into various activities and experiences guided by their imagination, rather than explicit, external direction… educators’ primary role is to ask a multitude of questions based on what is emerging from a student’s questions, experiences, and imagination. The guiding principle at Forest School is that children are competent and engaged learners, and with guidance and support, are able to lead their own learning process in directions far beyond what an educator can initiate on their own. Source
What happens at an outdoor preschool?
While some outdoor preschools are just a traditional teacher-led program that happens to be held outdoors, most outdoor preschools (especially those that follow the forest kindergarten model) focus on child-led learning, which may also be called emergent learning or inquiry-based learning.
“Inquiry-based Learning is a dynamic and emergent process that builds on students’ natural curiosity about the world in which they live… Inquiry places students’ questions and ideas, rather than solely those of the teacher, at the centre of the learning experience. Students’ questions drive the learning process forward. Teachers using an inquiry-based approach encourage students to ask and genuinely investigate their own questions about the world. Teachers further facilitate students’ learning by providing a variety of tools, resources, and experiences that enable learners to investigate, reflect, and rigorously discuss potential solutions to their own questions about a topic the class is studying. Source
Instead of having a completely pre-planned curriculum, they are more likely to follow the children’s lead and respond in the moment. The teachers may have a goal for what they want to teach that day, but exactly how that plays out can be spontaneous. For example, the teaching concept of the day might be comparative words or adjectives. The activity might be a hike in the woods. While hiking, the teacher could ask: which is the tallest tree? where’s the biggest rock? which are there more of – sword ferns or skunk cabbages? Can you find a dark green leaf and a light green leaf? Or if the concept was the five senses, they would practice listening for birds, smelling cedar bark, tasting huckleberries or salmonberries, touching lichen, and looking for spider webs.
Nature provides a huge array of learning opportunities. Here are some components of a “typical preschool” and what that looks like in an outdoor preschool setting:
- themes: almost every preschool has a series of “themes” during the year. In the fall, it might be pumpkins, fall leaves, or spiders. Then comes winter, ice, polar bears and penguins. Then springtime, flowers, ducks and so on. The teachers spend lots of time cutting out pictures and decorating bulletin boards. At an outdoor preschool, nature provides an ever-changing seasonal view.
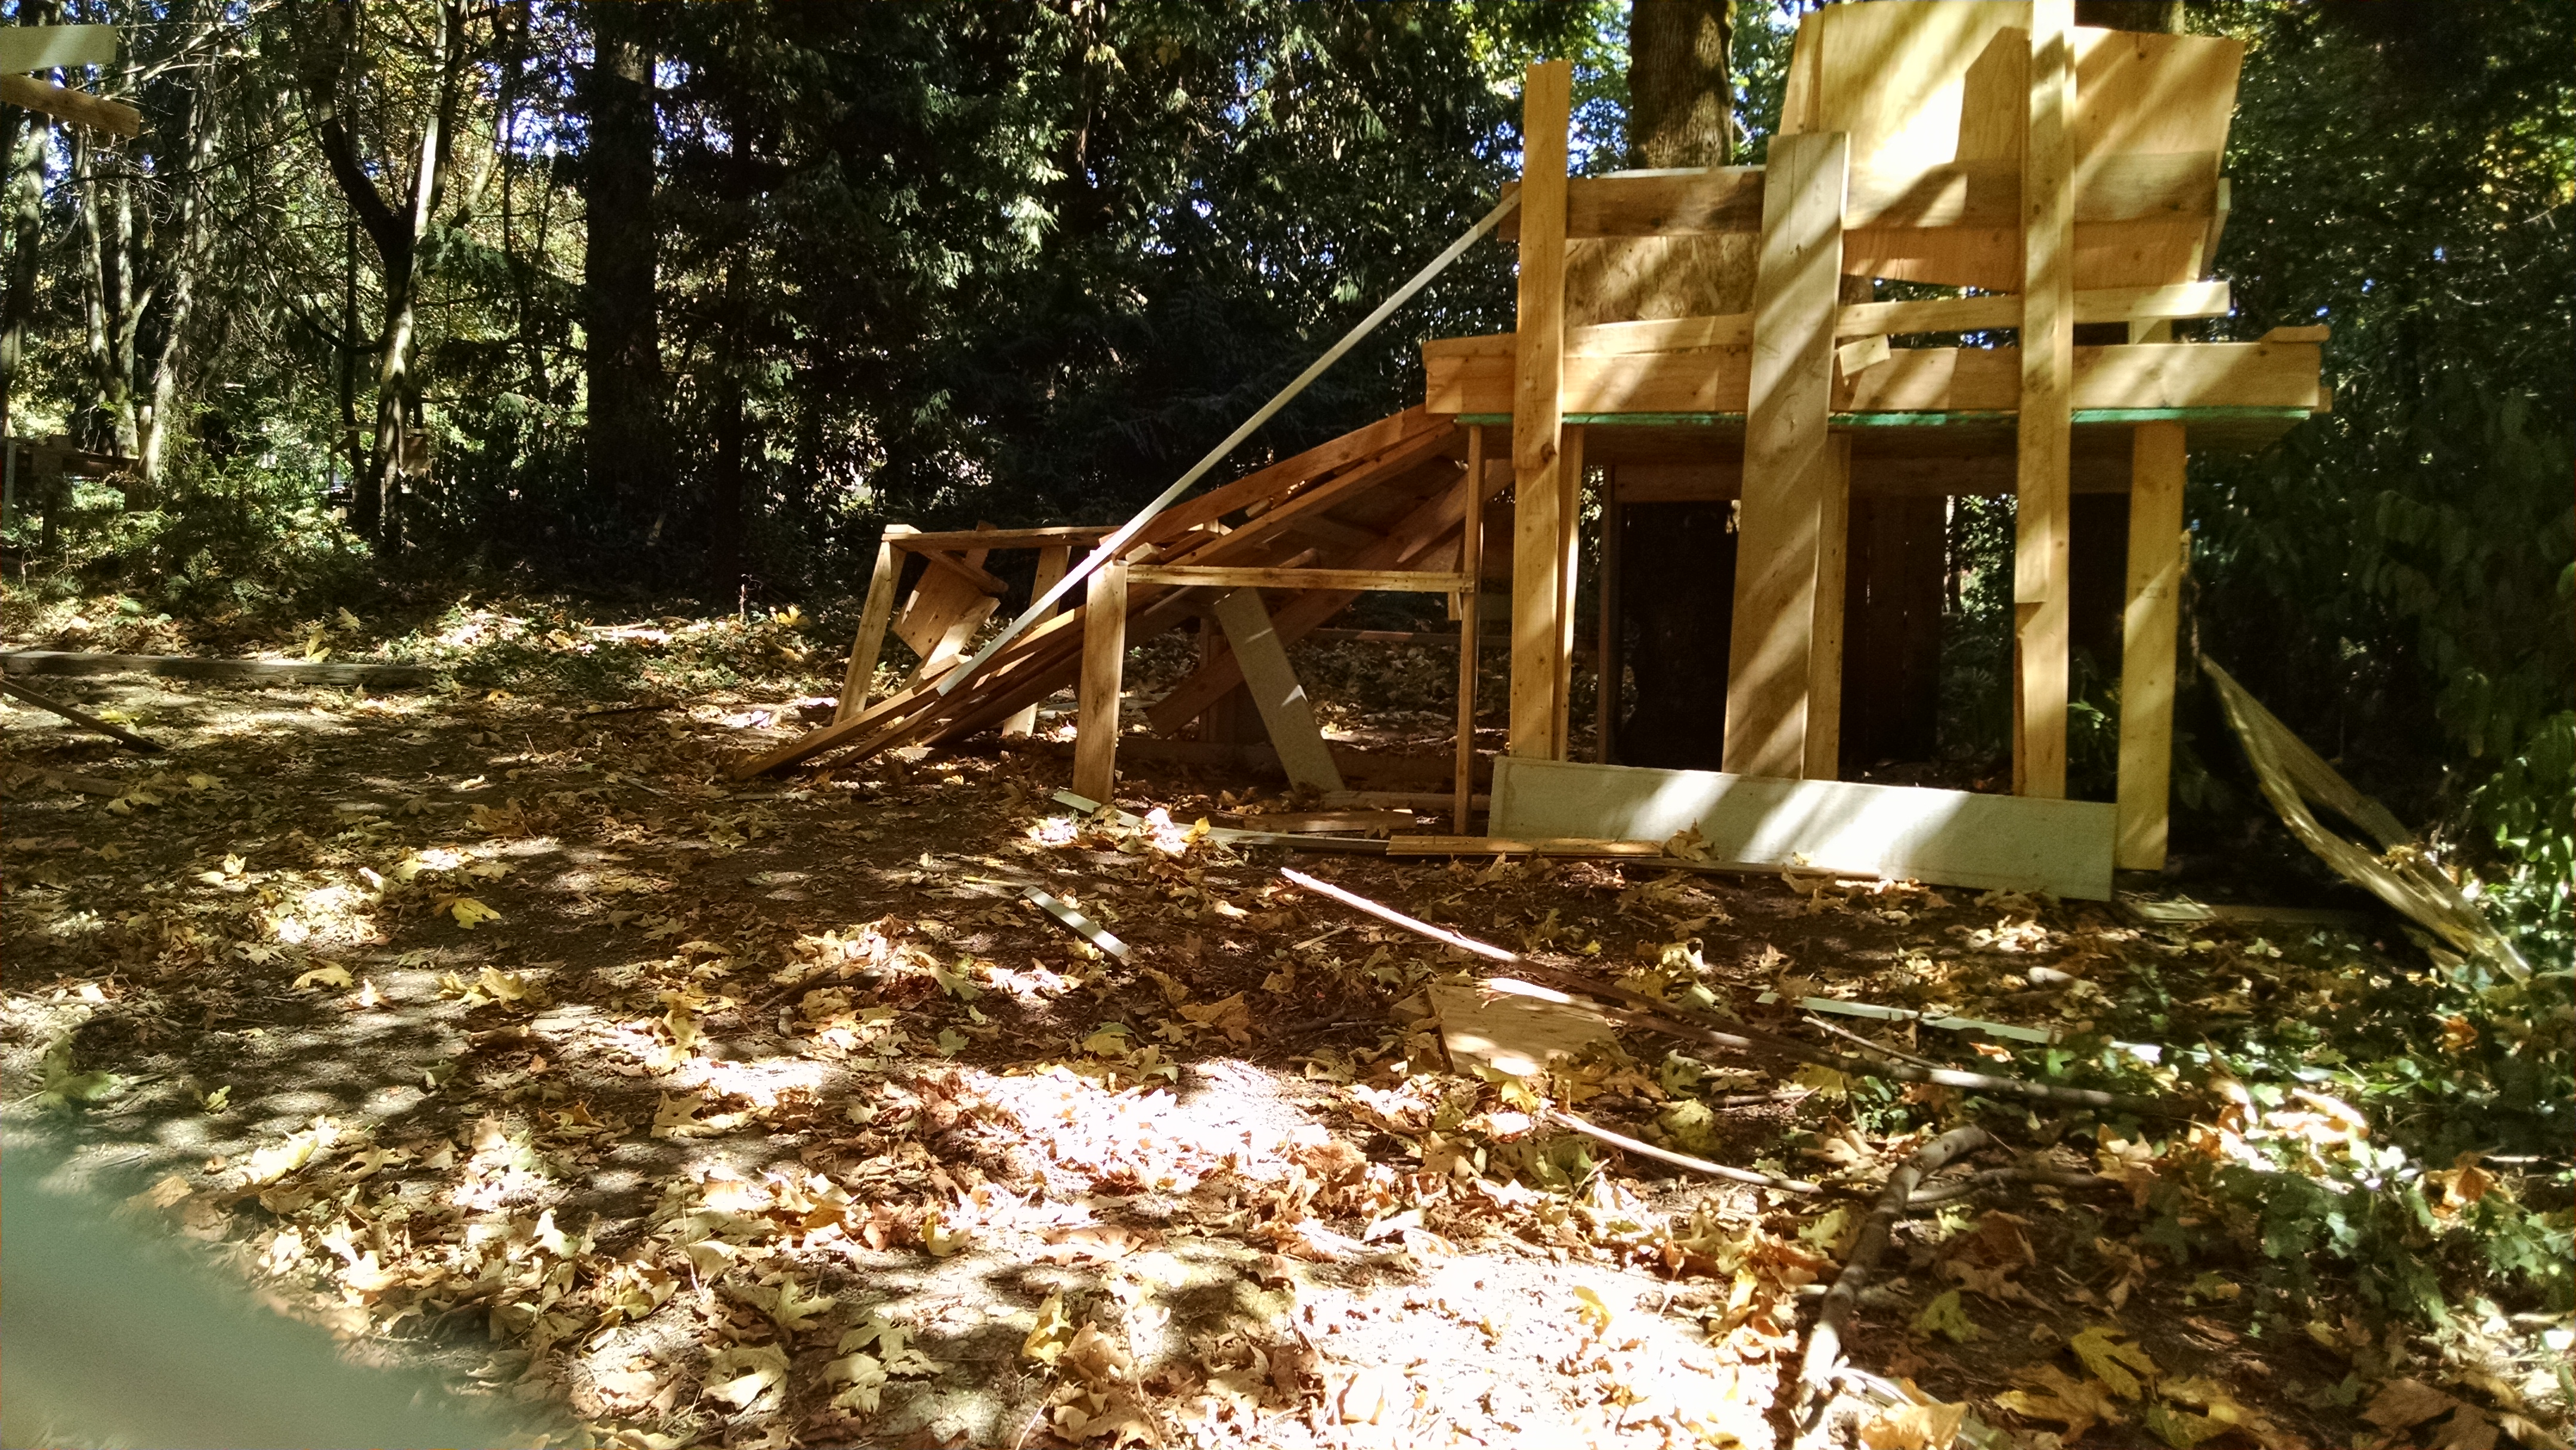
- block play: there’s plenty of building happening, but instead of using Duplos or Lincoln logs, the kids may be stacking rocks, building a lean-to with branches, or constructing fairy houses with moss and bark
- imaginary play: there’s not a toy kitchen with plastic food, but there is an endless supply of bark, rocks and mud which easily fill in for mud pies, pretend cookies, ice cream cones and more. There’s not a treasure box full of dress-up clothes, but there are sticks, which become magic wands, swords, light sabers, hobby horses, and more. Instead of playsets and puppet theatres, a favorite climbing tree may be a spaceship one week and a train the next.
- arts & crafts and writing: mud fills in for play-dough, sticks and sand provide a surface for practicing writing, kids paint on a tree with squashed berries, kids use sticks to form the letters of the alphabet
- math manipulables: there’s an endless supply of things to count and add and subtract: rocks, berries, bugs…
- sensory table and water table: instead of filling tubs with rice or beans or other sensory materials, the teachers just let the children explore pebbles on the path, moss on the log, slimy slugs, puddles, rough bark on a Douglas fir and smooth bark on a birch tree, glossy salal and sharp pointy holly leaves
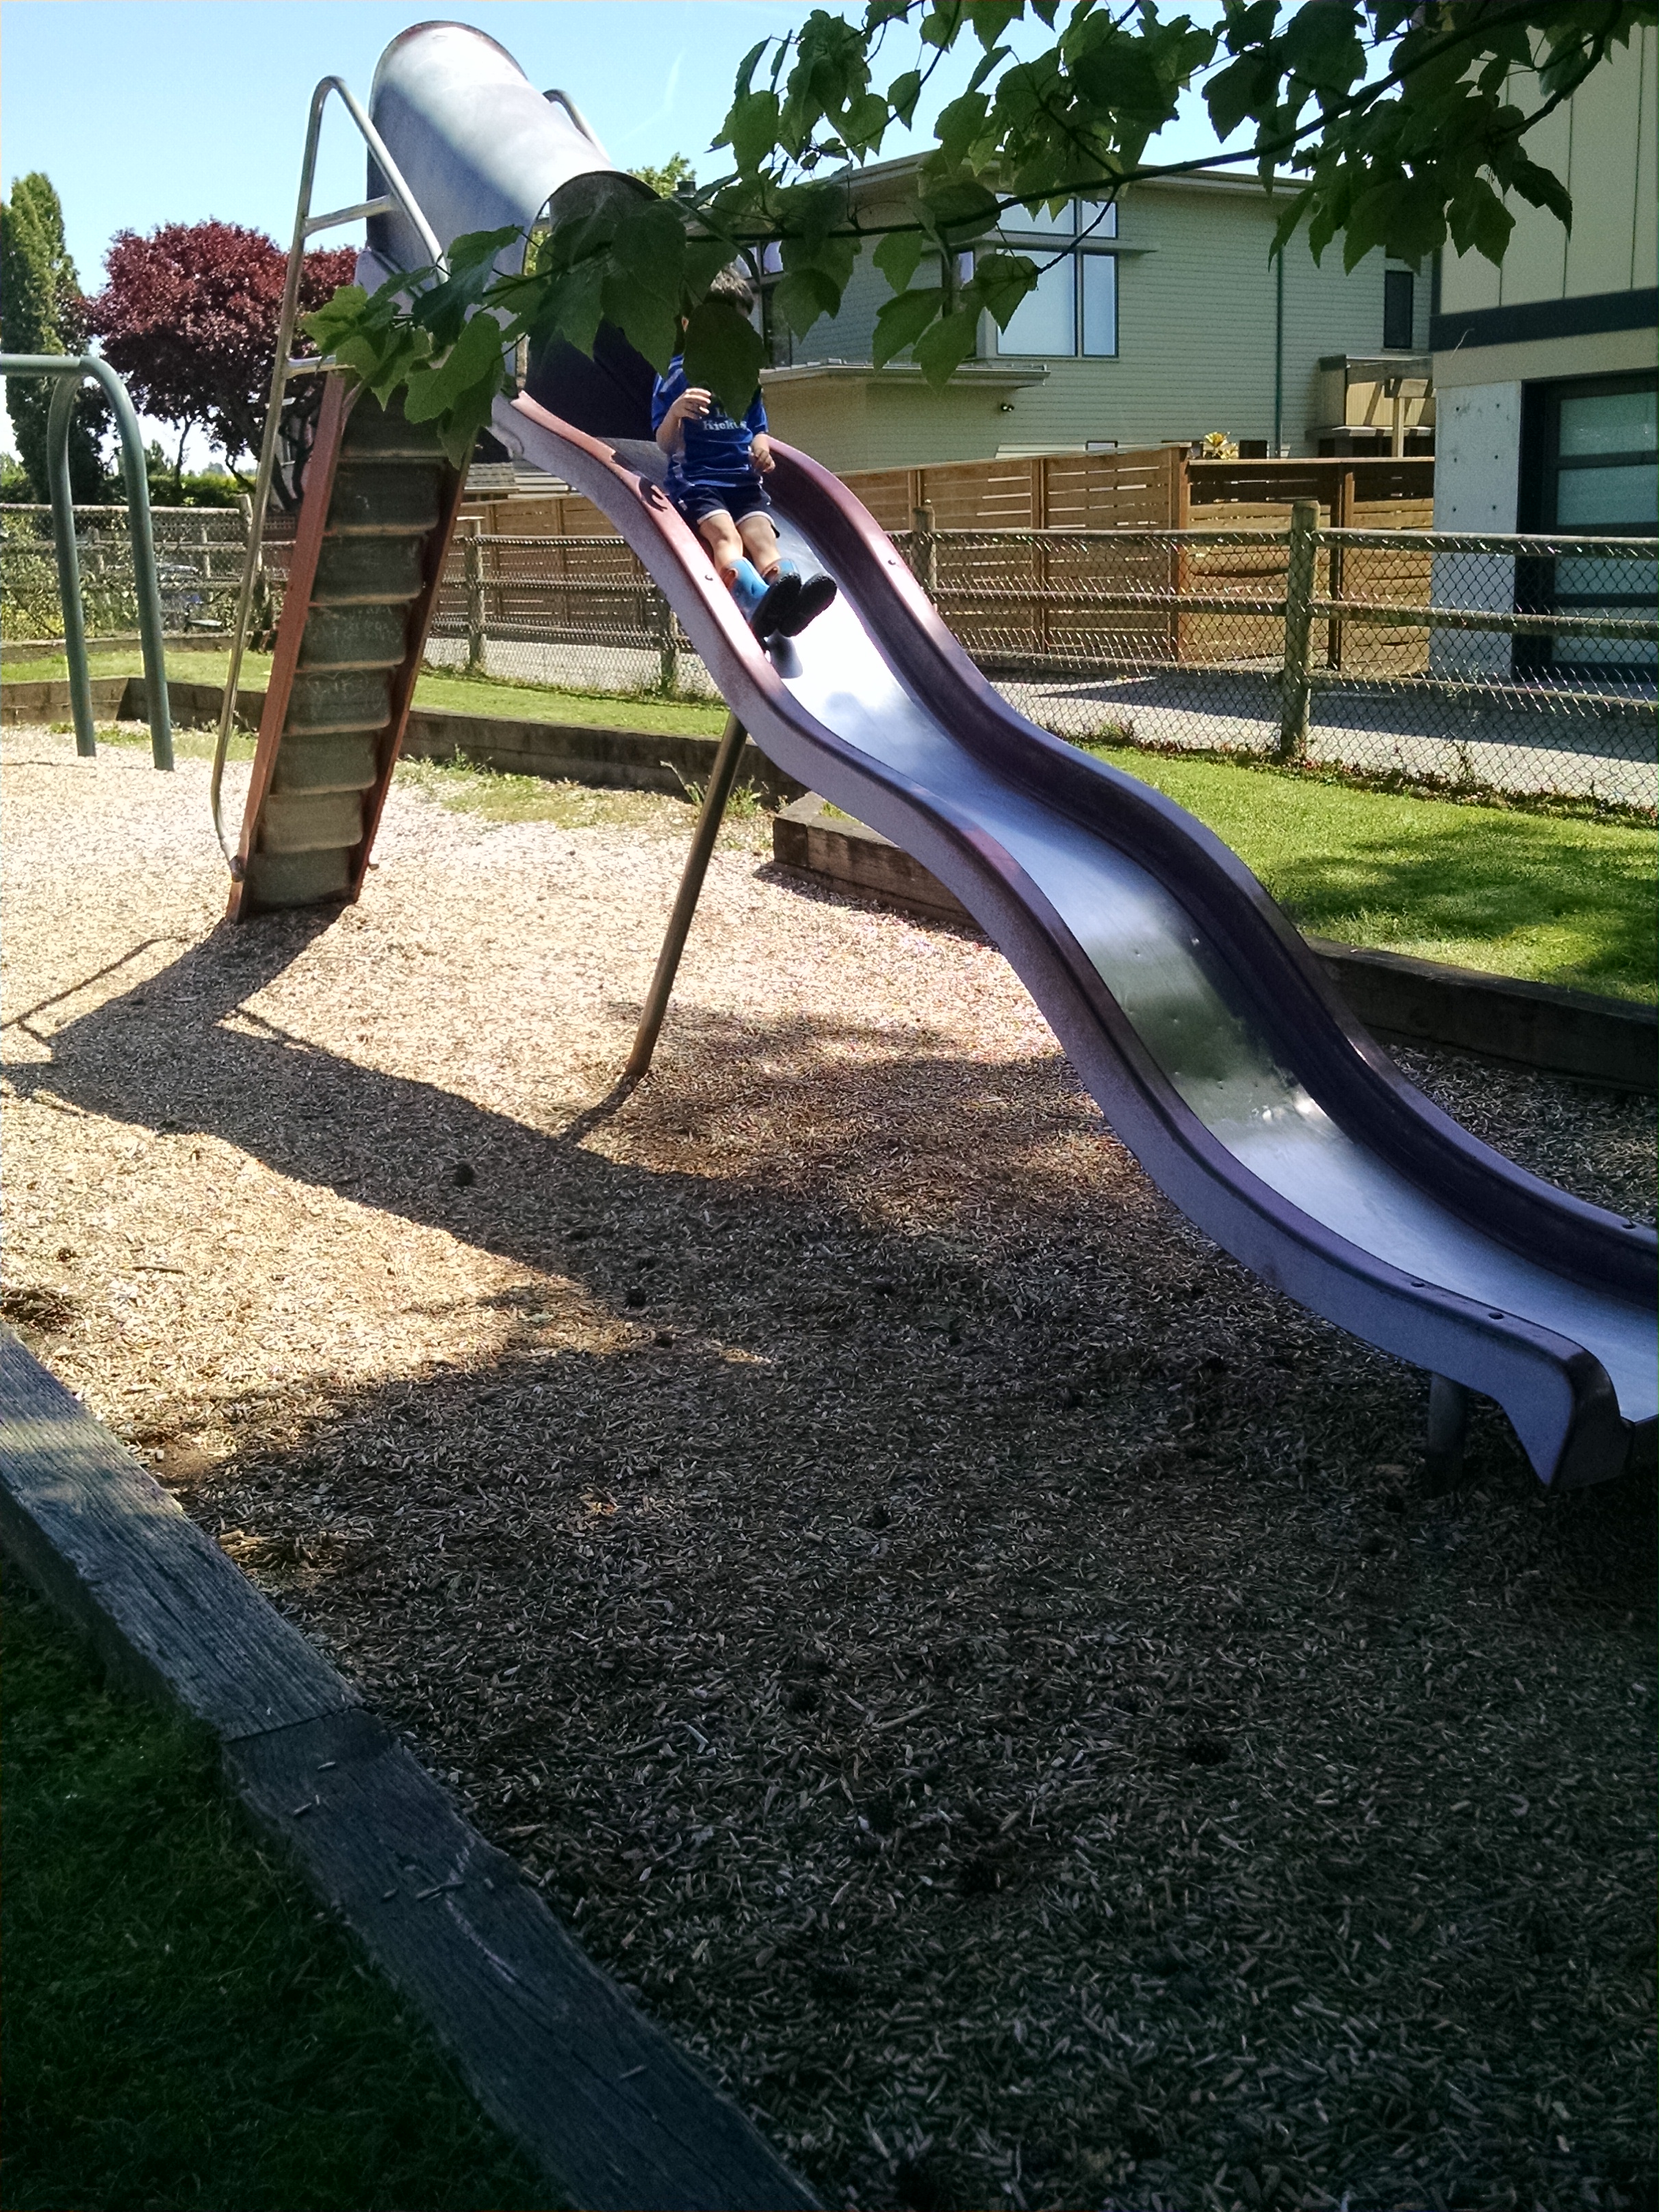
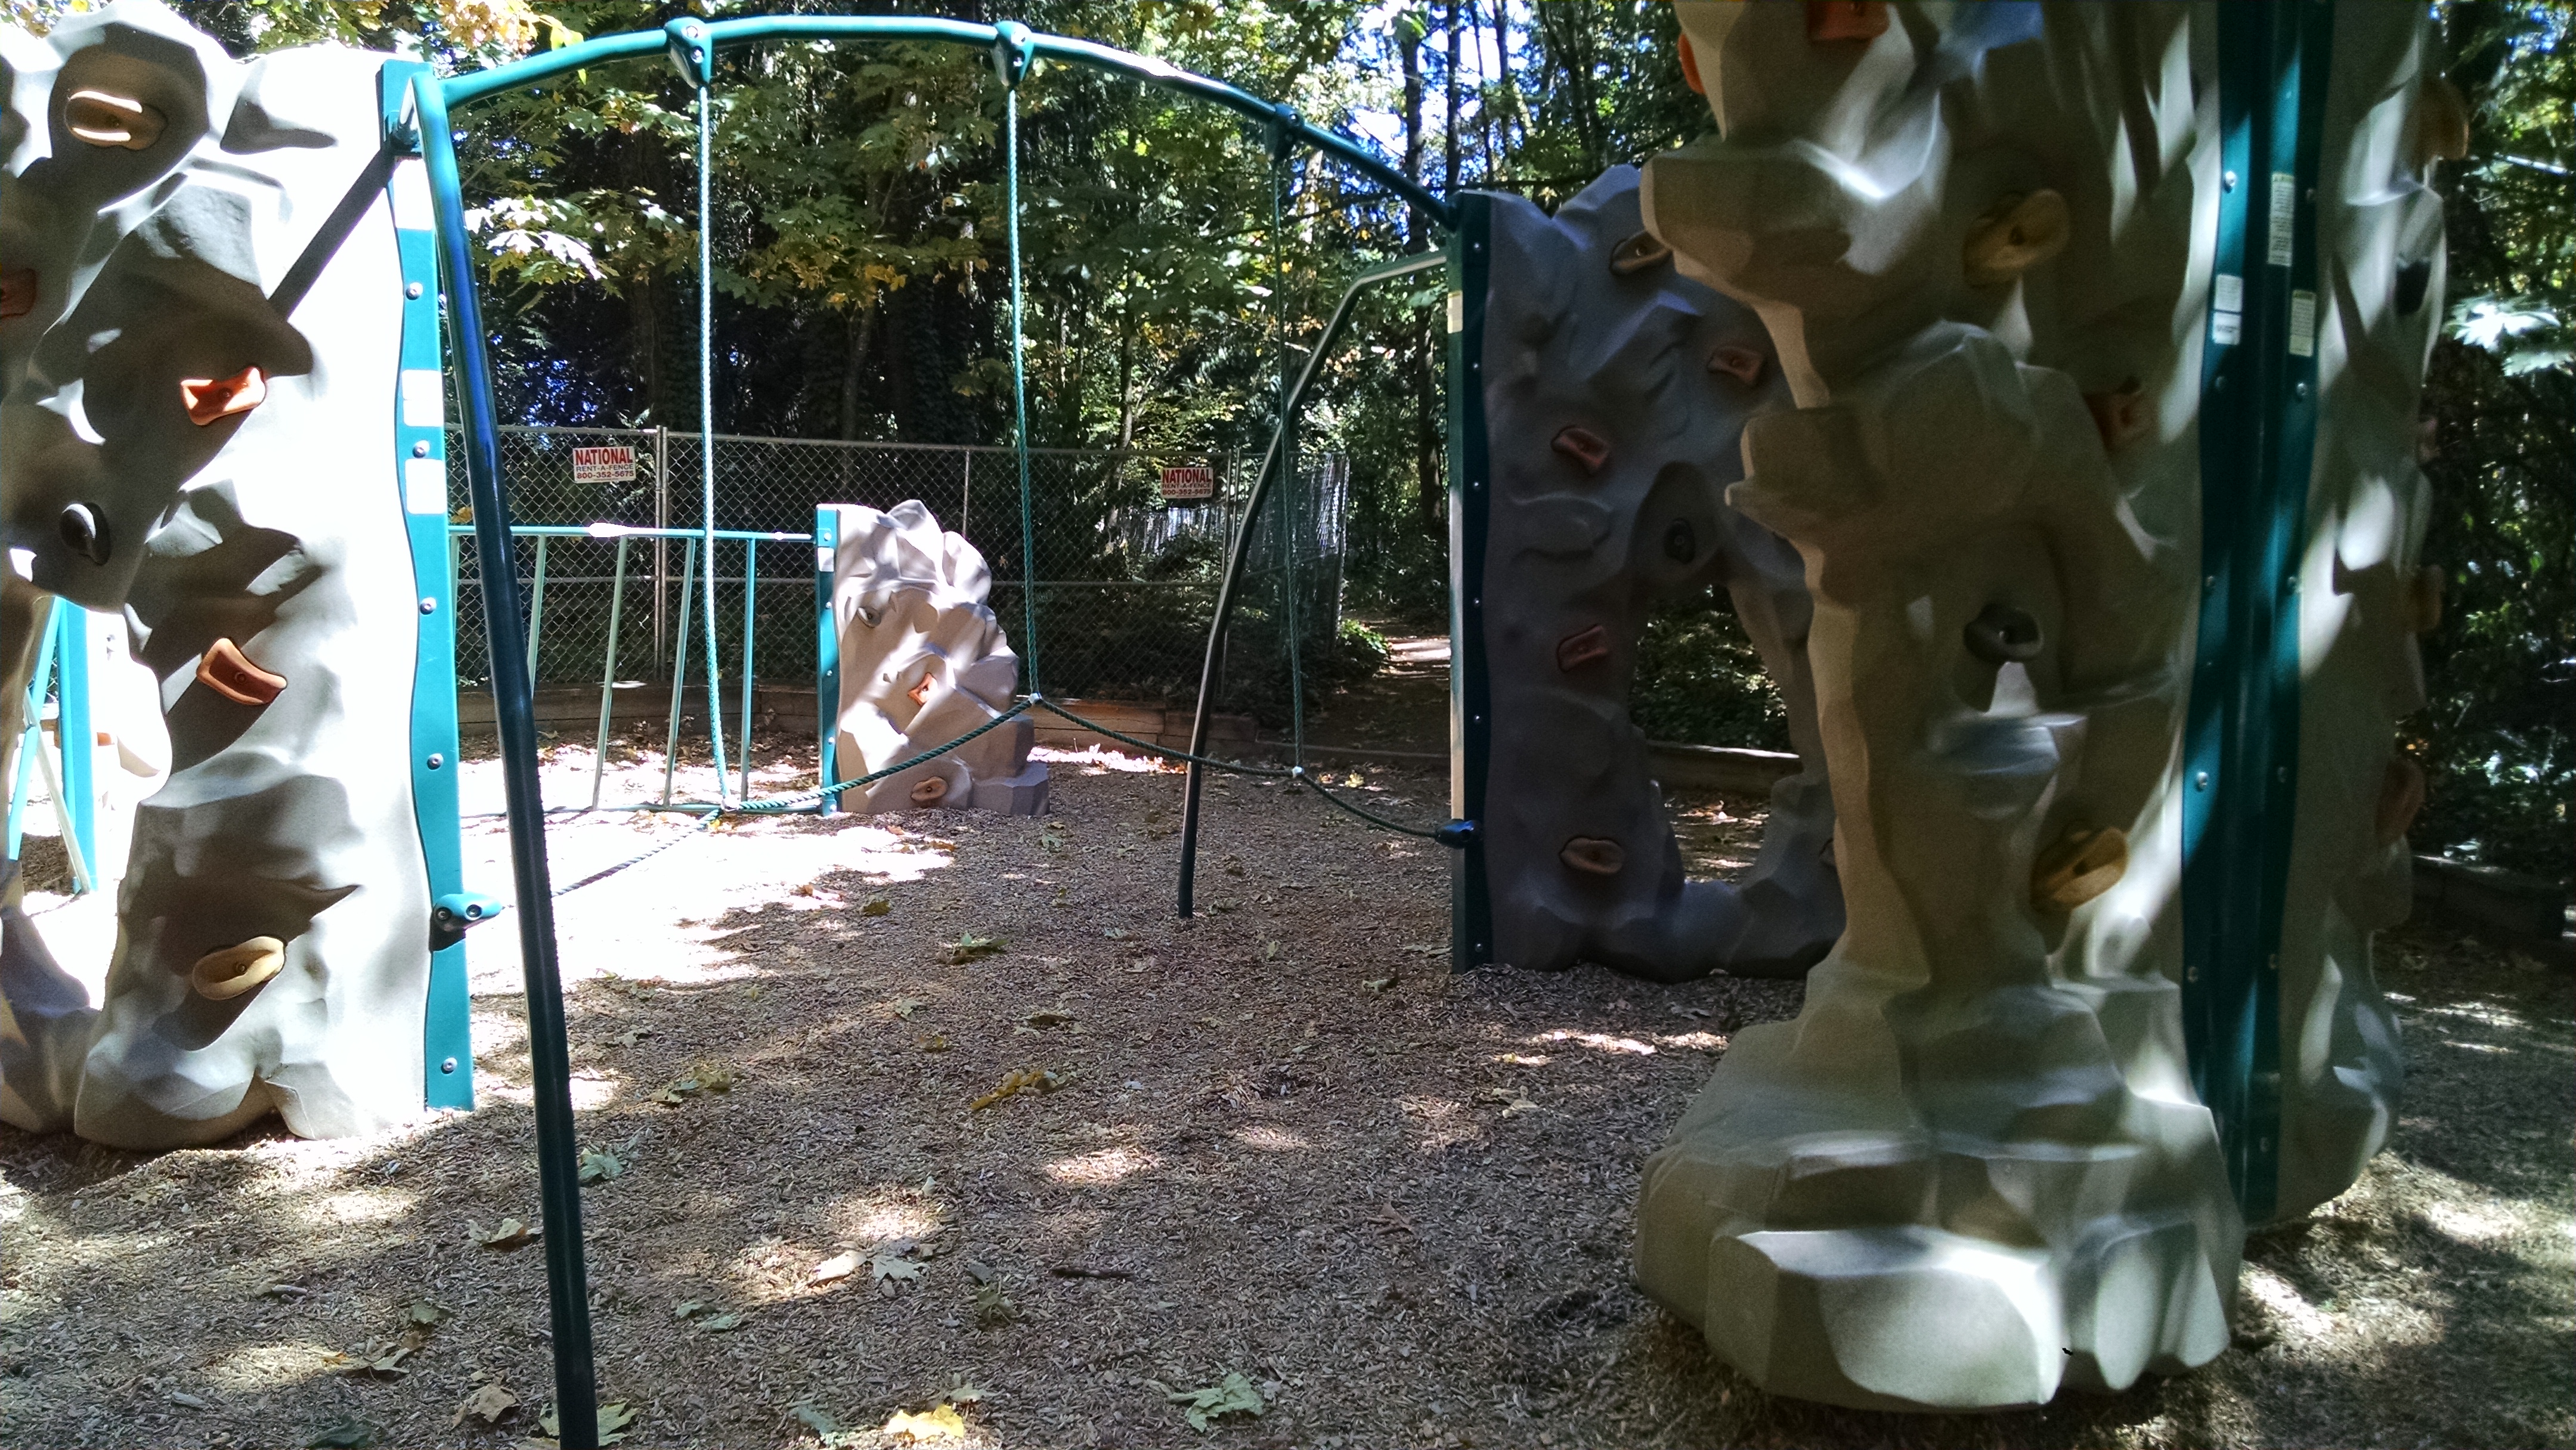
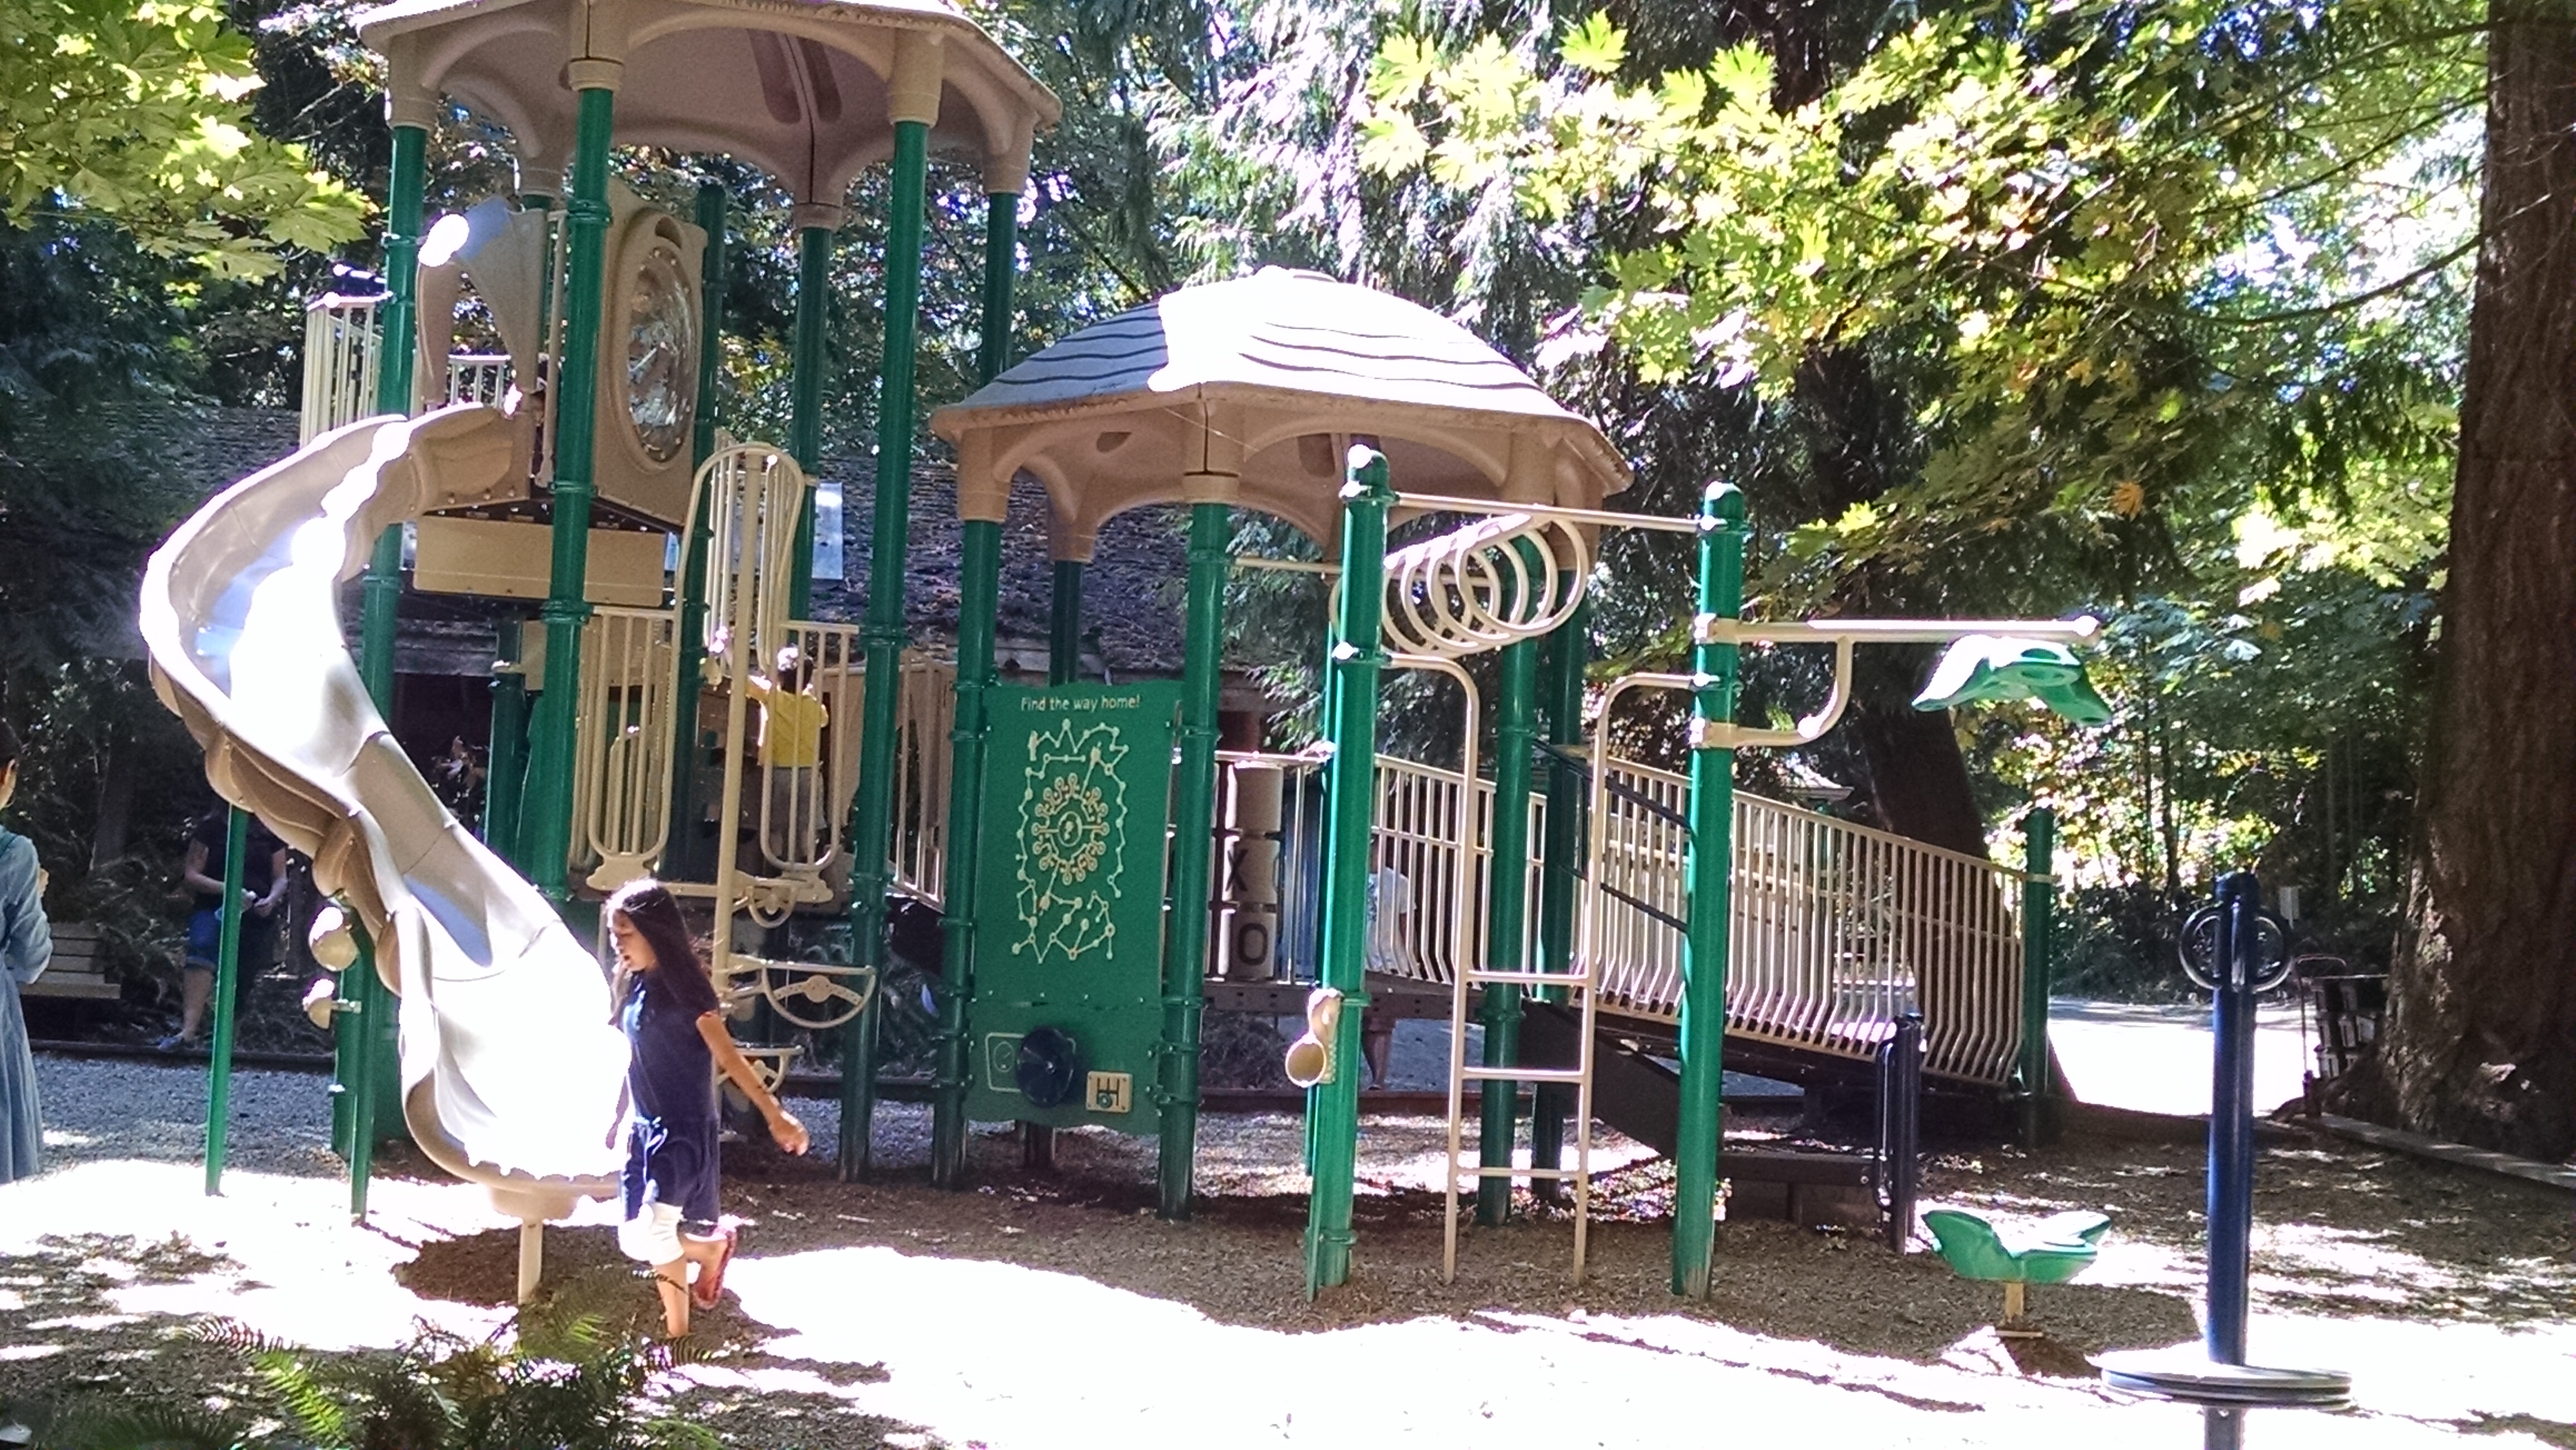
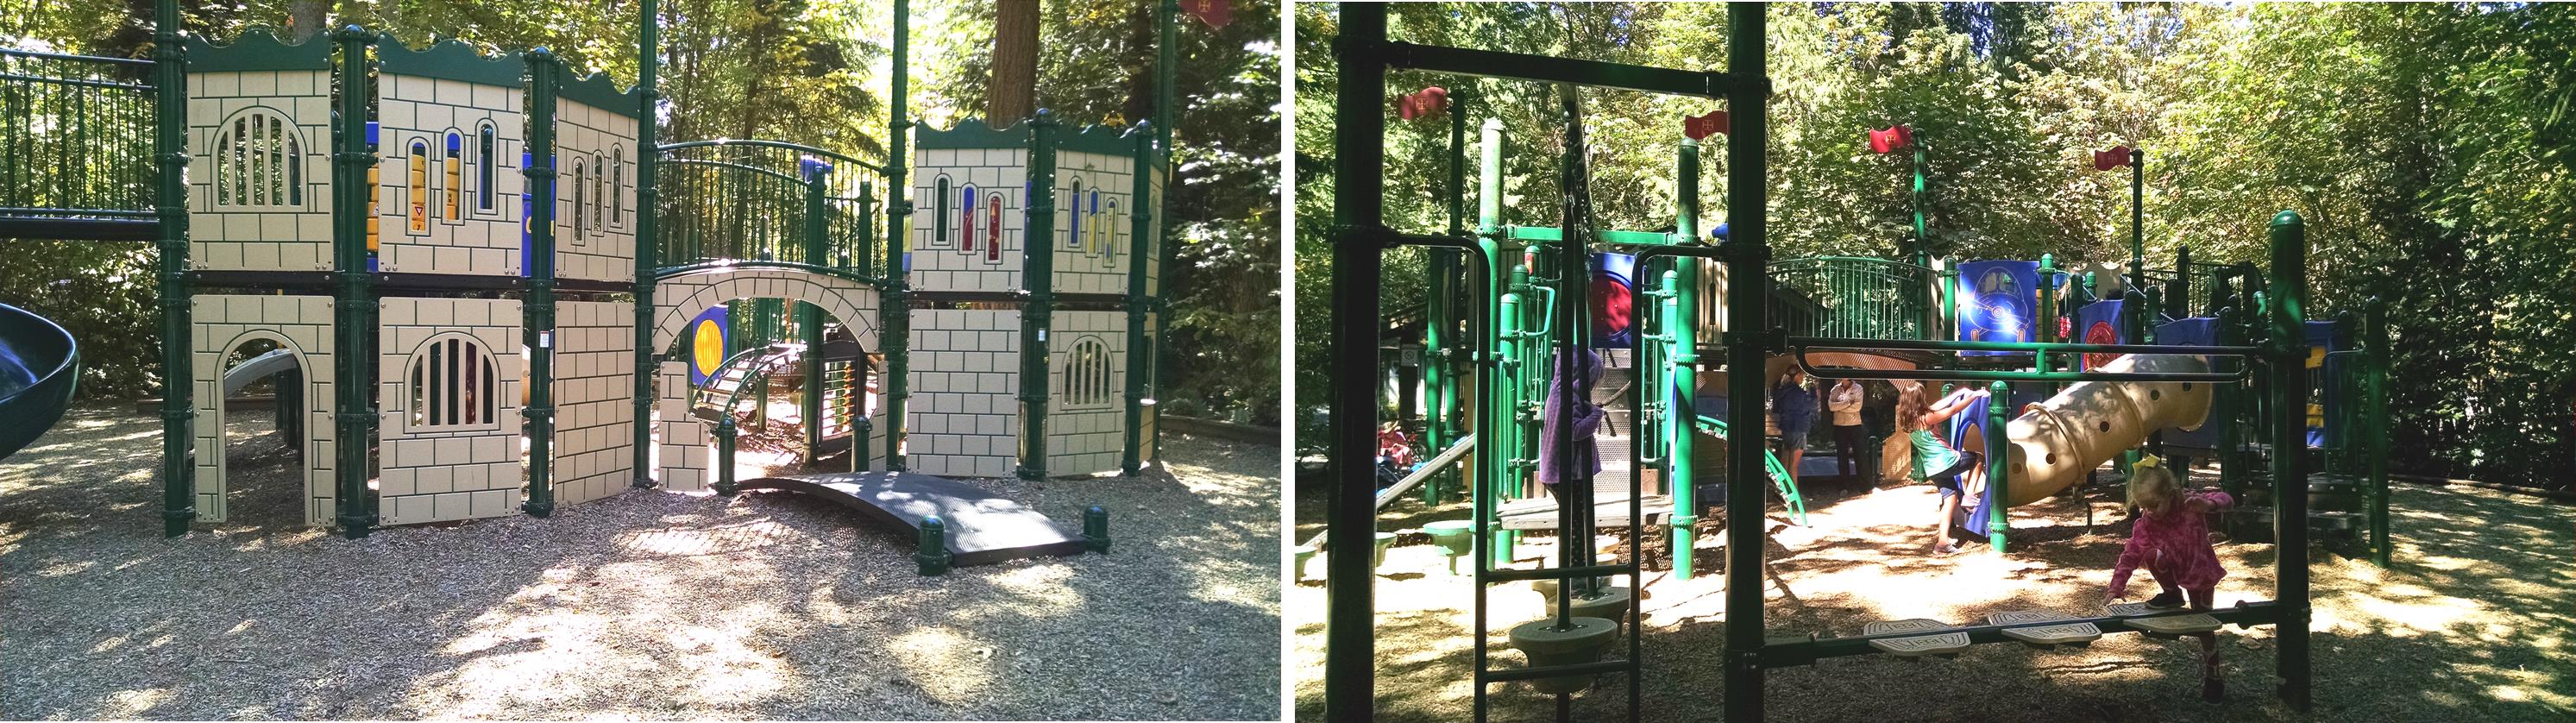
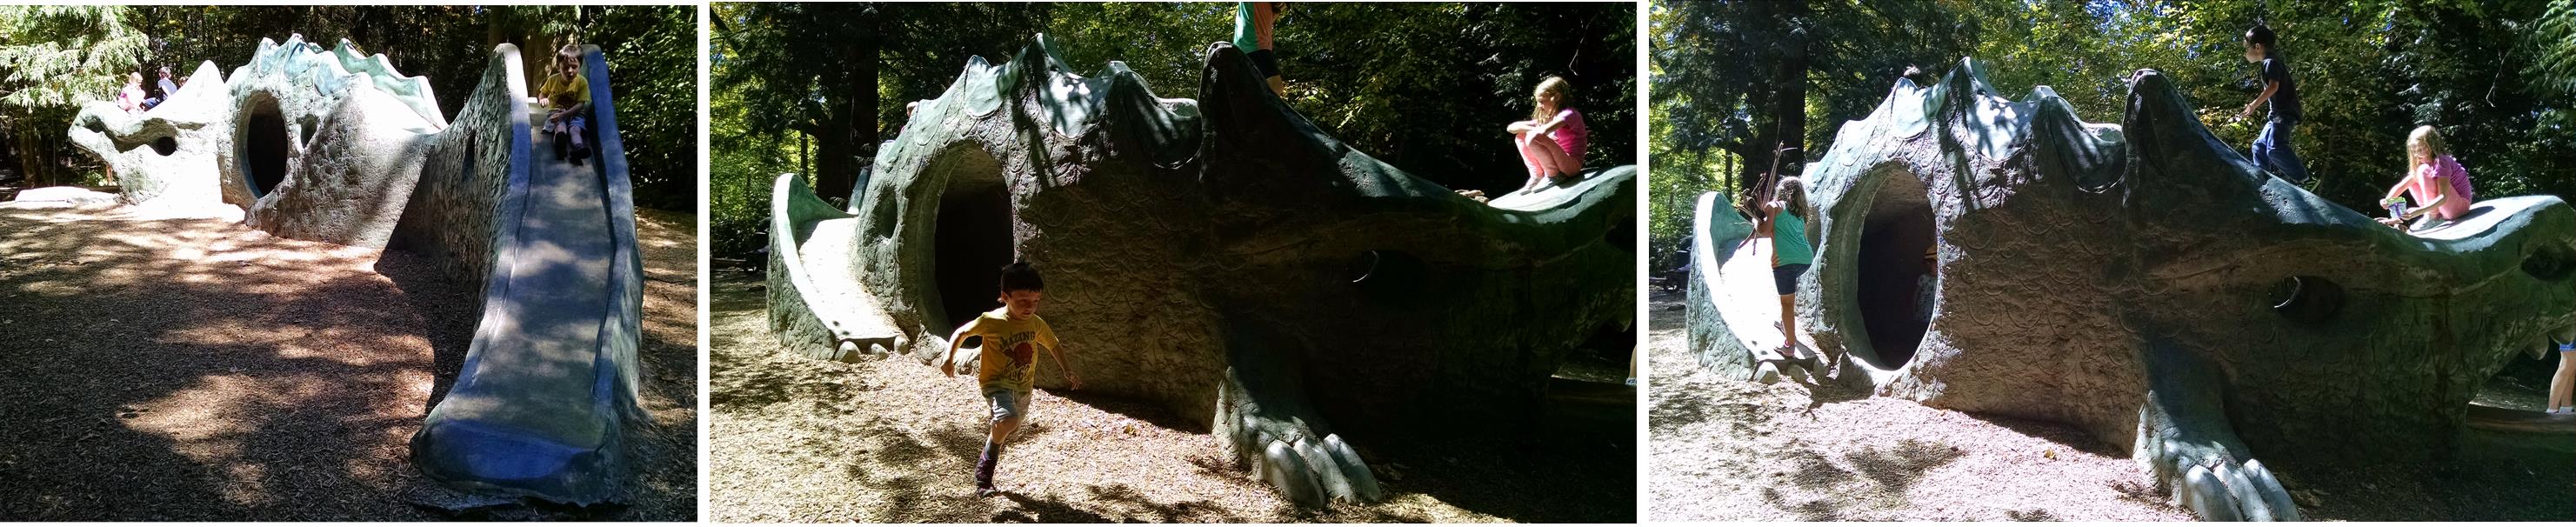
- playground time: time playing on standardized equipment is replaced with balancing on logs, climbing trees, wading across creeks, and building a seesaw with a downed branch balanced over a log fulcrum
- fine motor practice – there may not be puzzles and shape sorters, but there are plenty of possible challenges, picking delicate blackberries while avoiding prickly thorns, weaving daisy chains, and handling insects
- snack time: might be picking fresh veggies in the garden or it could involve building a fire, cooking a snack over the coals, and eating it as they gather around the open fire
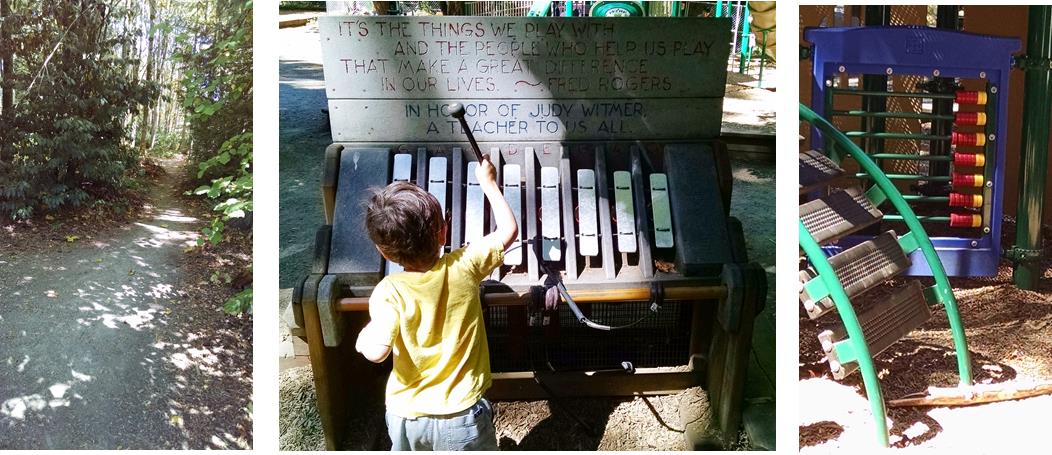
- music: kids may sing call and response songs while hiking through the woods, learn to whistle or hum, and drum with sticks on stones
- circle time: it’s easy to do songs, stories, group games, and concept activities in the outdoors under the trees
- science: there’s a never-ending opportunity to teach about science!
Outdoor teachers need to be flexible thinkers, since nature can be unpredictable. A teacher might have planned to talk about mud in April, because generally mud is guaranteed to be available in Seattle in April. But two years ago, we had a very dry spring, and there was no mud to be found! New “teachable moments” also appear outdoors – a dead bird or a hornets’ nest or bear scat may liven up a planned walk. This leads into discussions of a wide range of topics never found in a traditional preschool. (Learn more here about the role of the educator at an outdoor preschool.)
What are the benefits of outdoor preschool?
Children get the benefits of a play-based preschool, including: increased skill at self-direction and problem-solving, lots of practice with social skills and conflict resolution, a sense that learning is meaningful, and reduced stress (which leads to increased learning – we know from the science of brain development that children learn best when they feel happy and safe.) Learn more about play-based learning here.
Children also get the benefits of time spent outdoors in nature, including: better eyesight, stronger large motor skills and coordination, lower rates of asthma, allergies, and obesity, lower stress, and better concentration / attention when they return indoors. Outdoor play also encourages safe risk-taking and plenty of problem-solving. [Learn more by clicking here on Benefits of Outdoor Play or click on “nature activities” on the right sidebar (on desktops) or the bottom of the screen (mobile devices) to see all my posts on nature.] As an added bonus – anecdotally, kids who go to outdoor preschool seem to pick up a lot fewer colds and other illnesses from their classmates.
The outdoor environment also offers unique learning opportunities. Here’s just one example related to language arts: Language is not just about reading. It’s also about listening and communicating. When children and teachers go for a hike in the woods, they talk to each other as they walk, about almost anything that comes to mind. In this context an adult tends to use much more diverse and sophisticated vocabulary than they would have used in a pre-scripted classroom teaching moment. For example, if a teacher wanted to teach about colors in a classroom, they might use a book that showed 12 colors with labels. When walking through the woods, the same teacher could point out lavender vinca, fuschia rhododendrons, rusty red rotting wood, dark purplish-black berries on an Oregon grape, and discover how many shades of green there are in their woods.
“hands-on experiential learning is the best educational approach for children. Being outdoors provides them with not only fresh air, it encourages imaginative play, creativity, hand-eye coordination, balance, physical strength and mental clarity. When children’s natural curiosity is encouraged, learning flows organically from stimuli encountered in the outdoors.” Source
What are the downsides to outdoor preschool?
It’s dirty. Your kids may come home muddy. Really muddy.
The weather. Can be too cold, too hot, too wet… Most of this can be managed with the right clothing. Expect to spend a fair amount of money buying the appropriate clothes for your child. You may be able to find them at thrift stores or consignment stores if you’re lucky, but good clothes and good boots are essential!
Here’s how I manage: at home, I dress my child in regular clothes (pants and a t-shirt, plus good Smartwool socks. We keep the outer layers in the car and add them when we get to preschool. (It’s not safe to buckle a kid into a car seat with all those layers on.) If it’s a dry day in the fall or spring, we just add a fleece top for warmth. If it’s a wet day, it’s waterproof pants and rain jacket from Oakiwear. If it’s really cold, then we add long underwear and a squall parka from Lands End, plus hat and gloves. And always… every day… good boots. Bogs boots are great, but Oakiwear boots are also great and much cheaper than Bogs. They’re pricier than rain boots from Target, but warmer, sturdier, and fit better (so fewer falls caused by loose boots.) When we get back to the car, I just strip off all the muddy outer layers and leave them in the back of the car for the next preschool day. (If we’re going somewhere other than home after class, I bring along regular shoes and an everyday jacket.)
Not an emphasis on academics: Some outdoor preschools do almost no academics. Some incorporate story-time and crafts to teach some basic pre-academic skills. Some have a fair amount of group time where they learn standard pre-school topics like: days of the week, colors, alphabet and counting. But, none are focused on teaching academic skills like reading and math. I believe this to be developmentally appropriate – read why at my post on academic preschools – that post also incudes tips on how some parents have worked academic preparation into their home-life when their children attend non-academic preschools.
Learning about your options
If you’re lucky enough to live in an area where you have multiple outdoor preschools to choose from, here are key questions to ask to allow you to compare them:
- What is a typical day’s schedule?
- A completely child-led school, like Cedarsong, may answer this just by saying: ““There’s no structure or schedule. We ask, ‘What do you kids feel like doing today?’ We follow them… At the end of each month, we write a newsletter from these notes, so the children write the curriculum.” Source
- A hybrid model that combines teacher-led and child-led activities, like Polliwog, might say “9-9:15 Transition: Free play; 9:15-9:30 Morning Circle: Introduce the day’s theme, weather, calendar, sharing time; 9:30-11: Outdoor exploration, themed activities and nature study, then a snack; 11-11:45: Indoor extension activities: sensory, art, math and literacy stations. 11:45 – noon. Closing Circle: Reflections, songs, stories
- There’s not a “right” schedule – just look for the schedule that suits your child and your goals for enrolling them in the preschool.
- How much time do kids spend outside on a nice day? How much time do they spend outside when the weather is bad? (One “natural preschool” that I looked at spend at most 1/3 of their time outdoors and the rest in a traditional teacher-led classroom when the weather was nice out. There was even less time outdoors if the weather was bad. I do not consider them a true outdoor preschool, just a traditional preschool with a larger outdoor / nature component than most.)
- What is the teacher to child ratio? For safety reasons, you may need more adults in a spread out, outdoor location than in an enclosed classroom. Also, in an inquiry-based classroom, it helps to have extra adults to answer all the questions children can come up with during a walk in the woods.
- What indoor facilities do they have, and how do they use them? One preschool in the area has only some port-a-potties, but says children can also opt to pee in the woods instead of using the port-a-potty. Other schools have a full inside classroom with all the typical facilities.
- For more questions to ask at any preschool, look here: Questions to Ask
My experience
I offer my experience here not as “here’s how YOU should do things” advice, but more to illustrate one parent’s decision-making process for one particular child.
With my older children, we did coop preschool, which I think is one of the best possible options for parents who are looking for a part-time enrichment preschool. My oldest child also did a theater-based preschool two days a week, because she had a passion for theatre, stories, and dramatic play. With our third child, coop was not a good match due to my work commitments.
When we started to look at other options, I started by thinking about my goals and needs and what would be the best match for his temperament. He had learned how to read very young, before starting preschool, so we weren’t worried about him learning that or other pre-academics at preschool. When I look at the list of essential skills for preschoolers to learn, I knew that he needed to work on impulse control, waiting for his turn to talk, and social skills, especially conflict resolution. I know these are best learned in free play with other children (with an adult nearby to mediate when needed.) They are not skills that are learned sitting in a desk. He is very high energy – if I need him to concentrate on something, I first need to give him an outlet for that energy – when he was two, we went to library story-time every week and he loved it and learned a lot. But BEFORE story-time, we went to the playground and he ran for an hour – letting out that energy first allowed him to concentrate later. (FYI, there’s plenty of good research showing that active play, especially active play outdoors, helps kids to concentrate better when they come back indoors. Check out this article on one school district’s experience with adding recess back into the day’s schedule.)
We considered a neighborhood preschool that’s a very short walk from our house – lots of our neighbors have used it and had only good things to say about it. We looked and it was a great traditional preschool, with lots of play time and plenty of activity. There was nothing wrong with it and a lot of good stuff. But, it didn’t feel like the best fit.
Like many preschools, it had lots going on visually – alphabet posters on the wall, calendars and weather charts. There were lots of brightly colored toys on every shelf. It’s what preschools are “supposed” to look like but it was also a little too much for me. (Read here about why kids actually may learn more in environments that have LESS “educational material” decorating the walls.) It was also a “loud” room acoustically – even with just the adults in it for an open house, it was a little loud for me. My son tends to get over-stimulated in busy, indoor environments and can get a little wild and hard to manage. I could see this room setting him off.
I thought more about that, and realized that he almost never gets over-stimulated outside. Outdoors, the noise and stimulation just comes at you differently. There’s plenty to observe, but not as much that demands your attention.
So, we realized we were looking for an outdoors, active, play-based preschool with plenty of opportunity for social-emotional development.
When he was three, we chose Tiny Treks preschool at Keep It Simple farm. It’s an all outdoor preschool – they have a non-insulated greenhouse for doing crafts in – since Seattle rain makes it challenging to use most art supplies outdoors. It is VERY play-based and child-led, with some structured teaching in circle time and a lot of free exploration. Here’s how they describe a typical day:
“We will spend the days outside in the forest, trails and garden. Our day consists of a nature theme, craft and play. Circle time with songs and finger plays, puppets and some light yoga stretches. Then we might go to visit the baby chicks, count the chicken eggs and look for the bunnies. There is a fire pit to roast marshmallows by, hammocks to swing in and the forest to play hide and seek in.”
It was a fabulous experience in every way. He loved it. We loved it. And at the end of the year, he had come a long way in his self-control, ability to listen to a teacher, and ability to manage frustration, all of which were skills we knew he needed to gain from preschool.
When he was four, we chose Polliwog Preschool, run by Pacific Science Center at Bellevue’s Mercer Slough. They have an indoor classroom, which has all the things you would expect to find in an indoor classroom. They also do many typical preschool activities, like story-time, job charts, and weather charts. They spend about 50% of their time outdoors in the child-led / emergent learning mode. It is a nice hybrid of forest kindergarten and a traditional preschool experience, and we felt it would make the perfect bridge between Tiny Treks and a kindergarten classroom.
Here’s how they describe their activities.
Polliwog Preschool is play-based and student-driven… Activities are designed to [encourage] curiosity, fostering love of the natural world, and developing the whole child. Polliwog Preschool uses nature as the guiding theme to frame our core curriculum areas of science, art, music, math, language and literacy. For example, when studying insects, children act out the life cycle of a dragonfly and fly through the forest for creative movement. Investigative, quantitative and analytical skills are developed as we compare, count and study terrestrial and aquatic insects. … back in the classroom, we extend our learning and creativity in various ways, such as painting an insect at the art station or creating an insect story as a language art activity.
This has also been a fabulous experience for him and for us. He has come a long ways in kindergarten readiness. The change in him from this summer till now has been huge in terms of his ability to engage in group activities, take turns, and follow instruction. And although his preschools have been “play-based” not “academic” he is making plenty of progress on the academic skills and will be well-prepared for kindergarten next fall.
Resources to Learn More
Best summaries
More resources:
photo credit: Friends Forever. via photopin (license)