
Pretend play, also called dramatic play, imaginary play, or dress-up is a huge part of the preschool years. Let’s talk about: the benefits of pretend play, how children’s play skills develop, and ways that parents and teachers can support imaginary play (and what to do if you don’t enjoy it at first.)
Benefits of Pretend Play
Here are just some of the learning benefits that stem from pretend play:
- Social-Emotional Intelligence – By role playing different emotional experiences, children can learn empathy; and can learn how to process and express emotions when they’re not in the midst of managing real feelings.
- Exploring Social Roles – Pretend play gives children a chance to learn about different roles that people play, what tools they use and what the rules are for each setting (a teacher at pretend school acts differently and uses different tools than a waitress at a pretend restaurant). This helps them make sense of their world as they play out things they don’t totally understand yet.
- Experimenting with their identity – They get to try on different personalities and different styles of interaction.
- Abstract Thinking – understanding that this piece of bark that represented an ice cream cone earlier is now representing a piece of pizza for the next “customer” supports symbolic thinking (pre-literacy, pre-numeracy).
- Communication and Negotiation. Discussing with a playmate what scenario they want to play out, who plays each role, and taking turns when they both want to be the doctor, helps them practice social skills.
- Planning: short and long-term goals. If they want to play restaurant, first they have to gather the toy food, and the play money and set up the table, then decide who plays which role, then begin play – there’s a lot to think through.
- Vocabulary: To play out a scenario takes a lot of new words!
Learn more about the benefits and find a theoretical framework for understanding dramatic play at https://elc.utk.edu/2018/07/11/pretend-play-growing-childrens-minds/
Development
Here are some examples of what children can do at each age.
- 1 to 2 years old. They need concrete props to organize play around. They can imitate things they have seen done in real life: pretend to talk on a toy phone, stir an empty pot with a spoon, pretend to eat toy food, tuck a doll in bed.
- 2 to 3 years old. Can substitute items – they can pretend a stick is a magic wand, or a pinecone is a cookie. Can play out a couple steps – car drives down road, goes to car wash. They can do pretend play if an adult or older child is supporting the play (by coaching them or asking questions or mimicking behaviors), but they’re not really able to get it with peers.
- 3 or 4 years old. They can do pretend play with others their age, following a pretty standard “script” where they know what it means to “play house” or “play pet store.”
- 4 to 5 years old. They play more creatively. “In [mature] pretend play, children act out sophisticated narratives. Children use a combination of objects, actions, and language together in narrative sequences and use language outside of their daily vocabulary as they meaningfully act out different perspectives and roles” (Early Childhood Learning Knowledge Center, 2006, p.2).
Supporting Pretend Play
“The adult should facilitate play, but not dominate play. Support the play, encourage the play. If children get stuck, you want to help them get unstuck and take the next step, but you don’t want to direct it.” (Source) Here are some ways to support it:
- Read books and watch movies with that setting so they have a “script” for how to act in a pretend play scenario. (For example, before we do astronaut pretend play in my class, I encourage parents to watch shows about astronauts or read books to give context to the child. Before we did a pretend doctor’s office, we might learn about doctor’s visits.
- Narrate steps to act out – “now it’s time to get on the airplane, put your bag here, let’s put on our seatbelts.”
- Suggest next step: Can you make me some toast – will you put butter on it?
- Pretend to eat. This is always engaging! Note, kids under two have a hard time not really mouthing the pretend food – pelase teach them how to pretend to eat at home, that will help reduce germ transmission at preschool!
- Follow your child’s lead – don’t feel like it’s up to you to be witty and create amazing new scenarios – you’re not the director.
- Have your own props, such as a doll to feed – model new ideas for them to imitate.
- Slow down – take time and let your child process things
- No multi-tasking – be present. No matter how tempting it is to scroll through social media, try to give the game your full attention.
- Repetition is good – I know it can be exhausting to play the same thing again and again, but children learn through repetition.
- If you’re getting bored, think about how to stretch their pretend play. Maybe try reading some new books or watching some new shows to inspure new scenarios? Or use cardboard boxes and items from the recycling bin to make props for a new scenario.
Props
Here are ideas for materials to enhance pretend play. Again, with 1 – 2 year olds, they need the props – older kids can create anything with imagination.
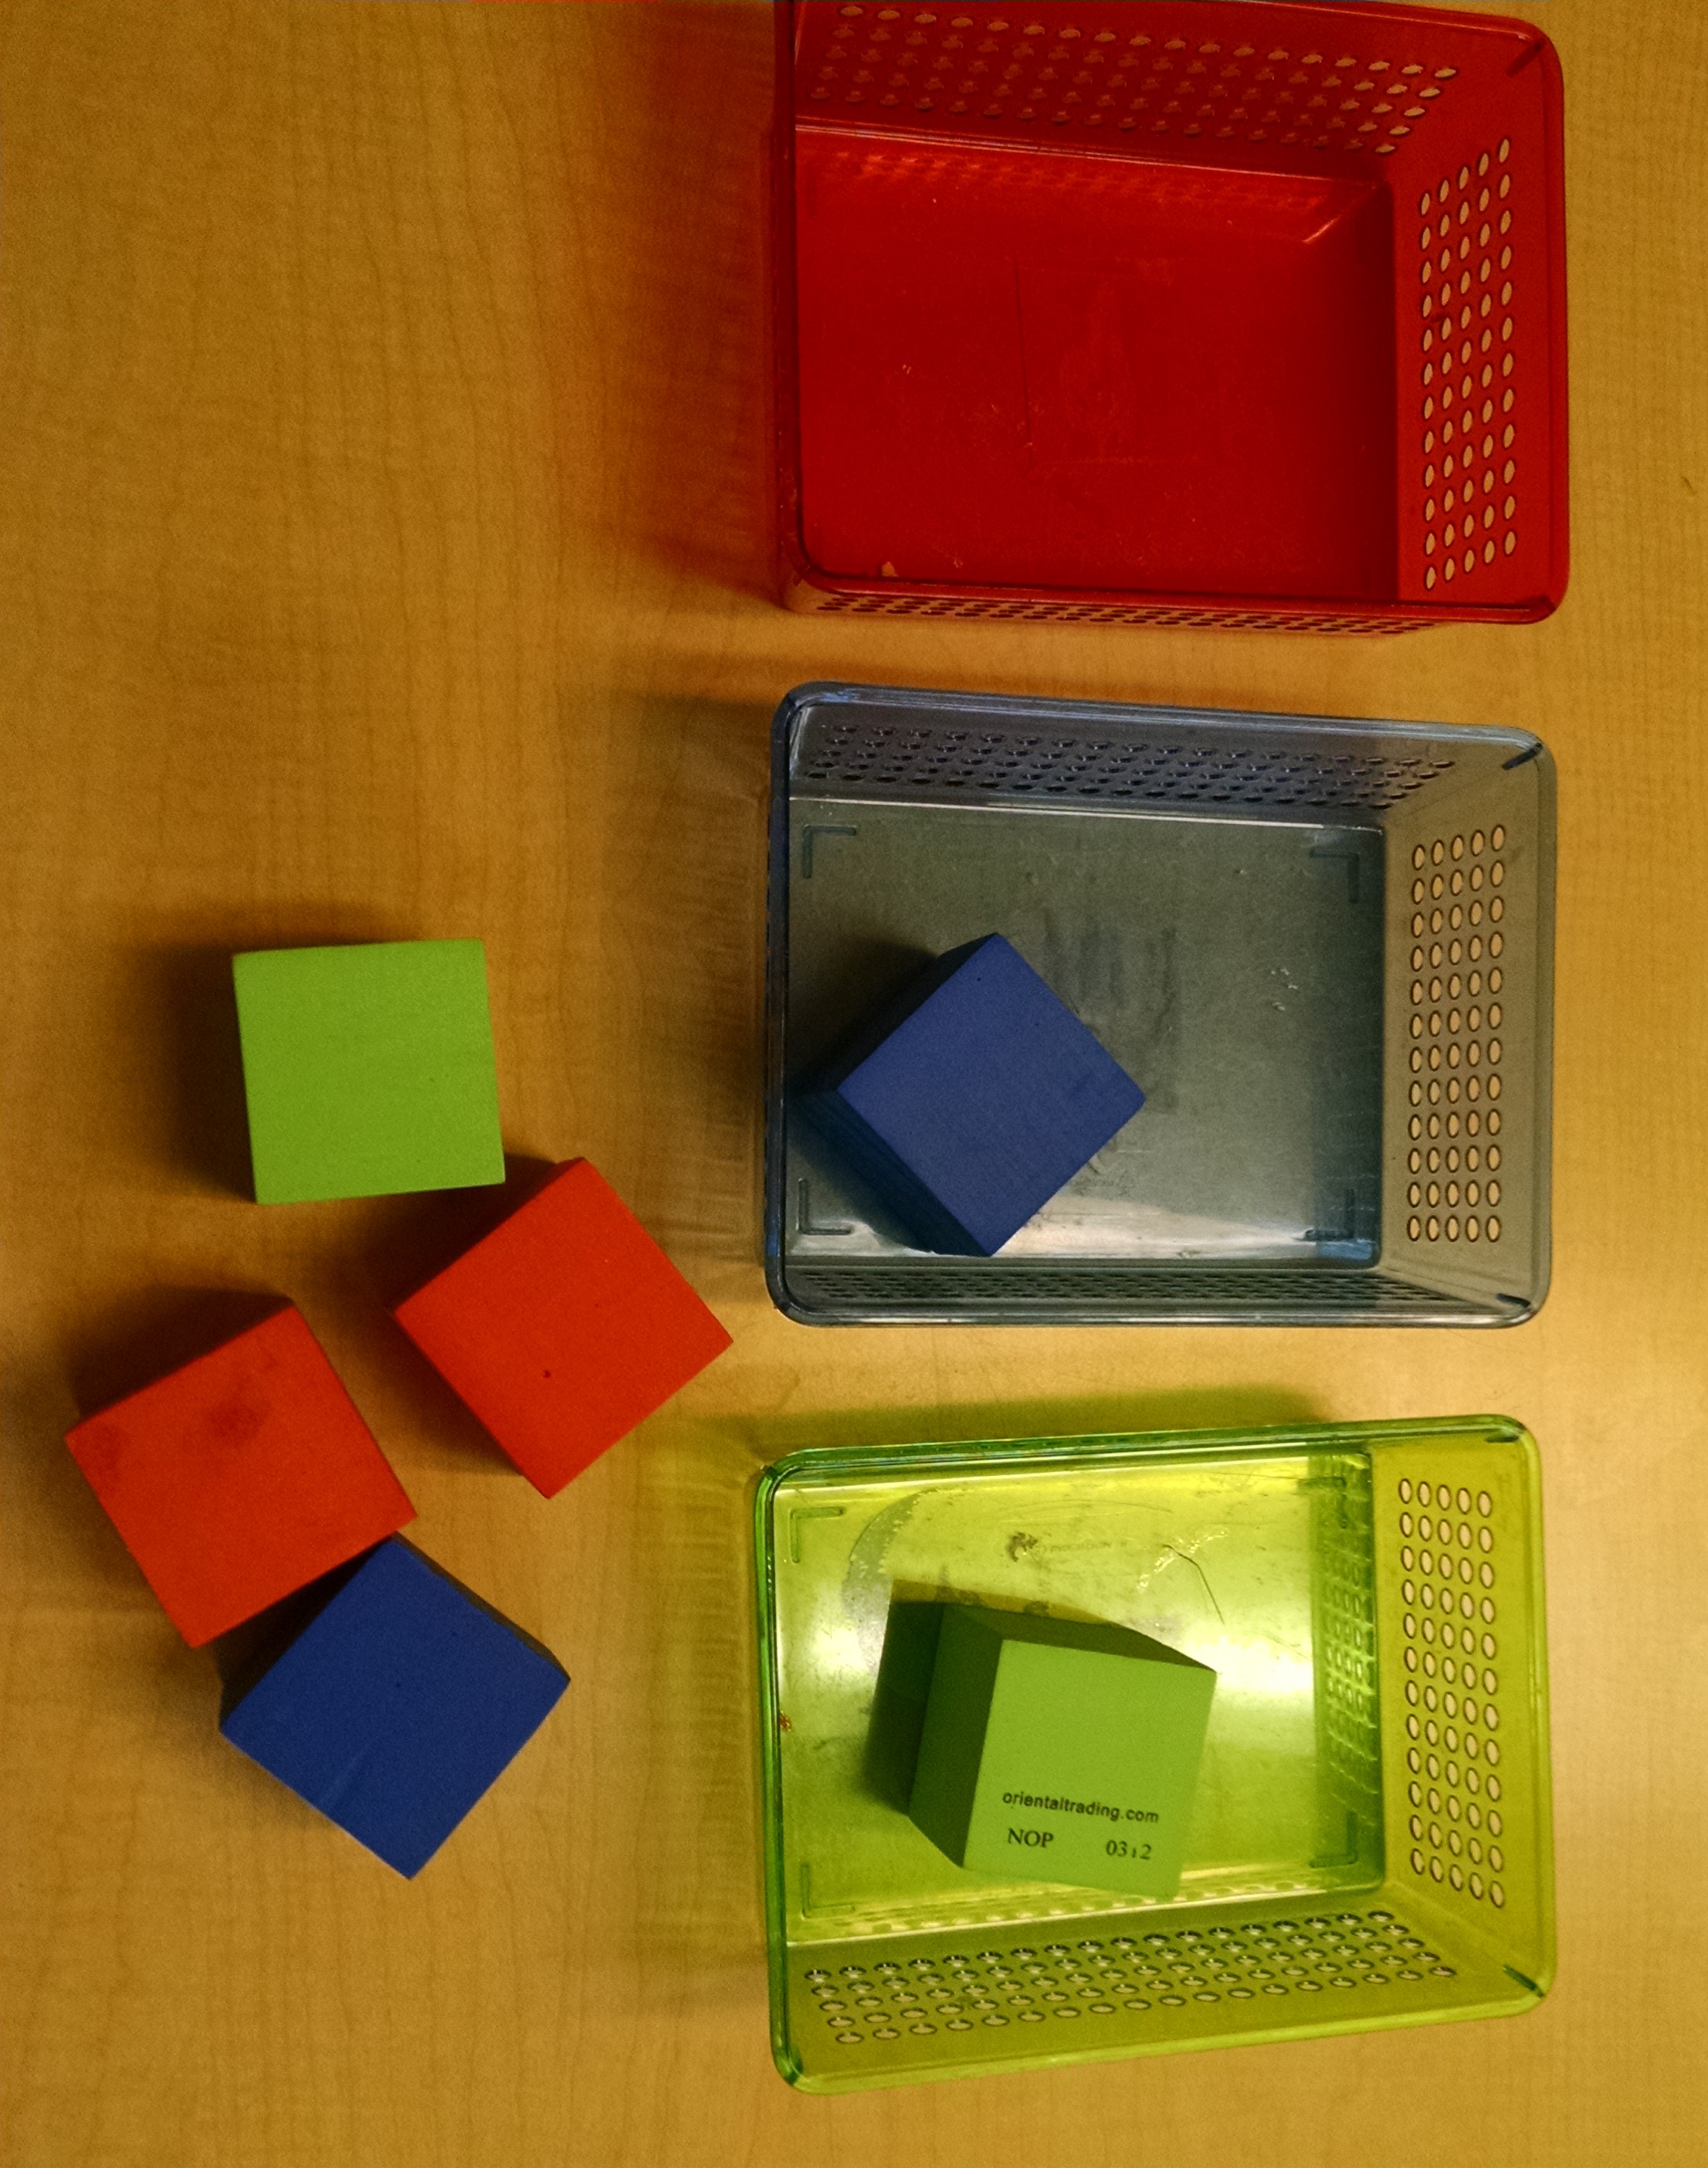
- Containers – bags, backpacks, purses, wallets, treasure boxes, barns, dollhouses (can build from cardboard boxes)
- Symbols of adult power – keys, phones, play money, calculators
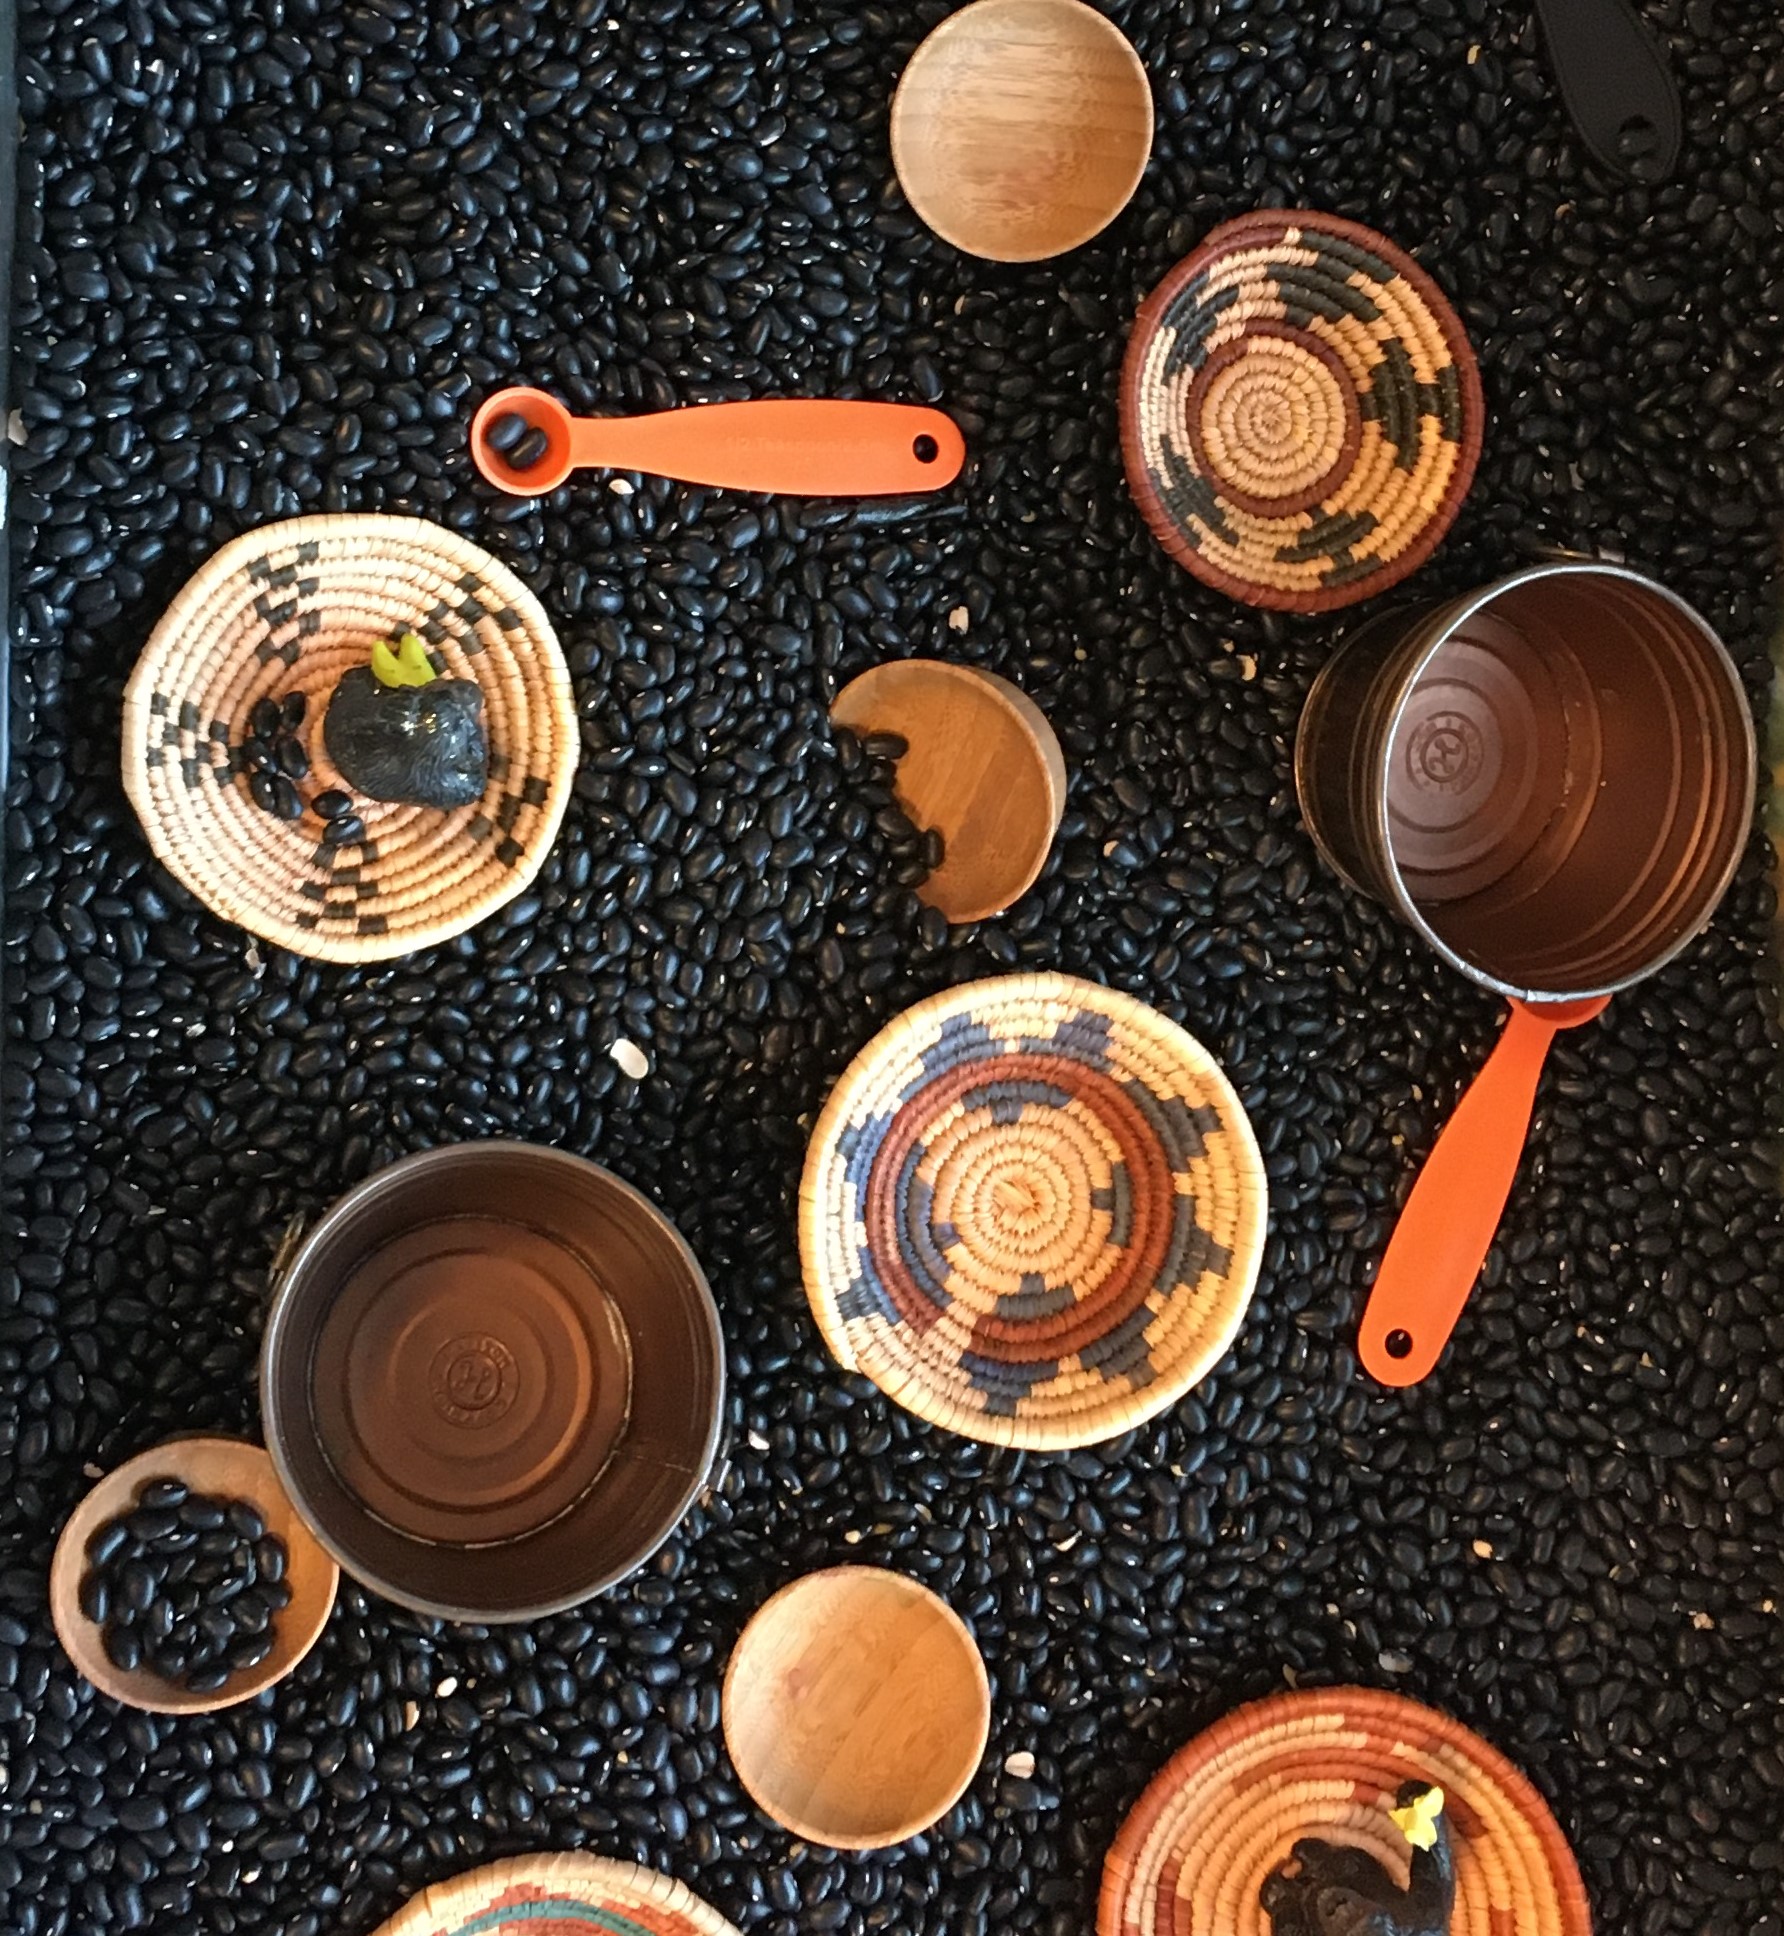
- Food-related: dishes, pots, pans, fake food
- Nurturing – baby dolls, blankets, bottles, stuffed animals
- Dress-Up Clothes
- Toddlers have a hard time putting on complicated clothes, so for young children, choose hats, big shoes, capes – be careful about items that go around the neck if they are also playing on large motor equipment.
- Three year olds respond best to clothing for characters they see in the real world: police, fire fighters, doctors, baristas
- Four year olds love fantasy costumes: princess, fairy, superhero
- Spaces – play tent, tunnel, big cardboard box, tent
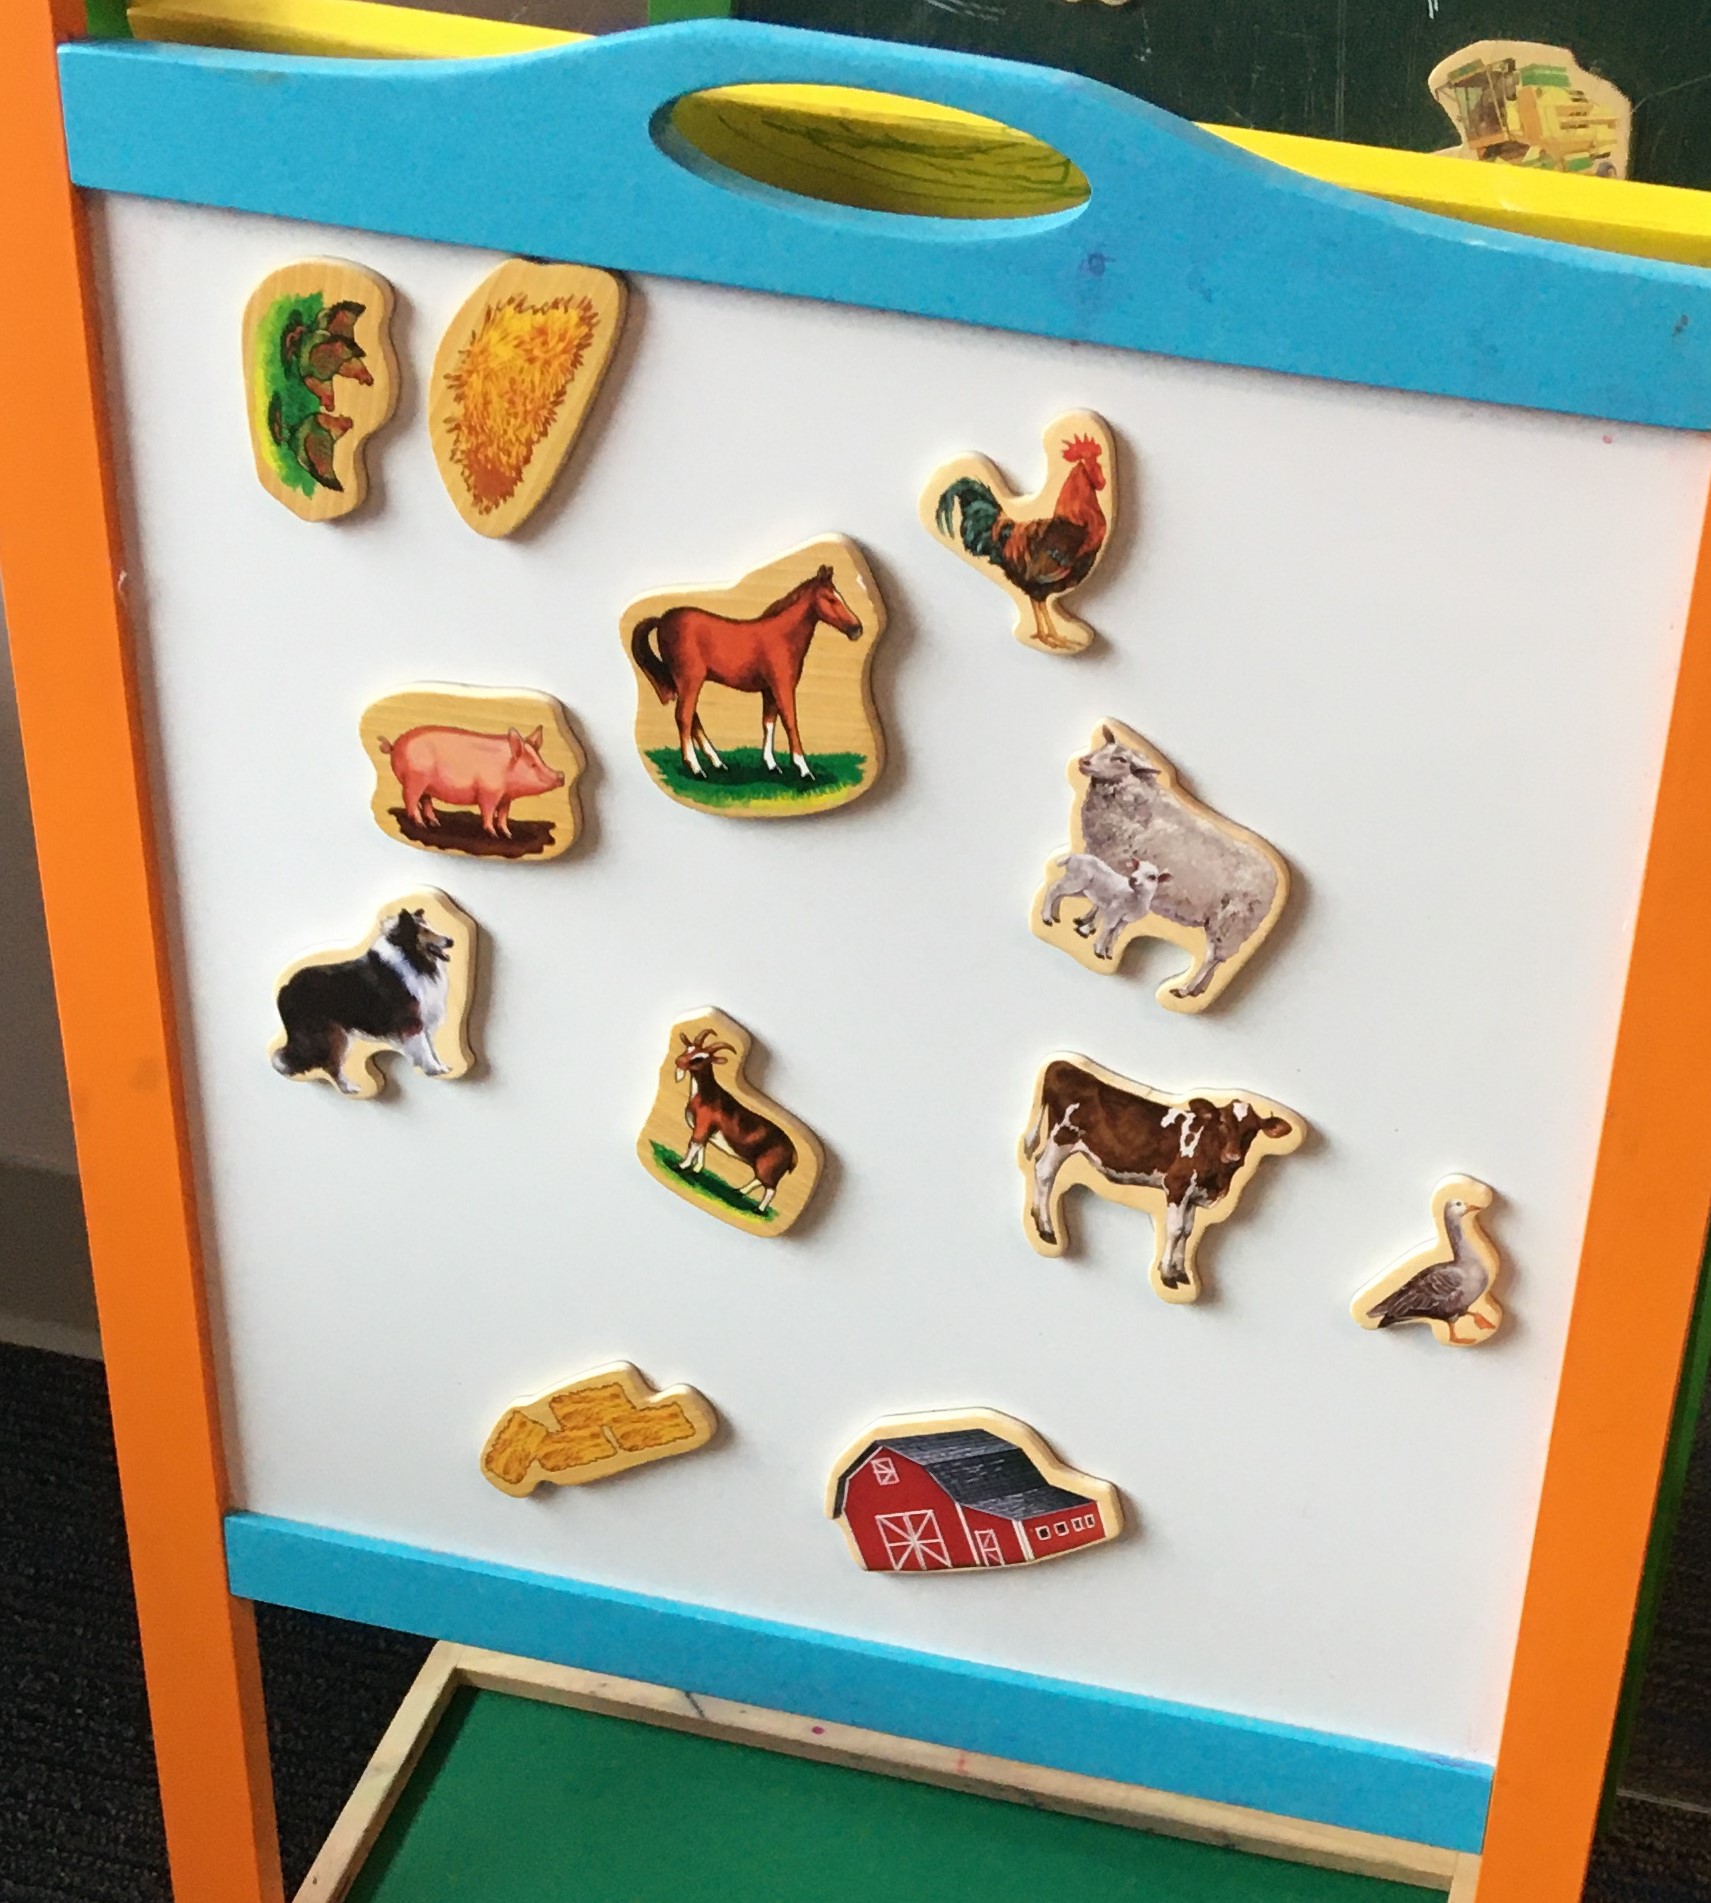
- Themes for Pretend Play: restaurant, school, library, post office, camping, zoo, doctor’s office, airplane, road trip, pirates. Don’t expect a 2 or 3 year old to be able to play something they’ve never experienced – e.g. old time farm life – play real world experience. 4 and ups more adventurous – show them a pirate movie then create a pirate ship on the couch.
What if you don’t like pretend play?
If you don’t enjoy pretend play with your child, you’re not alone!
Here are some tips:
- Don’t feel like you have to entertain your child at all times… it’s healthy for them to learn to entertain themselves.
- If you want to do things with your child, but just don’t enjoy pretend play, you can cook together, or do art, or play board games, or sports. Doing something you enjoy is better than gritting your teeth through things you don’t enjoy. And you can “outsource” the pretend play to a friend, family member, babysitter or drama teacher who does enjoy it.
- Set a timer or something and explain you can play cars for this amount of time then you need to move on to something else.
- Find pretend play that does work for you – I don’t love playing house or playing with dolls, but I enjoy putting on puppet shows where I tell a story with “ideas from the audience”
- Build things together – asking questions about “what else would we have in our dollhouse” stretches the same abstract thinking muscles for your child.
Watch Bluey to See Pretend Play in Action
The show Bluey on Disney Plus does a fabulous job of illustrating how parents (and other grown-ups) can do pretend play with kids. Here are just a few sample ideas for pretend play scenarios from Bluey. They are cataloged (and there are links to episodes) at: Bluey’s official website, Fatherly, Dad Fixes Everything, and Bluey Wiki.
- Taxi or Bus – where will you drive them to? Which passenger will get in next?
- Hotel – they’re the desk clerks who check you in and show you to your room.
- Restaurant – you’re the customer, they’re the wait staff. What will you order? What will they bring?
- Neighbors – stand on both sides of a fence and have a conversation.
- The Queen and the Butler. One person sits on the throne and gives orders.
- Born Yesterday. Pretend to know nothing, and respond accordingly when they ask you questions or tell you what to do
- Open a Zoo: design exhibits with the stuffed animals, make signs, and maps.
- Backpack – they fill a backpack with goofy items, and you do travel themed pretend play, when you ask for a ticket, they may give you a plunger.
- Kids pretend to be food. You pretend to prepare them .


 L
L