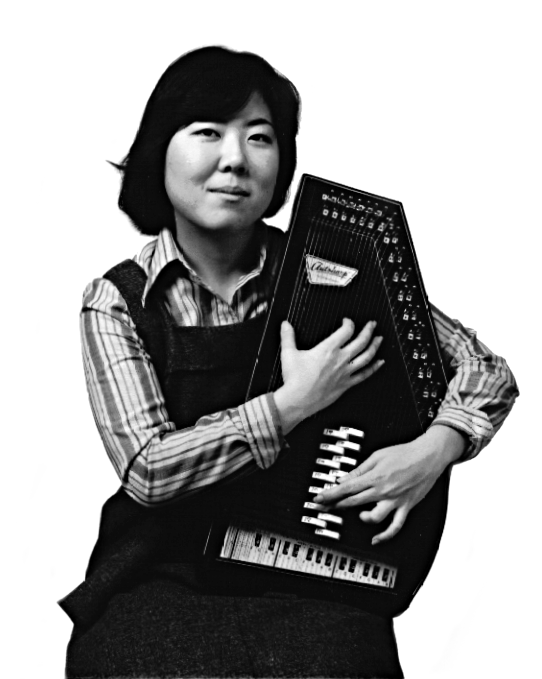
Once upon a time, many preschool teachers played the autoharp when leading group time, strumming along as they sang Twinkle Twinkle or Ring Around the Rosie.
Or many played piano or guitar. Playing the music as you sing, rather than just singing a capella, helps to deepen the learning for the children and increase their musical knowledge.
Some teachers used records (or cassettes or CD’s) to provide the music for circle time. Many recordings were designed just for this purpose, and worked well – they were a good tempo, just enough repeats of the song to be fun but not drag on and on.
These days, when we all carry in our pocket a phone with instant connection to the Internet, it’s tempting to just always pull up a YouTube video for music.
But YouTube videos are generally not made for this use, they are so often over-produced, overly energetic, over-enthusiastic or cloyingly sweet. Many of them have long musical interludes when no one is singing. Or ads or “like and subscribe” announcements. They can’t adapt to the mood of the moment, or respond to what’s happening in the room that day. And playing pre-recorded music doesn’t show children how music is made, or instill in them the idea that someday they could make music too.
Bringing live music into the classroom is so much more engaging.
And I know some of you may be thinking – “but I’m not a musician! I can’t do that.” I used to think that too. Make sure to check out my next post on Music and the Growth Based Mindset.
Did you know that if you have a ukulele (or a guitar), you can learn how to play a C chord and an F chord in just a few minutes of watching YouTube videos?
And did you know that if you can just play a C chord and an F chord, that means that you can play Wheels on the Bus – and at least 4 other songs set to that same tune! (In my handout below, just for C and F, I have chords for Kookaburra, 2 songs set to Itsy Bitsy, 4 to Oh My Darling Clementine, 5 for Mary Had a Little Lamb, and 10 songs set to the Farmer in the Dell tune!)
I will be writing a series of posts on how quickly and easily you can go from knowing nothing about how to play an instrument to playing ukulele confidently.
If you already know how to play an instrument – like guitar or piano – or if you have an old autoharp sitting in the closet at your classroom, and just need the chords to be ready to play, check out this handout.
When parents or teachers first introduce a child to sensory bin play, they usually make a big mess!
While some mess is inevitable, here are tips for reducing it.
Teach Them How Sensory Play Works
One of my core beliefs is that children want to do well. If they’re not behaving well, it’s usually because they don’t yet have the knowledge or skills they need. So, let’s teach them!
Play alongside
Over time, sensory play becomes a great independent play activity for children, where they can play with little supervision or intervention from adults for quite a while. However, first you have to teach them how to do it, and then gradually fade out your support. So, expect to be right next to them the first several sessions.
Role Model
I mostly just start playing appropriately next to them, and they quickly follow along! I narrate my play, and also narrate theirs. “Look, I’m scooping the beans – oh, you picked up the scoop – see how I use it? I can pour the beans in the bucket. Can you?”
Re-Direct
If they are doing something “wrong”, tell them the right thing to do. “Let’s keep the rice in the bin.” If they’re pouring on the floor, substitute a new target – “can you pour into this bucket?” Try to avoid saying “don’t _____”. If you say “don’t splash”, all they can think about is splashing. If you say “oh, look, when I move my hand slowly, see the ripples in the water?” they will often stop splashing.
Set Limits
Once they’ve learned how to do well in general, they may still have days when they’re having a hard time not making a mess. It’s OK to sometimes say “it looks like now is not the right time for this – let’s put it away / close it up for now, and we’ll try again tomorrow.” To be as fair as possible, I try this method: first when-then: “when you show me you can play well with this, then we can have it out more often.” Then if-then warning – “if you keep dumping things on the floor, then I’ll close the bin.” Then follow through on that consequence if needed.
Setting Up for Success
Fillers
Start with fillers that are easy to clean up. I use pompoms as the first material for my toddler class. Or paper crumpled into balls. Later, I might use pinto beans – they’re easy to sweep up. Other things are harder to clean up. For example, kinetic sand needs to be vacuumed up and can get ground into carpet, so it’s not the thing to start with.
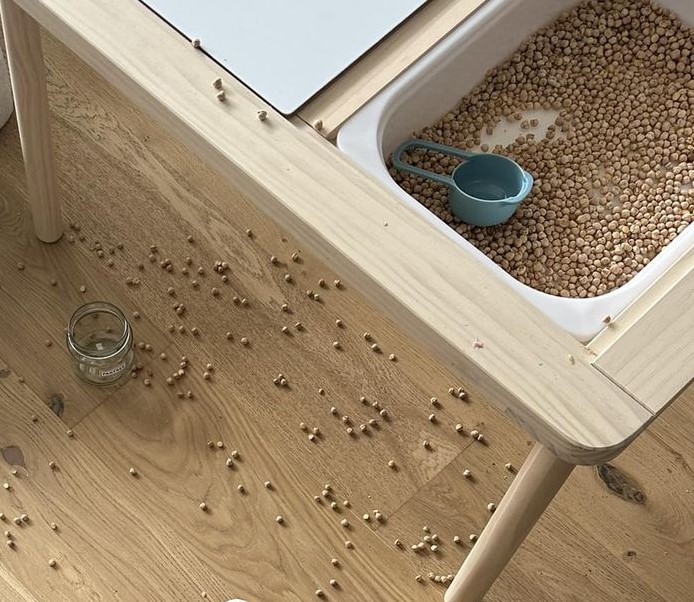
When you start, put a small amount of sensory items in a small bin inside the large bin. If they spill outside the small bin, the large bin catches it!
Don’t use too much filler at first. Don’t feel like you have to have a 3 inch thick layer of sensory material. Start with a thin layer – they can always pile it all up in one corner if they want a deeper pile.
Remember that they will mix together any item that’s within easy reach of the bin. So, if there’s something you don’t want to be mixed in, move it elsewhere. (For example, we don’t recommend putting a bin of rice right next to the playdough table or water table.)
What Surface to Put the Table On
If possible, put sensory tables on linoleum or hardwood floors – it’s way easier to clean up than carpet!
Many parents and teachers do sensory tables outdoors where they are less concerned about mess.
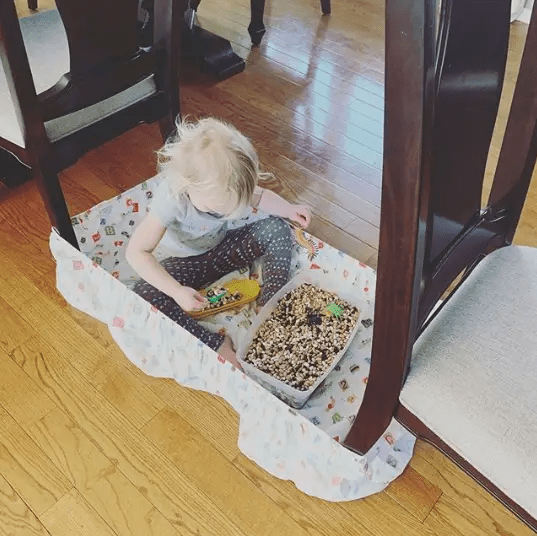
Many people recommend putting a mat under the table – like this mat where the edges can fold up to make a wall, or things like playpens and crafty pods and pop-up ball pits that help to contain the mess in one area where it doesn’t get tracked around. Some use fitted sheets – like in the image below (source) or shown here. Wrap the corners of the fitted sheet around some objects to create a little nest. Or use a table cloth or shower curtain liner. Sometimes you can salvage sensory material from any of these surfaces by lifting them up so the filler all slides to one corner and then scooping it from there.
One site recommended a “builders’ tray” that looks amazing, but the link is broken and I can’t find it anywhere… Amazon has a 20×20 play tray, or you could use an oil drip pan, maybe.
Allowing for Transport
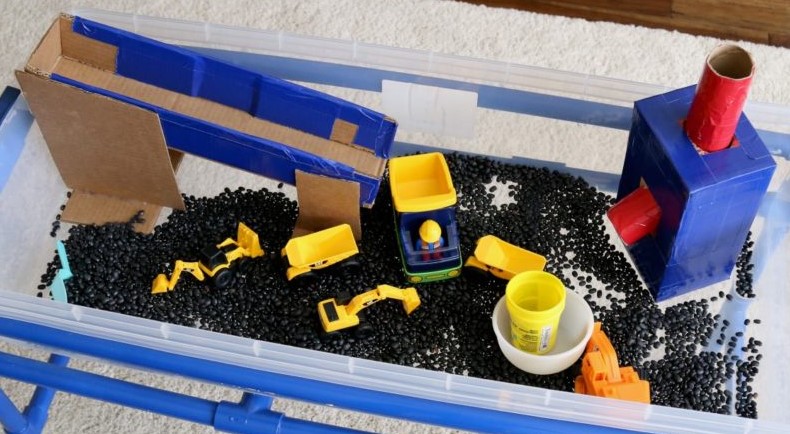
Kids LOVE to transport things. So, they often want to carry things from one place to another. Sometimes just having containers inside the bin, like having two buckets in the bin where they can move things from the bin to one bucket to the next is enough. Or setting up a cardboard box apparatus where there’s a higher spot in the sensory bin and a ramp for pouring things so they slide to the lower level, like these examples from Frugal Fun:
Or having a table right next to the sensory bin with containers on it they can move things into can work. But some kids like to have a separate bucket somewhere else they can carry things to – you can decide if that’s viable for you.
If they like the sound the beans make when they hit the floor, try putting a metal pie tin or hard plastic container upside down inside the sensory bin that they can pour onto to get the sound.
Helping with Clean Up
Ask your child to help with clean-up. You may choose to get them a mini broom and dustpan or a dust buster vacuum. (For some kids having to do clean-up is a disincentive – they don’t want to make a mess they’ll have to clean up later. Some kids like cleaning up the mess so much that they’ll make more of a mess!)
Remember, sensory play is a learning process, so they will accidentally (or intentionally) spill from time to time and there will be messes. Try to take a deep breath when it happens. If you’re having a day where you feel like the mess would be too stressful, it’s fine to close the sensory bin for the day and offer other activities.
I learned about the idea of “books that sing” from Nancy Stewart (Learn more about Books that Sing.) These are books that can be sung aloud, rather than read aloud – they may be illustrated versions of traditional songs, or may be new compositions. I built a year-long preschool music curriculum that included 4 of these books each month. Here are some of the books that I found and used.
Farm Theme
Old McDonald – Cabrera and others
Old Mikamba had a farm – Isadora
Barnyard Dance – Boynton – make up your own tune to this musical rhyming book
Mary Had a Little Lamb – Hoberman or Borgert-Spaniol
Pickin Peas by Macdonald – may be too long for preschoolers
Jingle Bells. Notes on the versions – Jeffers – words don’t go quite in the order kids expect and it does include Santa and Mrs. Claus; the version illustrated by Darcy May is simple and straightforward all the words in the right order, shows bob tail and sleigh and other new vocabulary well; Kovalski – not the best writing, so I might tell a new story to the pictures; Trapani – highlights Xmas traditions around the world, so may not be suitable for a non-secular setting
Stars/Moon Theme
Twinkle – several versions! I like Cabrera, Taylor and Litwin versions better than Borgert-Spaniol
Whether you’re a librarian planning story time, a preschool teacher looking for new songs or a parent of a toddler who is tired of the same five songs, here are resources for learning new children’s songs.
The very best resources I know of are:
Tell Me a Story from the King County Library System – searchable collection of hundreds of videos of children’s librarians singing songs and showing the motions
Jbrary – two children’s librarians (Lindsey Krabbenhoft and Dana Horrocks) have created a huge collection of videos of children’s songs (with motions) and also have lists of favorite books, ideas for storytime, etc.
Sing with Our Kids, where Nancy Stewart has created a song library which includes lyrics and .mp3 audio recordings of lots of great traditional kid songs, and a collection of “Books that Sing” – picture books that you can sing aloud.
And here are resources I have created that you are welcome to use:
For a preschool, here’s a full year music time curriculum with shaker songs, rhymes, songs, and recommended “books that sing” for 9 monthly themes – include ukulele chords. Here are the books-that-sing that I use.
my full lesson plan for a year’s worth of Toddler Circle Times. It includes lots more songs and rhymes, gathered around 9 monthly themes.
for an infant-wobbler class, here are all the baby songs I do during the year. (here are the same songs with the ukulele chords, and here are 11 x 17 posters of the lyrics to print and use in class)
collection of fun science themed songs for ages 3 – 6 which reinforce STEM concepts
I learned the idea of “books that sing” from Nancy Stewart. These are books that can be sung instead of read. I built a year-long preschool music curriculum (download it from that link!) that included 4 of these books each month. And here is the list of books that I use. For each month’s theme, I include shaker songs, finger rhymes and songs, as well as the books.
Here is a detailed preview of the books we use in April.
I looked for books featuring a springtime theme. I considered Inch by Inch, the Garden Song, which is quite good. (I use it in my kids’ science class when we talk about plants.) I thought long and hard about Dancing Feet by Lindsey Craig and Mark Brown (video) which would be so easy to make up a jazzy tune to sing it to. Or, since we’re in Seattle, there’s Singing in the Rain, the lyrics from the movie with illustrations by Hopgood. (video) But, I’ve been trying to choose books where the children know the tune so they can sing or hum along.
I decided to check for books of “Over in the Meadow” and “Five Little Ducks.” Turns out that there are at least five versions of each song! Let’s check them out:
Over in the Meadow
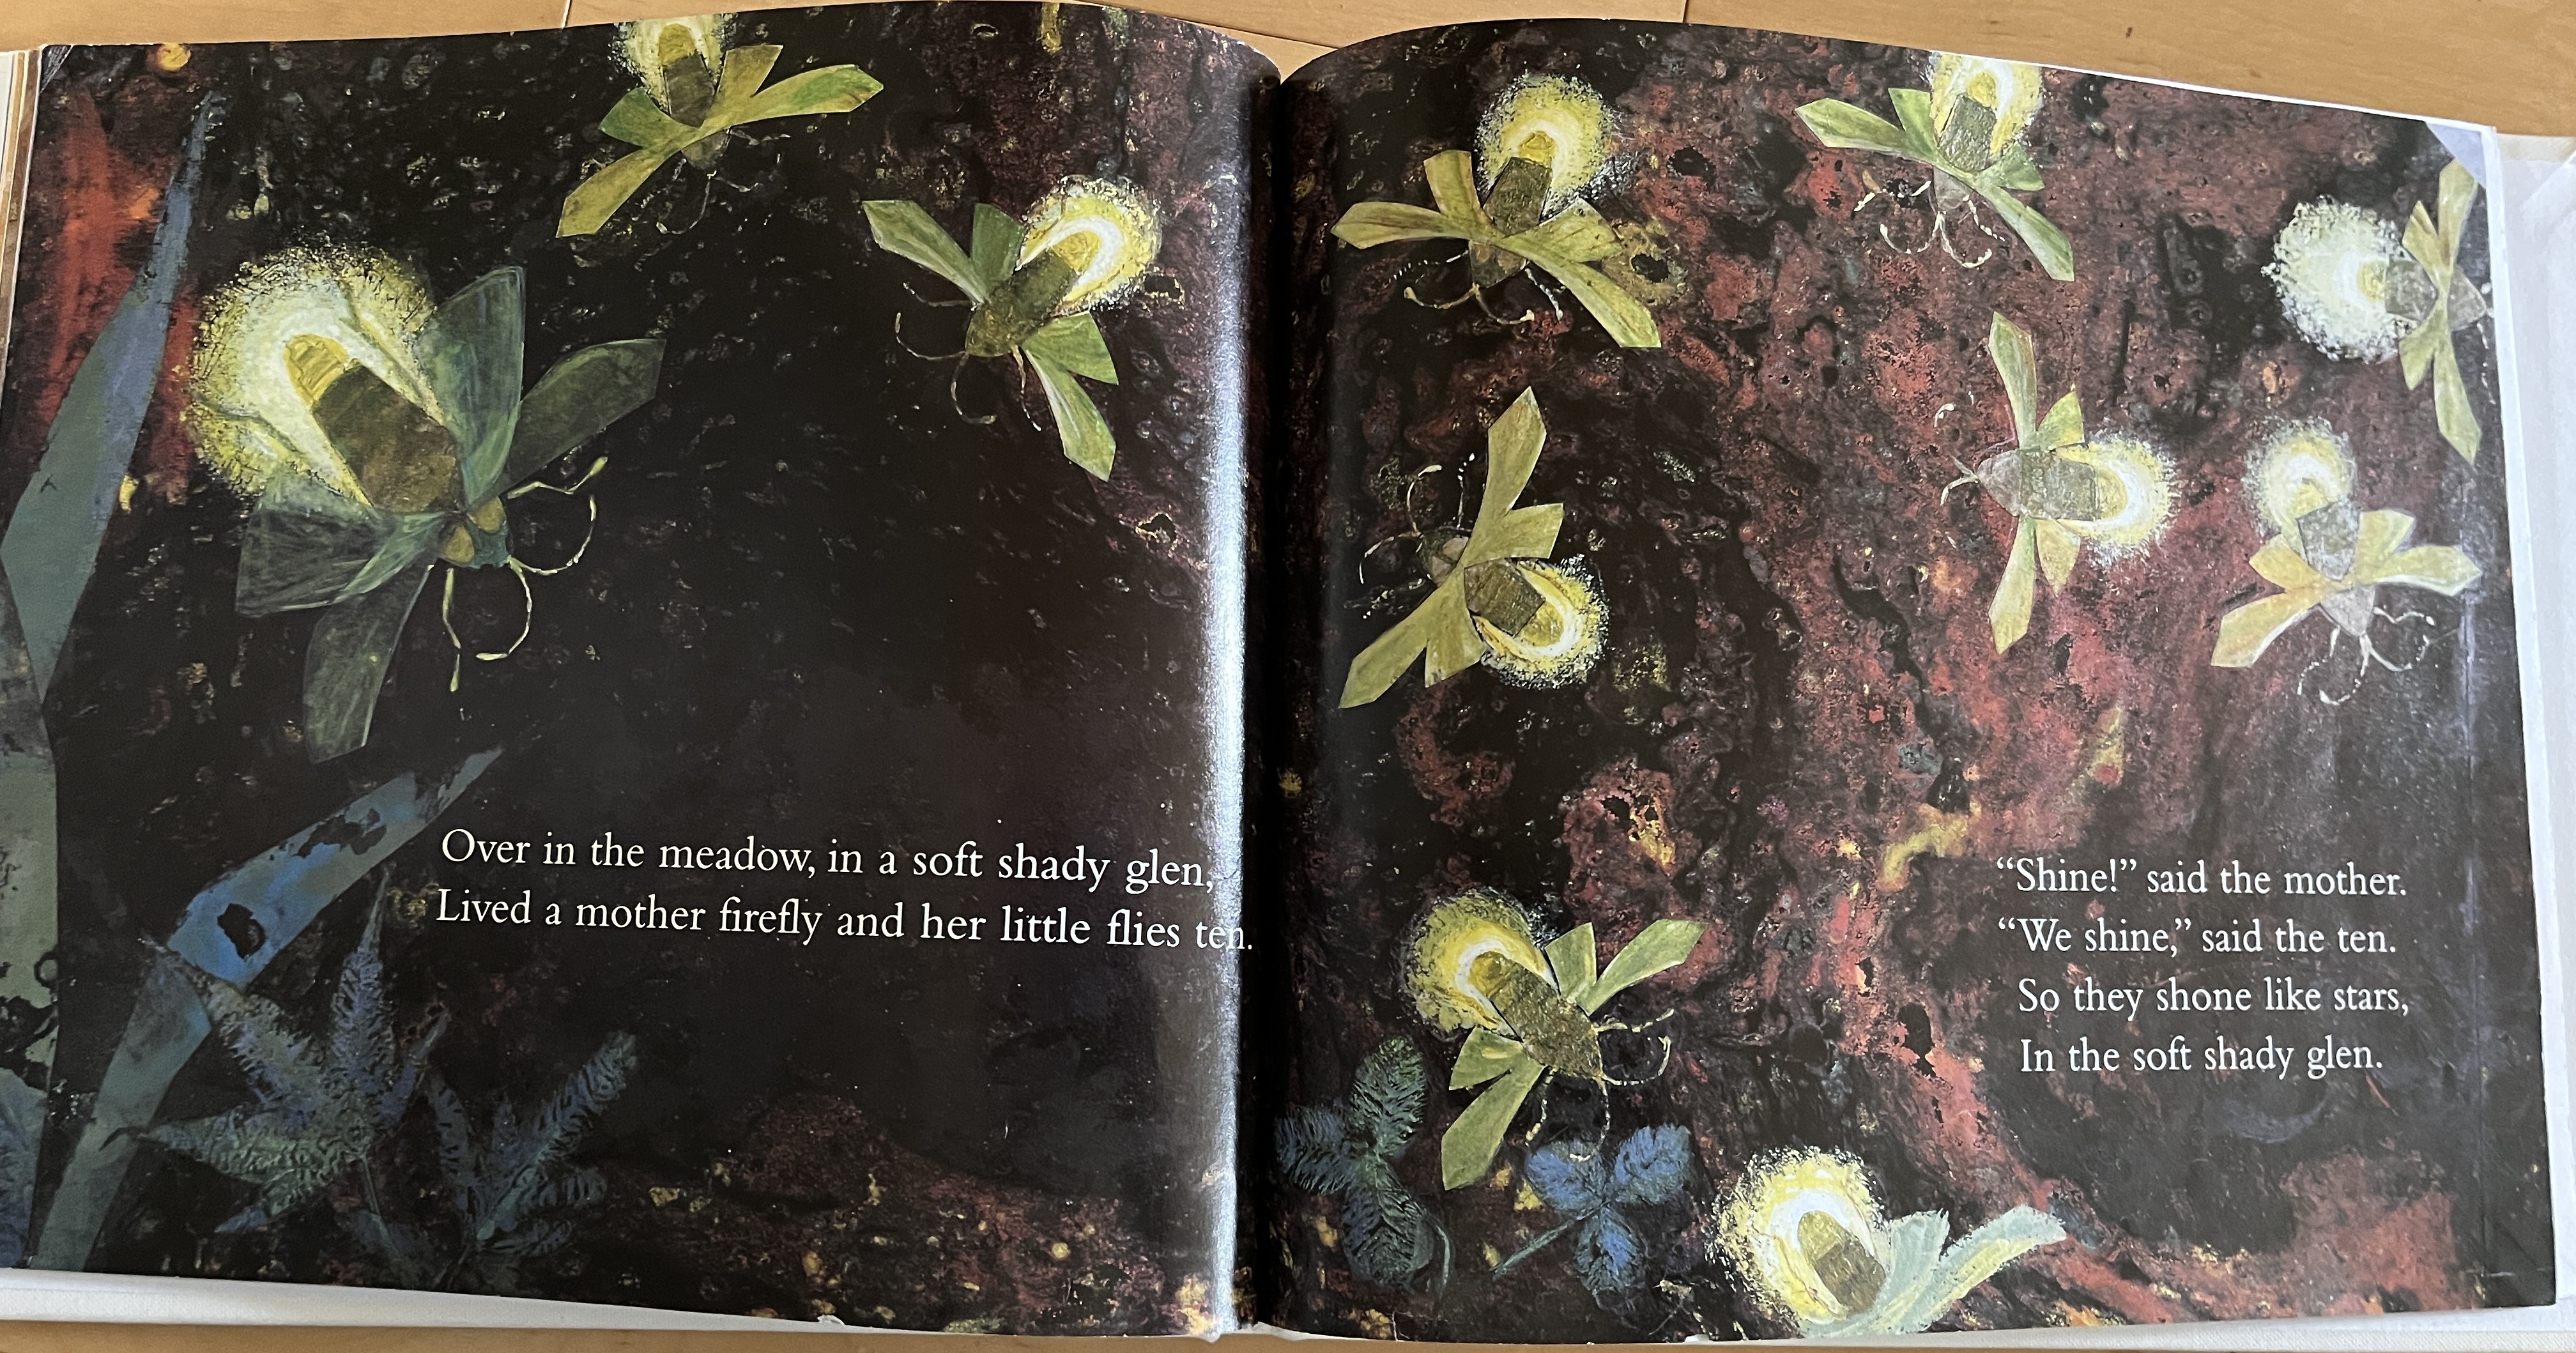
This is a classic counting song. If you’re not familiar with the tune, you can hear it in this video, which is from the Barefoot Books version of this book that sings. We didn’t have a copy of that one at my library but you can find it on Amazon*.
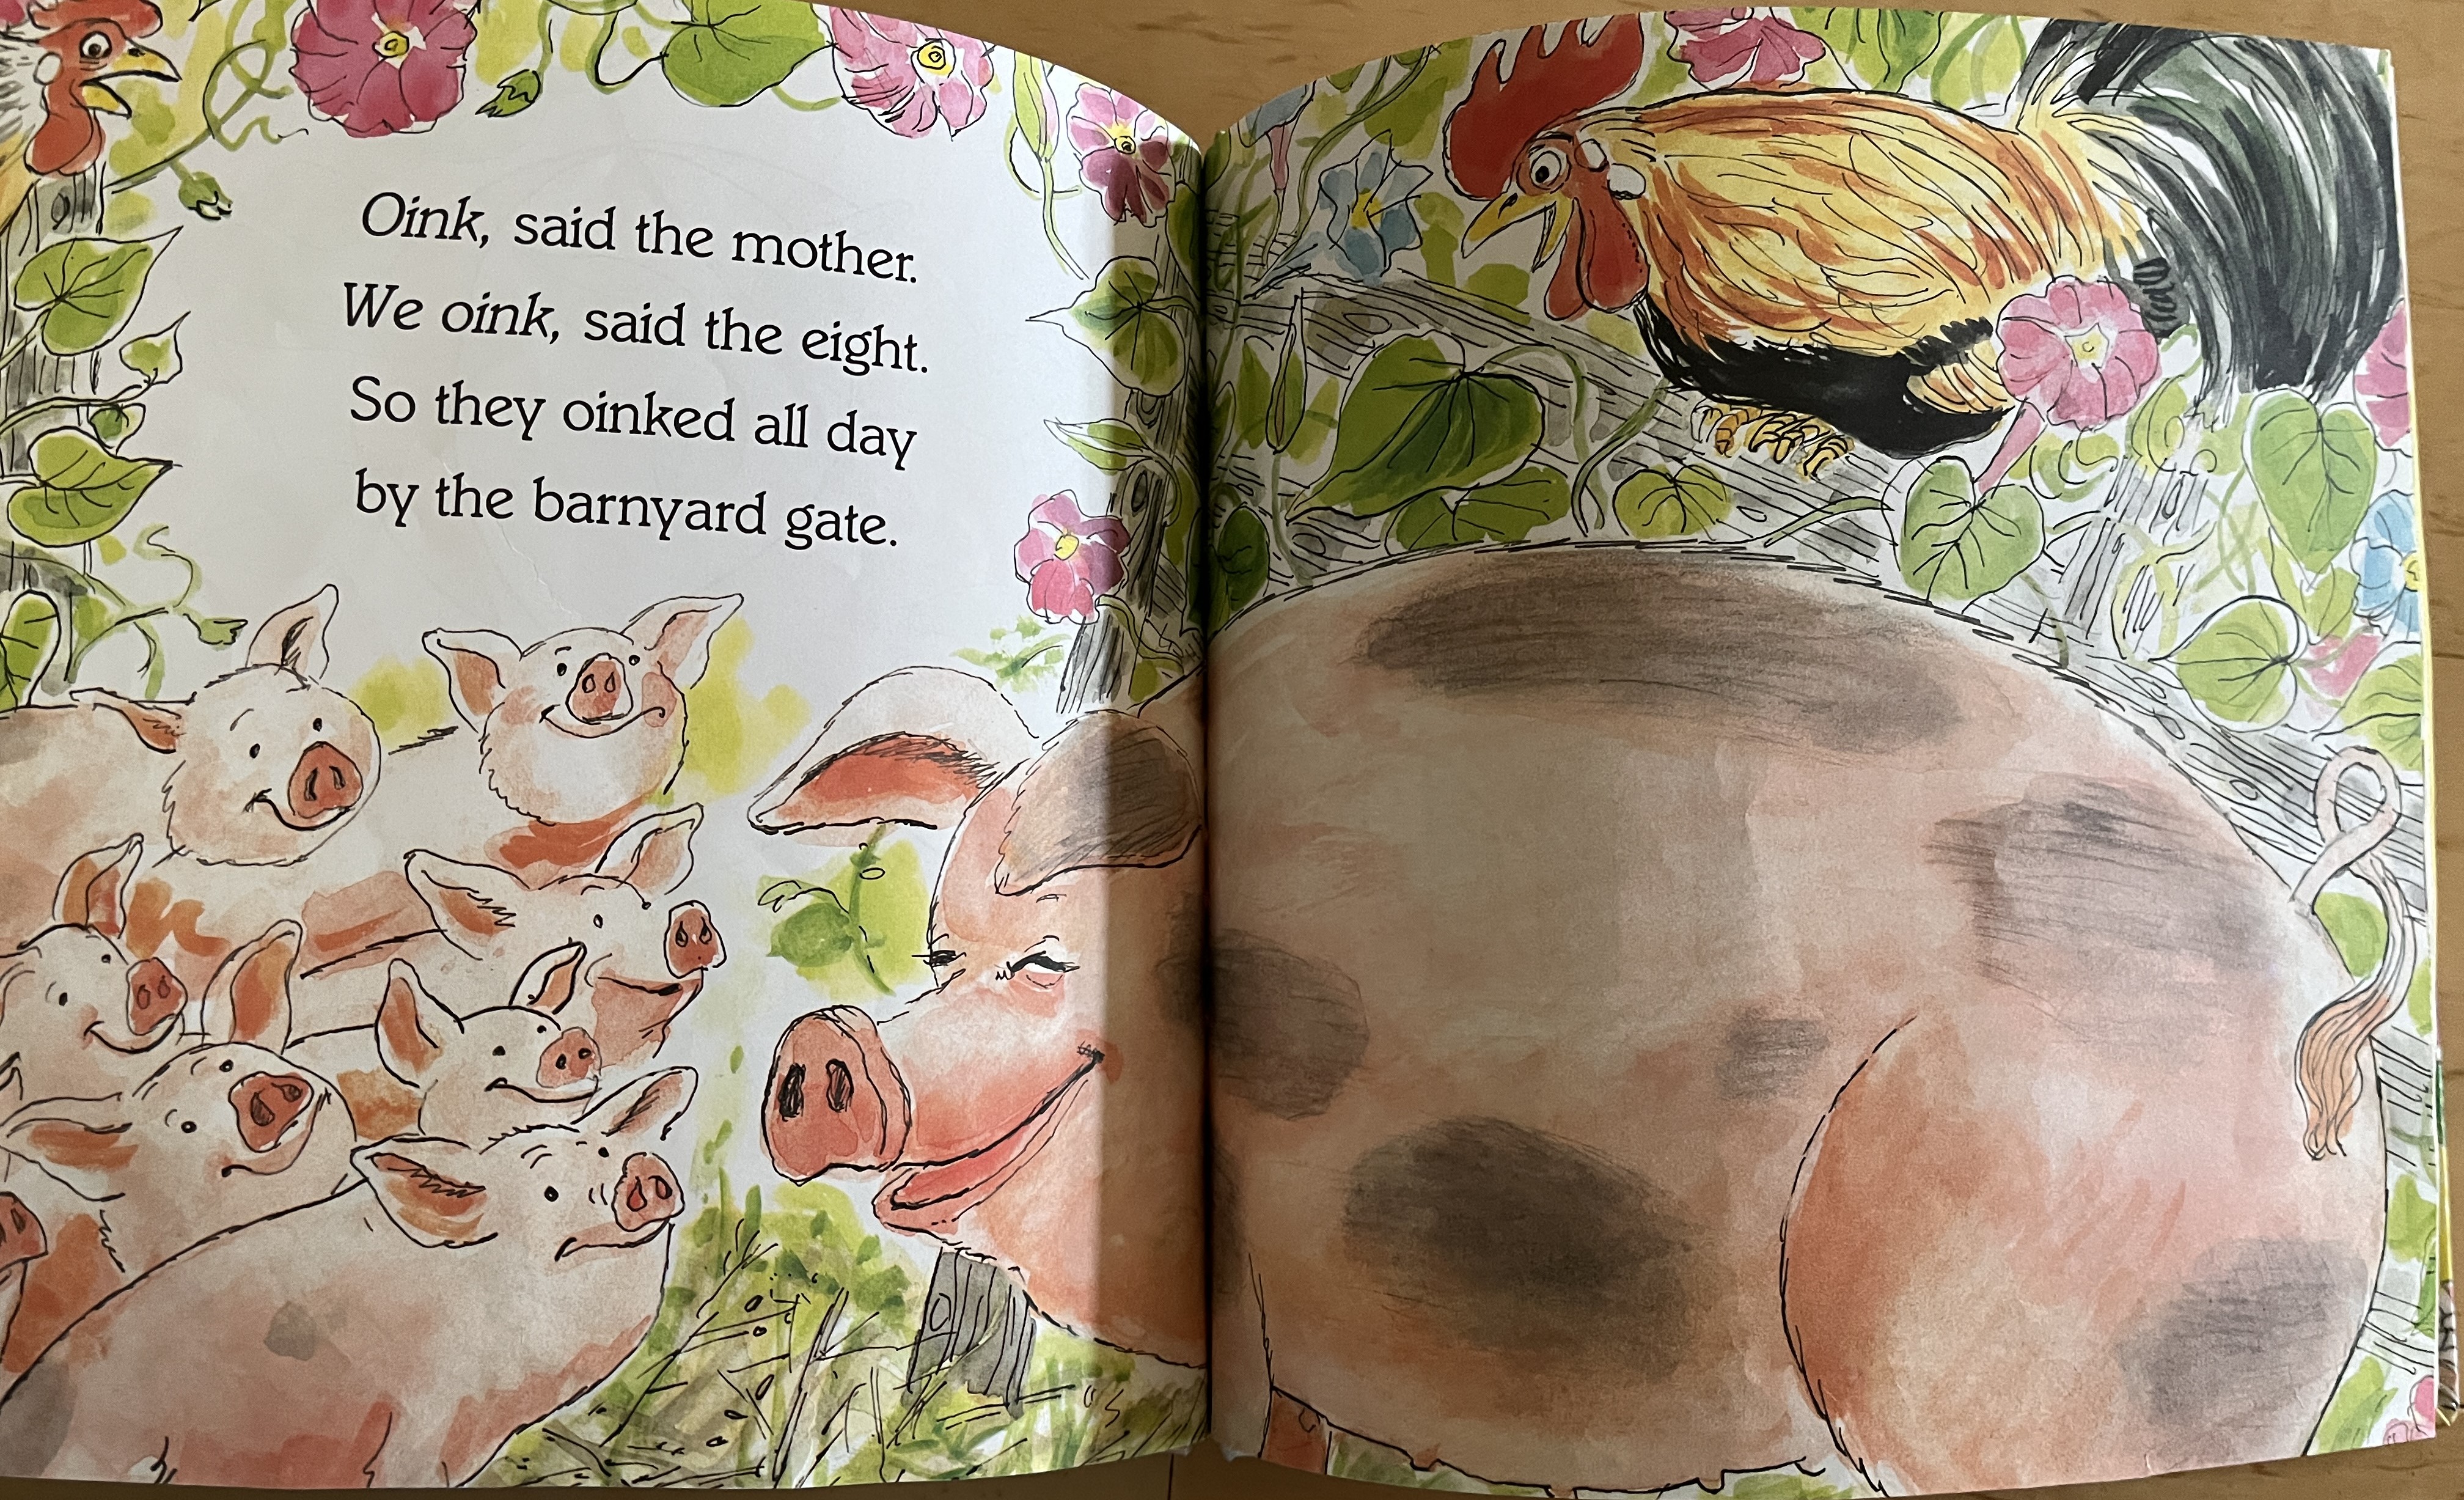
Over in the Meadow – Jane Cabrera. Each two-page spread has a verse and all the animals for that verse to count. In this book, at the end, it says “over in the meadow while the mothers are away, can you count the babies? they’ve all come to play.” You can then play an I-spy style to find and count all the animals in one scene. My library has the Wonderbook version where you can play the music to sing along to. But, the recording is a little bland and slow to my taste – I’d rather sing it myself.
Over in the Meadow illus by Rojankovsky. Copyright 1957, featuring lovely pastel sketches. At the end of the book, there is a nocturnal scene where many of the animals appear. It includes an owl chasing a frightened looking bunny which might trouble a few particularly sensitive children. Includes sheet music of the tune on the last page.
Over in the Meadow illustrated by Anna Vojtech. The illustrations are lovely. I like that in addition to the main illustration where you can count the animals “hiding” in the scene, and then below the verse, there’s a picture of just the baby animals. I’m dubious about verse 10 with the little beavers ten. “Beave said the mother, we beave said the ten…”
Over in the Meadow, illus by Paul Galdone. (c. 1986. not available on Amazon.) Although I don’t love the illustrations, an interesting aspect is that it has one page that shows the digit and the written out number, then a second page to finish the verse.
Over in the Meadow, illus by Ezra Jack Keats. Nice naturalistic illustrations. Only minor quibble is that sometimes it’s hard to tell the difference between the parent and the babies, which makes it harder for the kids to count the babies accurately.
Another counting rhyme. This one counts down from five to zero. And then rather than leaving poor mama duck bereft, all five little ducks come back at the end. Here’s the tune. Or another version. There is also a Raffi recording of it.
Five Little Ducks, by Denise Fleming. In this version, instead of Mama Duck calling the babies back, Papa Duck does. It also adds in days of the week and instead of just going over the hills and far away, they go other places. Monday – through the woods, Wednesday past the paddock, Thursday – across the fields, Friday – down the road. Saturday they come back. Then, Mama Duck discourages them from leaving the nest, because on Sunday “we all rest.” At the end of the book, there’s a paragraph of information on each of the animal types depicted.
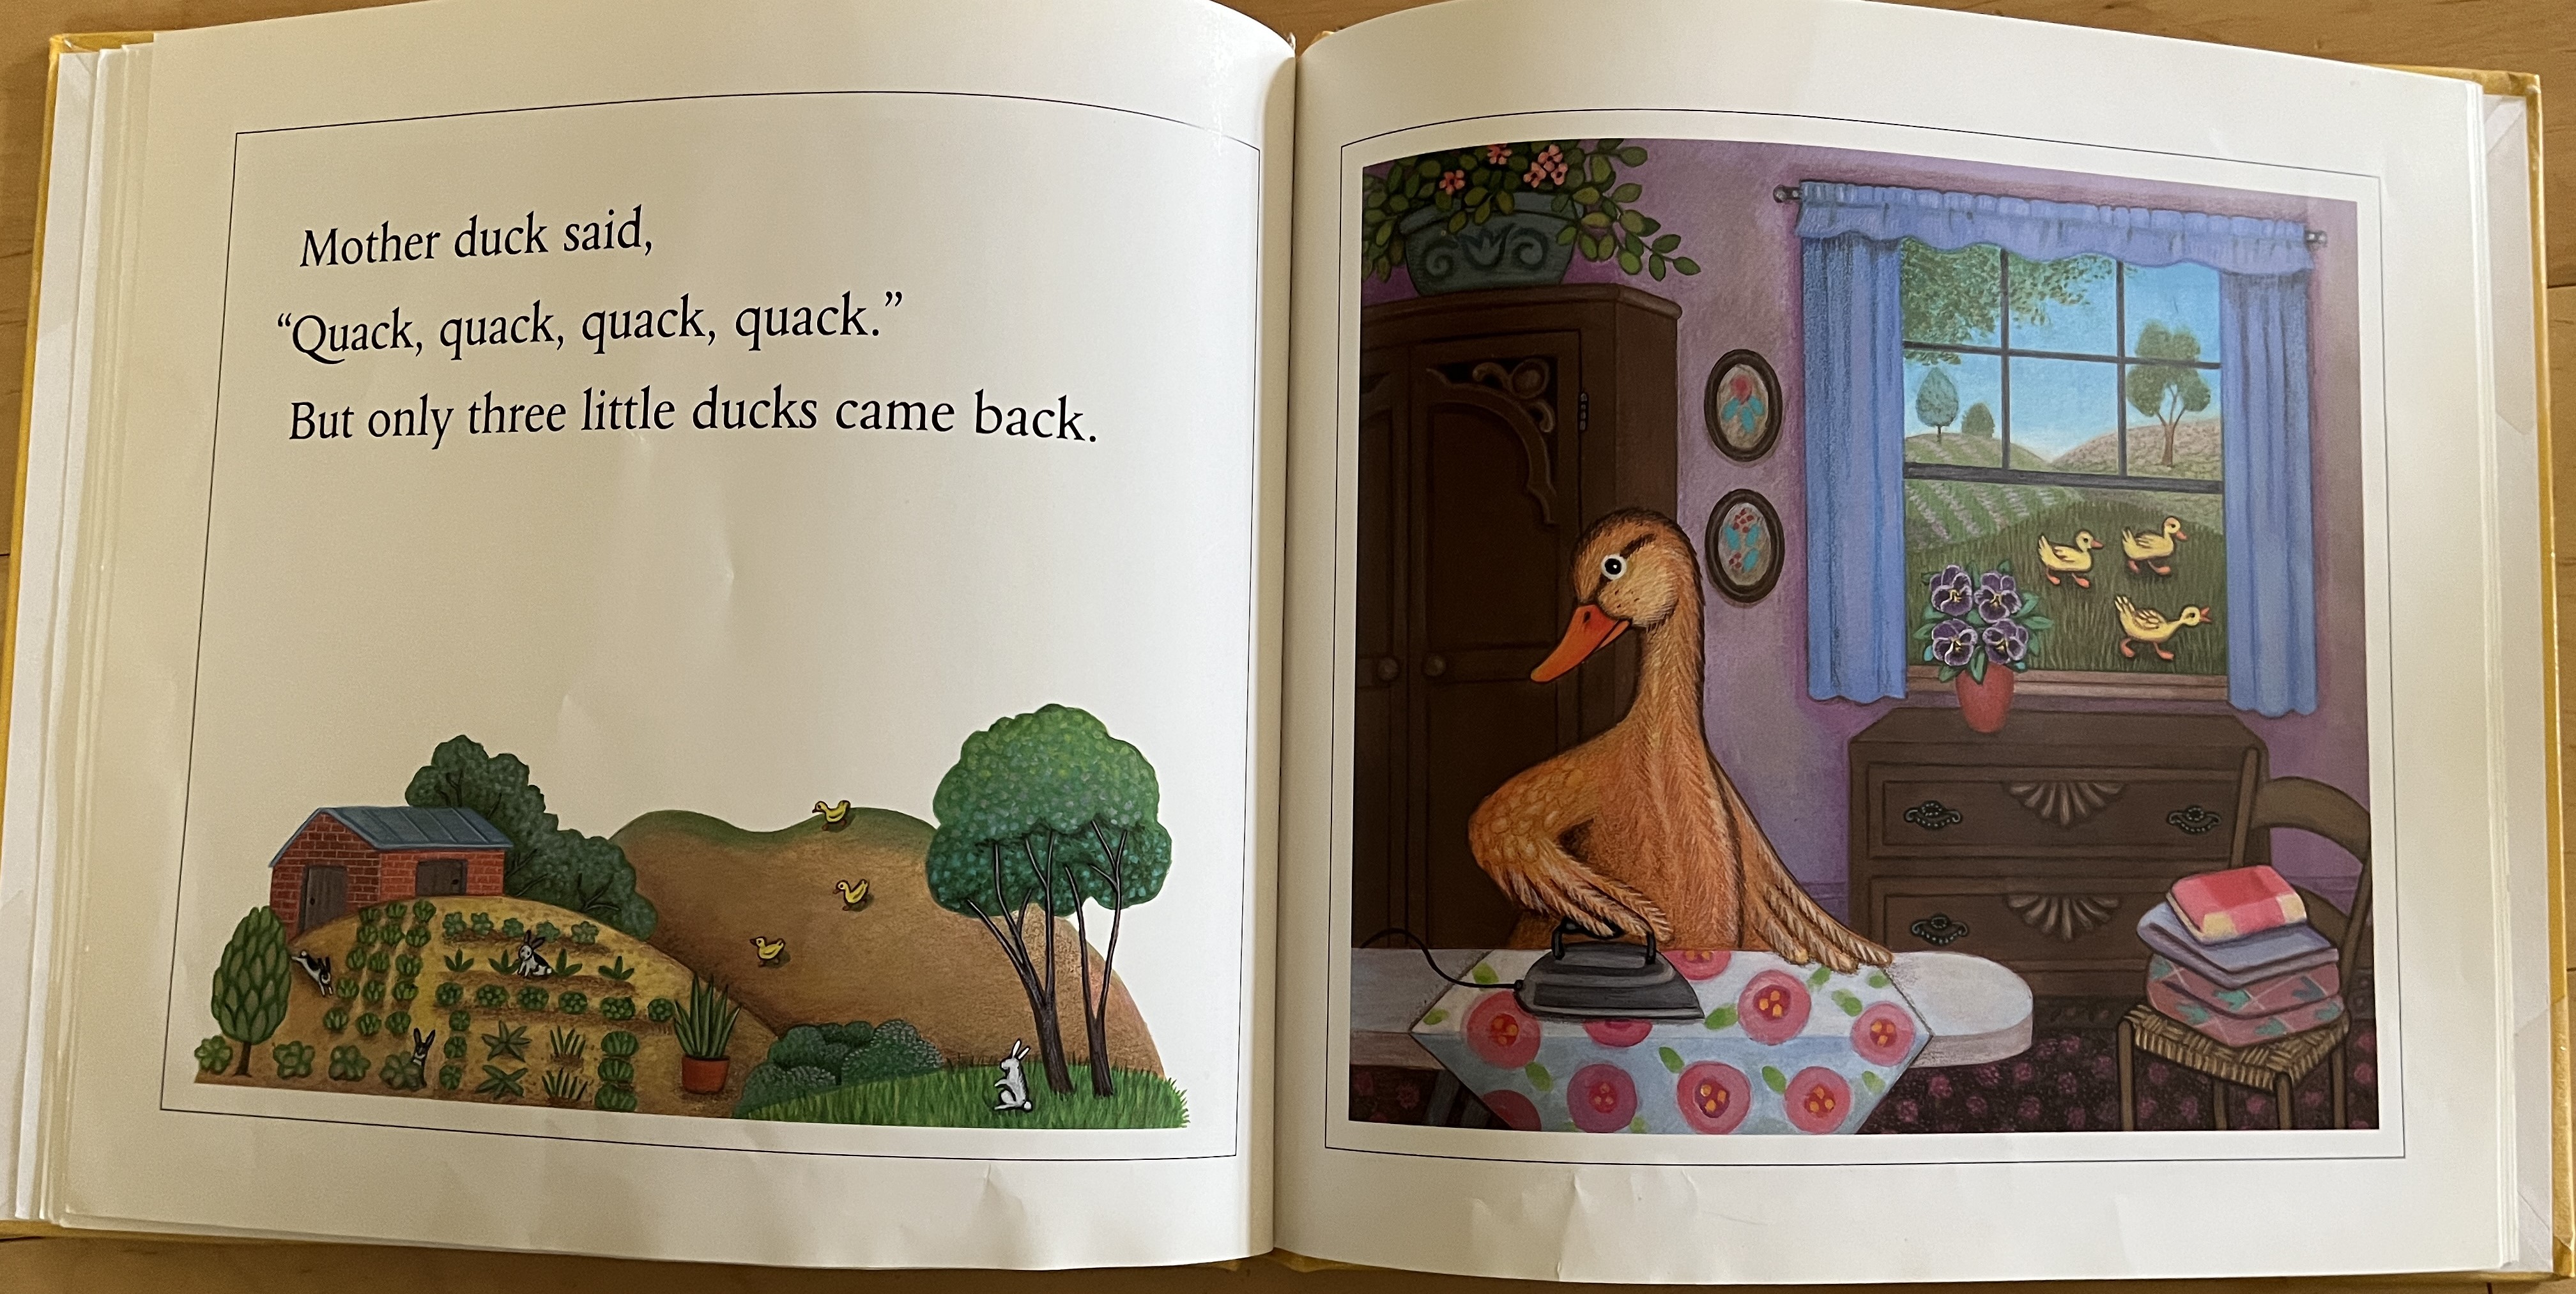
Five Little Ducks illus by Pamela Paparone. Shows Mother duck doing all sorts of work around the farm: gardening, hanging laundry, ironing, picking apples, but also painting a picture. A nice feature is the pages that show the correct number of little ducks either walking away up the hill or coming back down the hill, plus they’re seen in another scene, so there’s lots of opportunities to count the same number to get a good grasp that three is three, no matter how they’re arranged on the page.
Five Little Ducks illus by Aruego and Dewey. Part of the Raffi Songs to Read series. My least favorite illustrations. But the end is unique. After all the ducks are gone, and none of the little ducks come back, we see Mama in Autumn, Mama in winter, and going out in spring to find all five little ducks who have all had babies of their own! One has five babies, one has four, one has three, one has two, and one has just one baby. Also has the sheet music at the end.
And that’s not all! There are more versions available – see them on Amazon.
How I Use Books that Sing
Sometimes I introduce the song first, teaching it and helping the kids get the hang of it first before introducing the book. This is helpful if either I think the song is brand new to everyone OR if the words in the books have a lot of variations from the typical words. (For example, I would want them familiar with the Over in the Meadow tune before introducing Over in the Ocean. When I read Over in the Ocean, since the words are so different than they know, I would have them hum the tune along with me as I sing the words in the book. It turns out three year olds are great at humming tunes!)
With these books, since most of them align really closely with the traditional words and since I have SO MANY books to choose from this month, I’m just going to teach the songs by reading the books, saving the ones with the most word variations (like the Papa Duck version) for last.
*Note: I am an Amazon associate. If you click on any book name below, it will take you to Amazon where you can read a full description of the book. If you end up buying anything after clicking through, I get a small referral bonus at no cost to you.


